

Growing your own food is a rewarding experience, offering fresh, healthy produce right at your fingertips. Imagine taking that a step further by cultivating plants year-round, regardless of the weather outside. This is where hydroponics comes in. By combining the controlled environment of a greenhouse with the efficiency of a soil-free growing system, you can maximize your yields and enjoy gardening in any season.
This guide will provide a clear, step-by-step plan on how to build a hydroponic greenhouse, empowering you to create a thriving garden of your own. We will walk you through everything from selecting the right location to setting up your nutrient delivery system, making the process simple and accessible for beginners.
Why Build a Hydroponic Greenhouse?
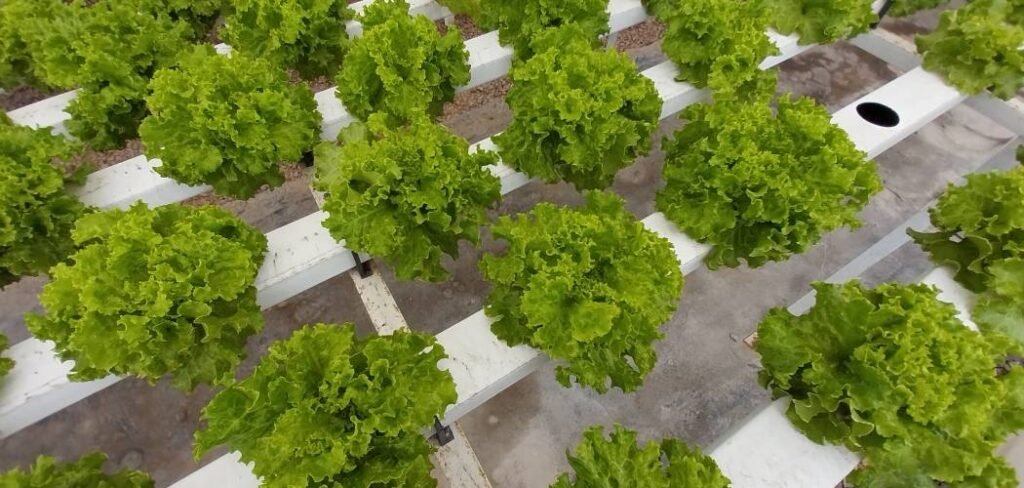
Combining a greenhouse with a hydroponic system creates a powerhouse of food production. A greenhouse protects your plants from harsh weather, pests, and diseases, extending your growing season to the entire year. It provides a stable, controlled environment where you can manage temperature, humidity, and light exposure with precision.
Hydroponics, the method of growing plants in a nutrient-rich water solution without soil, accelerates this process. Plants grown hydroponically often mature faster and produce higher yields because their roots have direct access to water, oxygen, and nutrients. This method also uses significantly less water—up to 90% less—than traditional soil gardening, making it a sustainable choice. By building a hydroponic greenhouse, you create the perfect ecosystem for efficient, year-round gardening, giving you complete control over your food source.
8 Steps Methods Guide on to Building a Hydroponic Greenhouse
Step 1: Choose the Perfect Location and Greenhouse Style
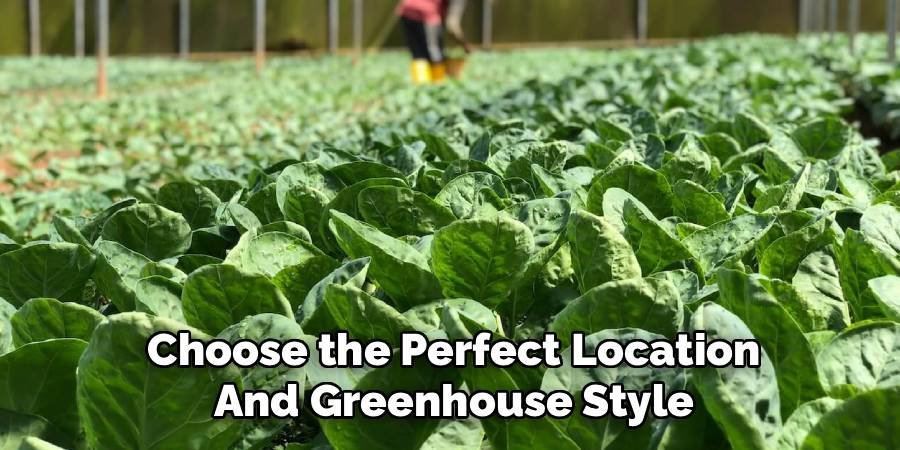
The first critical step is selecting the right spot for your structure. Your greenhouse needs a location that receives at least six to eight hours of direct sunlight per day, ideally with the longest side facing south to maximize light exposure. Ensure the ground is level and has good drainage to prevent water from pooling around the foundation. Also, consider proximity to water and electricity sources, as you will need both for your hydroponic system and any environmental controls like fans or heaters. When choosing a greenhouse style, consider options like A-frame, hoop house, or lean-to designs based on your budget, available space, and aesthetic preferences.
Step 2: Prepare the Foundation and Assemble the Frame
A solid foundation is essential for the stability and longevity of your greenhouse. Options range from a simple perimeter of treated lumber to a more permanent concrete slab. For most DIY projects, a gravel base enclosed by a wooden frame provides excellent drainage and a stable footing. Once your foundation is prepared, you can begin assembling the greenhouse frame according to the manufacturer’s instructions. This process typically involves connecting pipes, posts, and rafters to create the skeleton of your structure. Take your time and ensure all connections are secure, as this framework will support the covering and withstand the elements.
Step 3: Install the Covering and Ventilation
With the frame assembled, it’s time to add the covering, or “glazing.” Polycarbonate panels are a popular choice as they are durable, UV-resistant, and offer excellent light diffusion and insulation. Greenhouse-grade polyethylene film is a more budget-friendly option, especially for hoop houses. Carefully attach the material to the frame, ensuring it is taut and sealed to prevent heat loss. Proper ventilation is just as crucial. Install roof vents and side vents or an exhaust fan to regulate temperature, manage humidity, and provide fresh air for your plants, preventing issues like mold and mildew.
Step 4: Select Your Hydroponic System
Now you can focus on the heart of your project: the hydroponic system. There are several types to choose from, each with its own benefits. The Nutrient Film Technique (NFT) uses a continuous flow of nutrient solution over the plant roots in a shallow channel.
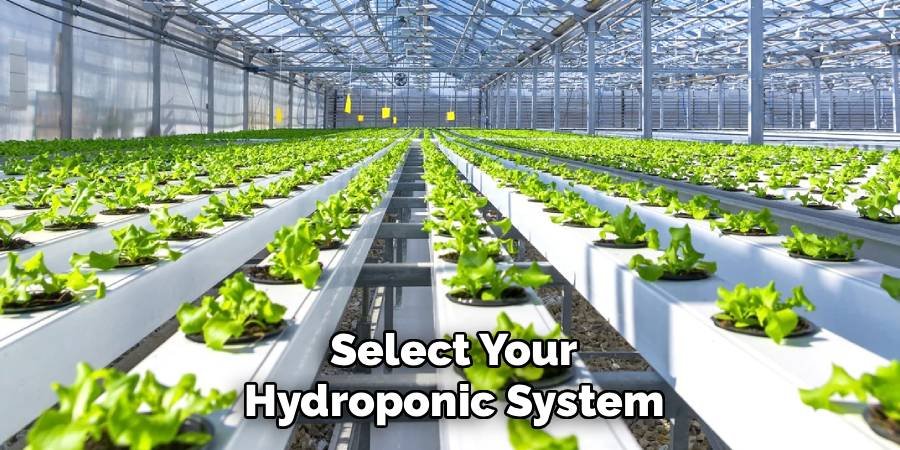
Deep Water Culture (DWC) involves suspending plant roots directly in an oxygenated nutrient solution. Drip systems deliver nutrients to each plant individually, and ebb and flow systems flood the grow bed before draining the solution back to a reservoir. For beginners, DWC and NFT systems are often recommended for their relative simplicity and effectiveness.
Step 5: How to Build a Hydroponic Greenhouse DWC System
Let’s focus on building a Deep Water Culture (DWC) system, a great starting point for beginners. You will need a light-proof reservoir (like a storage tote), net pots, a growing medium (like clay pebbles or Rockwool), an air pump, and an air stone. Cut holes in the lid of your reservoir sized to fit the net pots. Place the air stone at the bottom of the reservoir and connect it to the air pump outside with tubing. Fill the reservoir with your nutrient solution, leaving a small air gap at the top. Your plants will be placed in the net pots with their roots submerged in the oxygenated water.
Step 6: Set Up Your Water Reservoir and Nutrient Solution
Your reservoir is the lifeblood of your hydroponic setup. It holds the water and nutrients your plants need to thrive. Ensure it is made of a food-grade, opaque material to block light and prevent algae growth. The size of the reservoir depends on the number of plants you intend to grow; a larger volume provides more stability in nutrient concentration and pH. Mix your hydroponic nutrients into the water according to the package directions. It is essential to use a nutrient formula specifically designed for hydroponics, as it contains all the necessary macro- and micronutrients for plant growth.
Step 7: Install and Test Your System
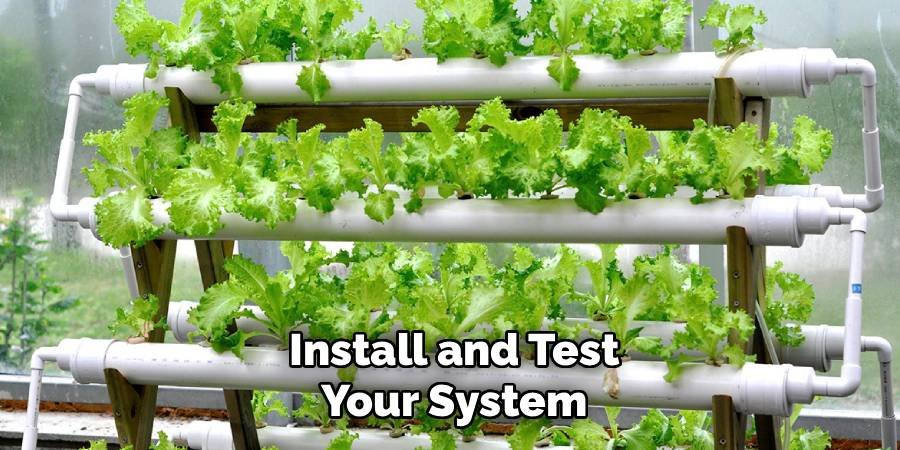
With all components in place, it’s time for the final assembly. Place your plants, started from seeds or clones, into the net pots with your chosen growing medium. Carefully set the net pots into the holes in your reservoir lid, ensuring the roots are submerged in the nutrient solution. Turn on the air pump to begin oxygenating the water. Double-check all connections for leaks. Before leaving the system to run, test the pH of your nutrient solution using a pH testing kit. The ideal range for most plants is between 5.5 and 6.5. Adjust as needed to create the perfect environment for nutrient uptake.
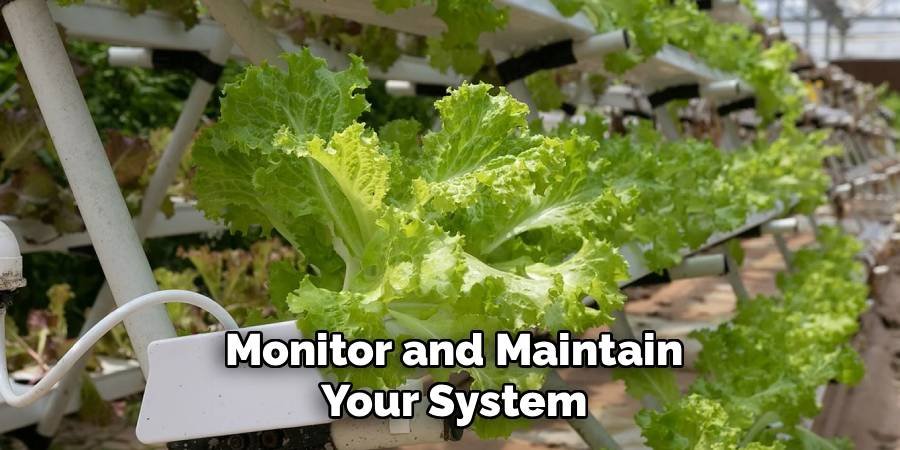
Step 8: Monitor and Maintain Your System
Congratulations on learning how to build a hydroponic greenhouse! The final step is ongoing monitoring. Check your plants daily for signs of stress or nutrient deficiencies. You will need to monitor the pH and Electrical Conductivity (EC) of your nutrient solution every few days. EC measures the total amount of nutrients in the water. As plants consume nutrients and water evaporates, these levels will change. Top off the reservoir with fresh water as needed and completely change out the nutrient solution every one to two weeks to ensure your plants are receiving a balanced diet for optimal growth.
Frequently Asked Questions (FAQ)
What Are the Best Plants to Grow in a Hydroponic Greenhouse?
Many plants thrive in a hydroponic greenhouse. For beginners, fast-growing leafy greens and herbs are excellent choices.
- Leafy Greens: Lettuce, spinach, kale, and Swiss chard grow quickly and are relatively low-maintenance.
- Herbs: Basil, mint, parsley, and cilantro do exceptionally well.
- Fruiting Plants: Tomatoes, peppers, cucumbers, and strawberries are also popular, though they require more attention to pollination and nutrient levels.
How Much Does It Cost to Build a Hydroponic Greenhouse?
The cost can vary widely based on size, materials, and complexity. A small DIY hoop house with a basic DWC system might cost a few hundred dollars. A larger, more permanent structure with polycarbonate panels, automated ventilation, and a more advanced hydroponic system could cost several thousand dollars. Careful planning and sourcing of materials can help manage expenses. Buying a kit can sometimes be more cost-effective than sourcing individual components.
How Do You Control Pests and Diseases?
A greenhouse offers a significant advantage in pest control. Start with sterile growing media and healthy plants to avoid introducing problems. Use screens on vents and keep the door closed. If pests appear, introduce beneficial insects like ladybugs or use organic insecticidal soaps. Good air circulation is your best defense against fungal diseases like powdery mildew. Maintaining a clean environment and removing any dead plant material promptly is also crucial for preventing outbreaks.
Do I Need Grow Lights in My Greenhouse?
Whether you need grow lights depends on your location and what you are growing. If you live in a region with short winter days or frequent cloud cover, supplemental lighting is essential for year-round production. LED grow lights are a popular choice because they are energy-efficient and produce full-spectrum light that mimics the sun. For fruiting plants that require a lot of energy, lights can help boost growth and yield even during sunny months by extending the “daylight” hours.
How Often Should I Change the Nutrient Solution?
It is recommended to completely change the nutrient solution in your reservoir every one to two weeks. Over time, plants absorb nutrients at different rates, which unbalances the solution. Additionally, salts can build up, potentially harming the plant roots. A regular flush and replacement ensure your plants always have access to a fresh, perfectly balanced nutrient mix. In between changes, you may need to top off the reservoir with pH-balanced water to account for evaporation and water uptake by the plants.
Conclusion
Creating your own garden oasis is an achievable and deeply satisfying project. By following these steps, you now have a comprehensive roadmap for how to build a hydroponic greenhouse. From selecting the perfect site and assembling the structure to installing and maintaining your soil-free system, you are equipped with the knowledge to grow fresh produce all year long. This combination of a controlled environment and efficient cultivation techniques opens up a world of gardening possibilities. Embrace the journey of building your system, and you will soon be reaping the delicious rewards of your labor. The effort you invest in learning how to build a hydroponic greenhouse will pay off with every harvest.
About Ravuk Barg
B.Sc. Horticulture Science | Certified Master Gardener
Ravuk Barg has spent more than a decade with his hands in the soil and his head full of questions about why some gardens thrive while others struggle. What started as a single raised bed of tomatoes and basil in a modest backyard has grown into a deep, working knowledge of everything from seed germination and soil amendment to companion planting and seasonal pruning.
Over the years, Ravuk has gardened through drought summers, waterlogged springs, and pest invasions that would make most gardeners hang up their trowels for good. Those hard seasons, he’ll tell you, taught him more than any perfect growing year ever could. He writes from that earned experience—covering vegetable growing, ornamental planting, houseplant care, composting, and garden design with equal confidence and curiosity.
Philosophy & Approach
Ravuk’s approach to gardening is rooted in practicality. He favors organic methods not out of dogma, but because they work long-term—resulting in healthier soil, fewer inputs, and stronger plants. He has a particular fondness for heirloom vegetable varieties (the kind with proper flavor), unruly cottage-style flower beds, and the stubborn houseplants that everyone else gave up on.
The Mission: Give readers the honest, experience-backed advice that helps them actually succeed in their gardens—not just the ideal version, but the real one; weeds, failures, and all.
Education & Credentials
-
B.Sc. in Horticulture Science
-
Greenfield Agricultural University
-
Focus: Plant Physiology, Soil Ecology, and Sustainable Crop Production
-
-
Master Gardener Certification
-
Cooperative Extension Service
-
Focus: 200+ hours of hands-on practical training and community garden work
-
Continuing Education
-
Organic Pest Management
-
Native Plant Landscaping
-
Sustainable Crop Production