

Springtime is the most exciting time for gardeners everywhere. After a long winter, it’s time to prepare your garden beds for new plants and flowers. Knowing how to prep garden beds for spring will help you grow healthy plants all season. Many gardeners make mistakes when creating their garden beds, but you can create the perfect space for your plants to grow with the proper steps.

Preparing your garden beds for spring planting takes effort, but it’s worth it. Good soil preparation means stronger plants, more flowers, and better vegetables. Properly preparing garden beds for spring will save you time and money after the growing season.
Why Spring Garden Bed Preparation Matters
Spring gardening prep is like getting ready for school. You need the right supplies and a clean workspace to do your best work. Your plants need good soil, proper drainage, and a weed-free space to grow strong and healthy. When you skip preparing your garden beds in the spring, your plants can suffer throughout the season. Poor soil leads to weak plants that grow and become sick more easily. Weeds steal water and nutrients from your good plants.
Old plant material can carry diseases that harm the growth of new plants. Savvy gardeners know that spending time preparing garden beds in the spring saves work later. Well-prepared beds require less watering, so you will have fewer insect problems and better results. Starting with a properly prepared bed will make your garden look amazing.
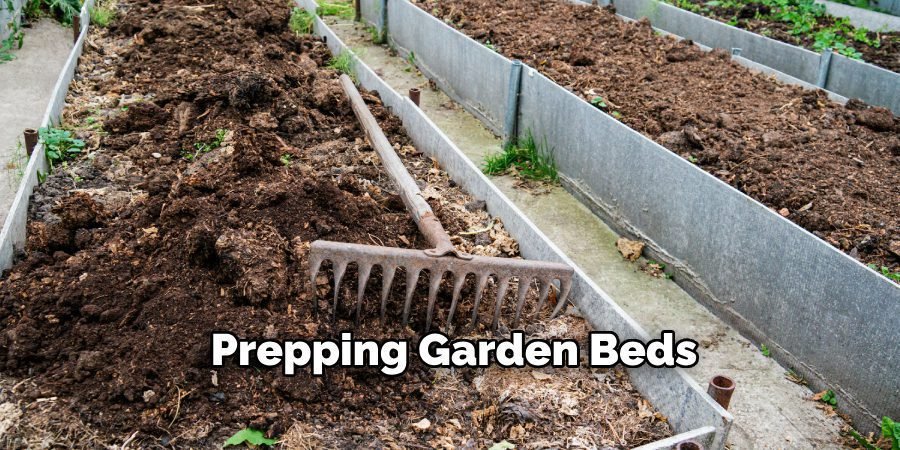
6 Step-by-Step Guide on How to Prep Garden Beds for Spring
Step 1: Clean Up Winter Debris
Start preparing your spring garden beds by removing last year’s dead plants. Pick up fallen leaves, broken branches, and leftover vegetables or flowers. This cleanliness prevents diseases and pests from hiding in your garden beds. Look for any trash or garden tools that may be buried under old leaves.

Remove plastic tree markers, broken poles, and old mulch that looks moldy or smells bad. A clean garden bed is the first step to healthy spring planting. Don’t put diseased plant material in your compost pile. Throw it away. Healthy plant remains can be used as fertilizer, but anything that looked sick last year should be thrown in the trash to protect your new plants.
Step 2: Test and Improve Your Soil
The secret to a successful spring garden is good soil. Most plants prefer soil that drains well but retains some moisture. The soil should feel like a piece of chocolate cake when you squeeze it in your hand. Pick up a simple soil test kit from your garden center to check if your soil is too acidic or too basic. Most vegetables and flowers grow best when the soil pH is between 6.0 and 7.0. If your soil test shows a number outside this range, you may need to add lime or sulfur.
Add compost or aged manure to improve soil structure. These organic materials help clay soil drain better and help sandy soil retain more water. Mix 2-3 inches of fertilizer over your garden bed into the top 6 inches of soil with a garden fork or spade.
Step 3: Remove Weeds Completely
Weeds are like garden thugs – they steal food and water from good plants. Spring is the best time to remove weeds because they are still small and easy to pull up. Remove the beads by hand with the girls’ roots. Remove weeds when the soil is slightly moist but not soggy.
Dry soil makes it difficult to collect whole roots, and soggy soil can damage the structure of your garden bed. Early morning, after dew or the day after light rain, is ideal for weeding. Do not leave pulled weeds in the ground; some can regrow from their stems. Throw the weeds in a bucket or add them to a hot compost pile. Weed seeds can survive in regular compost and cause problems later.
Step 4: Add Organic Matter and Fertilizer
Just as humans need healthy food, plants need food to grow strong. Organic matter, such as manure, provides food for soil microorganisms that help plants obtain nutrients. These soil organisms break down organic matter and turn it into plant food. Mix in 1-2 inches of well-rotted compost or well-rotted manure. Fresh manure can burn plant roots, so make sure any manure you use is at least 6 months old. The manure should have an earthy smell and be a dark brown color.
Consider adding a balanced organic fertilizer to provide extra nutrients to the plant for spring growth. Look for a fertilizer that contains equal amounts of nitrogen, Phosphorus, and potassium (such as 10-10-10). Follow the package directions for how much to use in your garden bed.
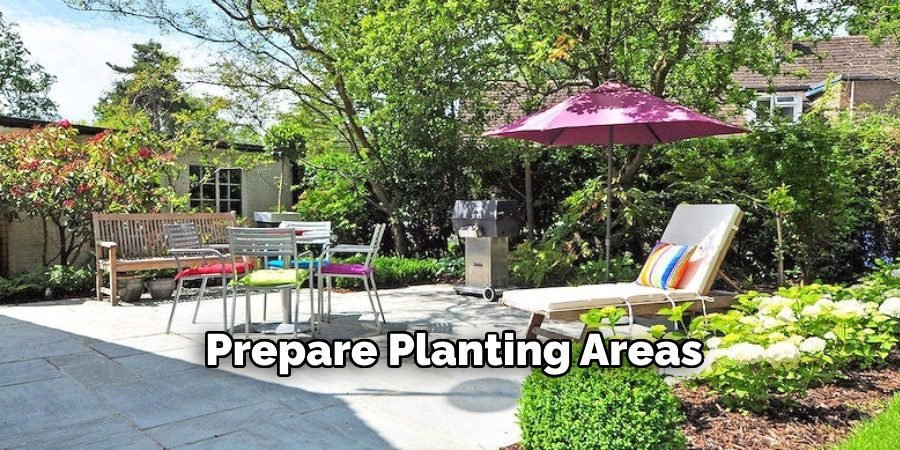
Step 5: Prepare Planting Areas
Plan where you will place different plants in your garden bed. Taller plants should be placed at the back so that they do not shade smaller plants. Group plants with similar water and sun needs together to make care easier. Use a rake to smooth the soil’s surface and break up large clumps. The soil should be flat with small holes and valleys.
Avoid walking on the prepared soil, as your weight can compress the soil and make it difficult for roots to grow. Mark planting locations with stakes or draw lines in the ground with a stick. This plan helps you place plants accurately and makes planting day faster. Good spacing prevents the crowding of plants and helps air circulate around the plants.
Step 6: Apply Fresh Mulch
Mulch is like a blanket for the soil in your garden bed. It prevents weed growth, retains moisture in the soil, and makes your garden look nice and tidy. Good mulching materials include shredded bark, straw, or shredded leaves. Apply 2-3 inches of mulch around the tree, but keep it away from the trunk. Mulch touching the trunk can cause rotting problems. Leave a small circle of bare soil around each tree trunk. Do not mulch where you plan to plant small seeds. The seeds need to touch the soil to grow properly. Wait until the seedlings are 3-4 inches tall and mulch around them.
Common Mistakes to Avoid When Prepping Garden Beds
Many gardeners work too hard and don’t get good results because they make simple mistakes. One of the biggest mistakes is working in wet soil. When the soil is too wet, hard clumps hinder plant growth. Wait until the soil breaks up in your hands without forming a muddy ball.
Another mistake is adding too much fertilizer. More fertilizer doesn’t always mean better plants. Too much nitrogen can cause plants to grow many leaves but few flowers or fruit.
Follow fertilizer instructions carefully and remember that organic matter often provides sufficient nutrients. Don’t forget about the right time to prepare spring garden beds. Starting work too early when the soil is frozen or too wet can damage the soil structure. Wait until you can dig the soil easily, and the weather is consistently above freezing.
Tools You Need for Spring Garden Bed Prep
Spring gardening is much easier with the right tools. A good spade or garden fork will help you dig and turn the soil without hurting your back. Choose tools that are appropriate for your height and strength. A rake smooths the soil and quickly removes debris. A hoe is used to cut weeds at the soil level and helps mix the weeds in.
Tools like trowels and weed gauges work well for detailed work around existing plants. Keep your tools clean and sharp for best results. Dirty tools can spread plant diseases within the garden bed. Sharp tools cut through soil and weeds more easily, making your work faster and less tiring.
Timing Your Spring Garden Bed Preparation
The best time to prepare garden beds for spring depends on your local weather and soil conditions. Late March to early May is ideal for creating garden beds in most areas. The soil should be dry enough to work but not frozen. Watch for signs that the soil is ready to be worked. Please pick up a handful of soil and squeeze it.
If it forms a muddy ball, wait a few more days. If it breaks apart, it is ready for spring preparation work. Check your local frost dates to determine when to plant. Many areas have a “last average frost date” that helps gardeners know when it’s safe to plant tender vegetables and flowers. Prepare the beds 2-3 weeks before your planned planting date.
Special Considerations for Different Garden Types
Vegetable gardens need soil rich in organic matter because vegetables produce a lot of food. Add extra fertilizer and consider growing cover crops to improve soil health in unused areas.
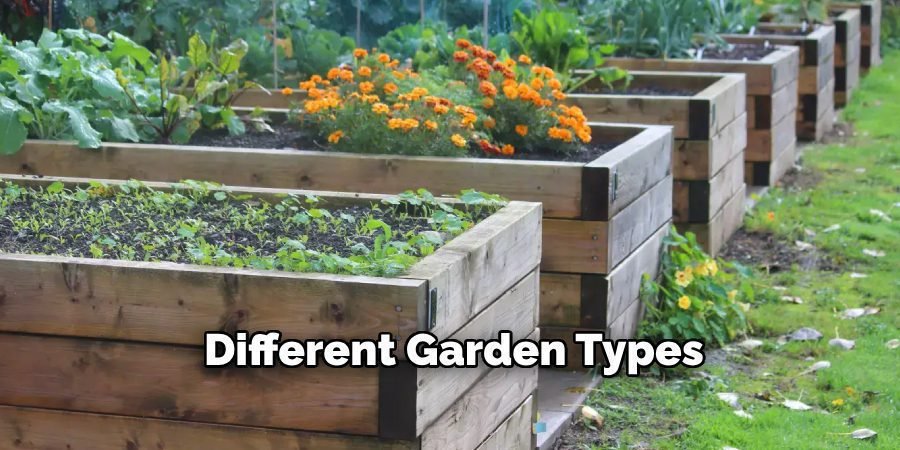
Depending on whether you are planting annuals or perennials, flower bed preparation may be necessary. Annual flower beds can be completely rebuilt each spring; when working around existing plants in perennial beds, it is necessary to be careful. Container gardens require new potting soil yearly because regular watering washes away nutrients. Do not reuse old potting soil in containers, but you can add it to regular garden beds as organic matter.
Conclusion
Learning how to prepare garden beds for spring will set you up for gardening success all season long. The time you spend clearing debris, improving the soil, removing weeds, and adding organic matter will help you reap healthy plants and good crops. Preparing good soil is like building a strong foundation for a house – everything else depends on completing this step correctly. Start preparing your spring garden beds when the soil conditions are good, but don’t rush if the weather isn’t cooperating.
Use high-quality organic materials, and avoid common mistakes like tilling. Use moist soil, and take the time to plan your planting arrangement. With a properly prepared garden bed, you will enjoy a more productive and beautiful garden that requires less effort. Growing Season. When you give them the best possible start in well-prepared soil, your plants will thank you with stronger growth, more flowers, and better vegetables.
About Ravuk Barg
B.Sc. Horticulture Science | Certified Master Gardener
Ravuk Barg has spent more than a decade with his hands in the soil and his head full of questions about why some gardens thrive while others struggle. What started as a single raised bed of tomatoes and basil in a modest backyard has grown into a deep, working knowledge of everything from seed germination and soil amendment to companion planting and seasonal pruning.
Over the years, Ravuk has gardened through drought summers, waterlogged springs, and pest invasions that would make most gardeners hang up their trowels for good. Those hard seasons, he’ll tell you, taught him more than any perfect growing year ever could. He writes from that earned experience—covering vegetable growing, ornamental planting, houseplant care, composting, and garden design with equal confidence and curiosity.
Philosophy & Approach
Ravuk’s approach to gardening is rooted in practicality. He favors organic methods not out of dogma, but because they work long-term—resulting in healthier soil, fewer inputs, and stronger plants. He has a particular fondness for heirloom vegetable varieties (the kind with proper flavor), unruly cottage-style flower beds, and the stubborn houseplants that everyone else gave up on.
The Mission: Give readers the honest, experience-backed advice that helps them actually succeed in their gardens—not just the ideal version, but the real one; weeds, failures, and all.
Education & Credentials
-
B.Sc. in Horticulture Science
-
Greenfield Agricultural University
-
Focus: Plant Physiology, Soil Ecology, and Sustainable Crop Production
-
-
Master Gardener Certification
-
Cooperative Extension Service
-
Focus: 200+ hours of hands-on practical training and community garden work
-
Continuing Education
-
Organic Pest Management
-
Native Plant Landscaping
-
Sustainable Crop Production