

A lush, green lawn is the pride of many homeowners, but unsightly dead weeds can ruin the view. These brown, brittle patches not only look bad but can also prevent new, healthy grass from growing. They can harbor pests and diseases, and if left unchecked, their seeds can spread and cause future weed problems.
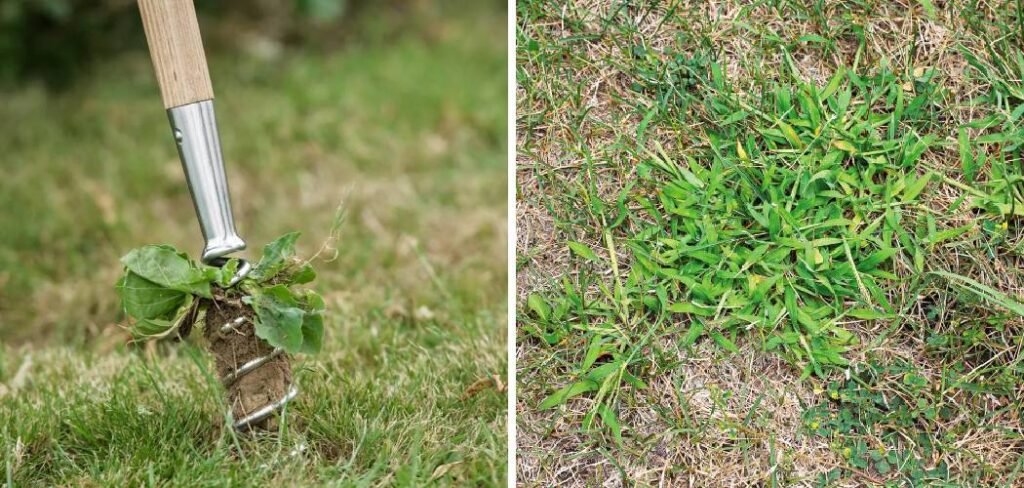
Learning how to remove dead weeds from lawn is a fundamental skill for any aspiring gardener. This process is more than just pulling them out; it involves the right timing, tools, and techniques to ensure they don’t come back. This guide will walk you through everything you need to know to reclaim your lawn and create a beautiful, healthy outdoor space.
Why Removing Dead Weeds Matters for a Healthy Lawn
It might seem like a dead weed is a problem solved, but that couldn’t be further from the truth. Leaving dead weeds in your yard creates a cascade of issues for your lawn’s health and appearance. First, the dead plant matter, also known as thatch, forms a thick layer on the soil surface. This layer acts like a barrier, blocking sunlight, water, and essential nutrients from reaching the roots of your healthy grass. This can weaken your lawn, making it more susceptible to disease and drought stress.
8 Step-by-Step Guide on How to Remove Dead Weeds From Lawn
Step 1: Wait for the Right Conditions
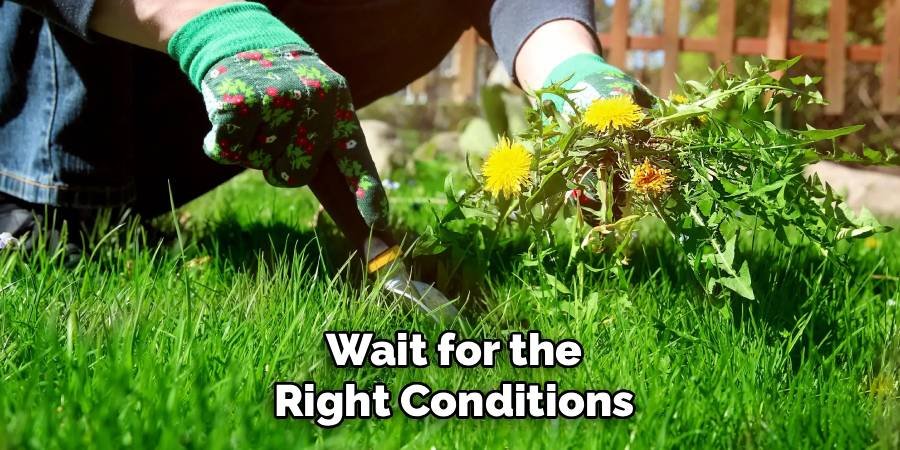
Timing is everything when it comes to effective weed removal. Attempting to pull weeds from dry, compacted soil is a recipe for frustration. The roots will likely break off, leaving the most important part of the plant behind to regrow later. Instead, wait for a day or two after a good rainfall, or water the area thoroughly yourself the day before you plan to work. Moist soil is much softer and more pliable, which allows the entire root system to slide out with significantly less effort. This simple act of patience will make your job easier and far more effective in the long run.
Step 2: Gather the Right Tools
Having the proper equipment on hand will turn a difficult chore into a manageable task. For a few scattered weeds, a simple hand weeder or a garden trowel will work perfectly. These tools allow you to get close to the base of the plant and pry it out. For larger, more widespread weed problems, a long-handled tool like a stand-up weeder or a garden hoe is invaluable. These tools save your back and knees from strain and allow you to cover more ground quickly. You should also have a sturdy pair of gardening gloves to protect your hands from scratches and a wheelbarrow or garden bag for easy disposal.
Step 3: Loosen the Soil Around the Weeds
Before you start pulling, take a moment to loosen the soil around the base of each dead weed. You can use a hand trowel, a garden fork, or the tip of your weeding tool to gently pry up the dirt. This action breaks up any compacted soil and further reduces the resistance around the weed’s root system. By creating a clear path for the roots to exit, you dramatically increase your chances of removing the entire plant in one go. This step is particularly important for weeds with deep taproots, such as dandelions or thistles, which are notorious for snapping off below the surface.
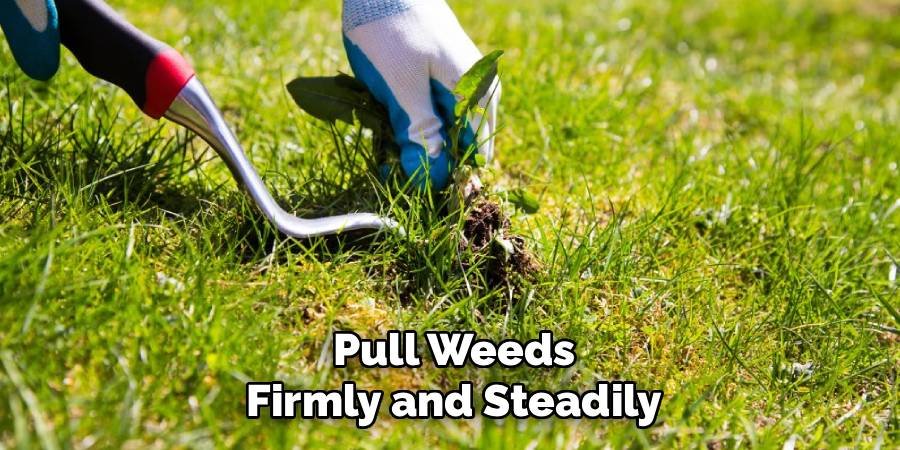
Step 4: Pull Weeds Firmly and Steadily
Now it’s time for the main event. Grasp the dead weed as close to its base as possible to get a firm grip on the main stem and the top of the root. Pull upward with a steady, consistent force. Avoid jerking or yanking, as this can cause the root to break. Instead, apply slow and even pressure, wiggling the weed slightly from side to side if you feel resistance. This gentle motion helps to dislodge the root from the surrounding soil. The goal is to feel the entire root system release from the ground. A successful pull will leave a small hole where the complete weed once was.
Step 5: How to Remove Dead Weeds from Lawn with Deeper Roots
Some weeds are more stubborn than others. If you encounter a plant with a deep, persistent taproot that won’t budge, you’ll need a more targeted approach. For these tough cases, a specialized tool like a dandelion weeder or a fishtail weeder is your best friend. These tools are designed with a long, forked metal tip that can slide down alongside the taproot. Once it’s deep in the soil, use the handle as a lever to pry the entire root up and out. This method provides the leverage needed to extract even the most entrenched weeds without leaving pieces behind.
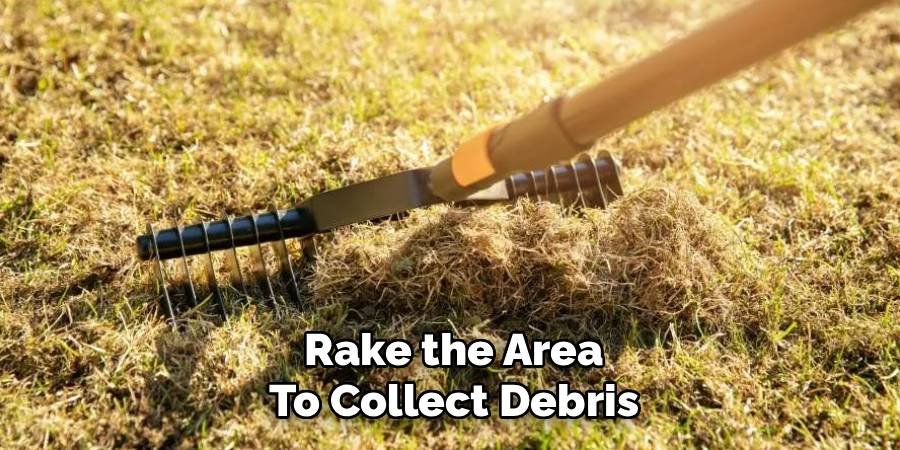
Step 6: Rake the Area to Collect Debris
After you have pulled all the visible dead weeds, the next step is to clean up the area. Use a sturdy leaf rake or a thatch rake to go over the entire lawn. This will gather not only the weeds you’ve just pulled but also any other loose debris, dead grass, and thatch that might be smothering your turf. Raking improves air circulation and ensures that sunlight and water can reach the soil. A thorough raking prepares the lawn for the next steps of recovery and gives you a clean slate to work with, revealing any bare patches that need attention.
Step 7: Dispose of Weeds Properly
Do not make the mistake of leaving a pile of dead weeds on your lawn or tossing them into your compost bin. Many dead weeds still have viable seeds attached, and composting them can create a perfect incubator for a future weed problem. Instead, the best method of disposal is to place all the weeds and collected debris into a yard waste bag. Check with your local municipality for their guidelines on yard waste collection. By properly bagging and disposing of the weeds, you ensure that their seeds are removed from your property for good, preventing them from spreading.
Step 8: Fill in Bare Patches
Pulling weeds will inevitably leave behind some bare spots in your lawn. It is crucial to fill these in quickly before new weeds have a chance to take hold. For small holes, you can gently rake some topsoil over the area and allow the surrounding grass to grow in. For larger bare patches, you will want to reseed. First, loosen the top inch of soil with a rake. Then, sprinkle a high-quality grass seed that matches your existing lawn type, and cover it with a thin layer of topsoil or compost. This will protect the seeds and help them establish.
Water and Fertilize the Lawn
The final step is to support your lawn’s recovery. Water the newly seeded areas gently but thoroughly, and continue to keep the soil consistently moist for the next few weeks until the new grass is well-established. This is also an excellent time to apply a balanced, slow-release lawn fertilizer over your entire yard. The nutrients will help your existing grass become stronger and more vigorous, enabling it to fill in any remaining gaps. A dense, healthy lawn is the best natural defense against future weed invasions, as it leaves no room for them to grow.
Frequently Asked Questions (FAQ)
When Is the Best Time of Year to Remove Dead Weeds?
The best times to remove dead weeds are in the early spring and early fall. During these seasons, the soil is typically moist from rain, and temperatures are moderate. This makes pulling weeds easier and less stressful on your lawn. Removing them in the spring prevents them from setting seed, while a fall cleanup prepares your lawn for a healthy start the following year. Avoid large-scale weed removal during the peak heat of summer, as this can stress your grass.
Can I Just Spray Dead Weeds Instead of Pulling Them?
While herbicides can kill weeds, they don’t remove the dead plant matter. The dead weed will still remain, creating thatch that can block water and sunlight from reaching your grass. Furthermore, the root system will be left in the ground. For the health and appearance of your lawn, it is always better to physically remove the entire weed, including the roots. This also eliminates the risk of herbicide drift damaging your healthy grass and ornamental plants.
What Is the Easiest Way to Remove a Lot of Weeds at Once?
For large areas infested with weeds, manual pulling can be overwhelming. In this case, you can use a combination of tools to be more efficient.
- Start by using a garden hoe or a scuffle hoe to slice the weeds off at the surface.
- Next, go over the area with a dethatching rake to pull up the dead plants and their shallow roots.
- For heavily infested areas, consider renting a power rake or a sod cutter to clear the area completely before reseeding.
Should I Put Anything on the Soil After Removing Weeds?
Yes, filling in the bare spots is crucial. After removing a weed, you have created a perfect opening for a new weed to grow. Immediately fill the hole with a mixture of topsoil and grass seed. For larger areas, spread a layer of compost before seeding to add nutrients back into the soil. Covering the new seeds with a light layer of straw can also help retain moisture and protect them from birds while they germinate.
How Can I Prevent Weeds from Coming Back?
Prevention is the best long-term strategy. The key is to maintain a thick, healthy lawn that naturally crowds out weeds.
- Mow High: Set your mower to a higher setting (around 3 inches). Taller grass shades the soil, preventing weed seeds from sprouting.
- Water Deeply: Water your lawn deeply but infrequently to encourage deep root growth.
- Fertilize Regularly: Feed your lawn 2-4 times a year with a quality fertilizer to keep it strong.
- Use Pre-Emergent: Apply a pre-emergent herbicide in the spring to stop weed seeds from germinating in the first place.
Conclusion
Restoring your yard to a pristine, green carpet is an achievable goal. By following these steps, you now have a clear roadmap for tackling this common landscaping challenge. The process involves more than just pulling; it’s about smart timing, using the right tools, and taking steps to ensure your lawn recovers fully. A healthy, dense lawn is your greatest ally in the fight against weeds. Now that you understand how to remove dead weeds from lawn, you can work confidently to create an outdoor space that is not only beautiful but also healthy and resilient for years to come.
About Ravuk Barg
B.Sc. Horticulture Science | Certified Master Gardener
Ravuk Barg has spent more than a decade with his hands in the soil and his head full of questions about why some gardens thrive while others struggle. What started as a single raised bed of tomatoes and basil in a modest backyard has grown into a deep, working knowledge of everything from seed germination and soil amendment to companion planting and seasonal pruning.
Over the years, Ravuk has gardened through drought summers, waterlogged springs, and pest invasions that would make most gardeners hang up their trowels for good. Those hard seasons, he’ll tell you, taught him more than any perfect growing year ever could. He writes from that earned experience—covering vegetable growing, ornamental planting, houseplant care, composting, and garden design with equal confidence and curiosity.
Philosophy & Approach
Ravuk’s approach to gardening is rooted in practicality. He favors organic methods not out of dogma, but because they work long-term—resulting in healthier soil, fewer inputs, and stronger plants. He has a particular fondness for heirloom vegetable varieties (the kind with proper flavor), unruly cottage-style flower beds, and the stubborn houseplants that everyone else gave up on.
The Mission: Give readers the honest, experience-backed advice that helps them actually succeed in their gardens—not just the ideal version, but the real one; weeds, failures, and all.
Education & Credentials
-
B.Sc. in Horticulture Science
-
Greenfield Agricultural University
-
Focus: Plant Physiology, Soil Ecology, and Sustainable Crop Production
-
-
Master Gardener Certification
-
Cooperative Extension Service
-
Focus: 200+ hours of hands-on practical training and community garden work
-
Continuing Education
-
Organic Pest Management
-
Native Plant Landscaping
-
Sustainable Crop Production