

Protecting your homegrown vegetables is one of the most rewarding parts of gardening. After putting in the effort to plant and nurture your crops, you want to ensure they thrive until harvest. A simple yet effective technique is learning how to cover vegetable garden beds. This process helps shield your plants from harsh weather, pests, and other common challenges.
Whether you’re dealing with unexpected frost, intense summer sun, or hungry critters, a good cover can make all the difference. This guide will walk you through everything you need to know, from choosing materials to setting up your protection system.
Why Covering Your Vegetable Garden is Essential
Covering your vegetable garden offers a wide range of benefits that contribute to a healthier, more productive harvest. One of the primary reasons is protection from unpredictable weather. A sudden late spring frost can decimate tender seedlings, while the intense heat of midsummer can scorch leaves and stunt growth. A well-placed cover acts as a buffer, regulating temperature and shielding plants from extreme conditions.
Pest control is another major advantage. Many insects and animals see your garden as an open buffet. Row covers create a physical barrier that prevents pests like cabbage moths, squash bugs, and aphids from reaching your plants. This reduces the need for chemical pesticides, allowing for a more organic approach to gardening. Similarly, covers can deter larger animals like rabbits, deer, and birds that might otherwise feast on your crops.
8 Step-by-Step Guide: How to Cover Vegetable Garden
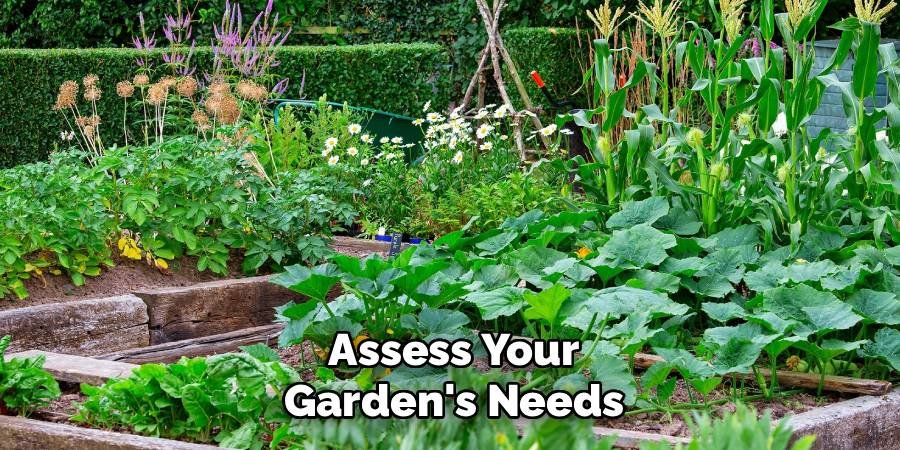
Step 1: Assess Your Garden’s Needs
Before you begin, take a close look at your garden and identify your primary goals. Are you trying to protect your plants from a specific pest, or is your main concern a late frost? Perhaps you need to shield delicate greens from the scorching afternoon sun. Your reason for covering the garden will determine the type of material and support structure you need. For example, a lightweight insect netting is perfect for pest control in the summer, while a thicker garden fleece or plastic sheeting is necessary for frost protection. Understanding your specific challenges is the first step toward a successful solution.
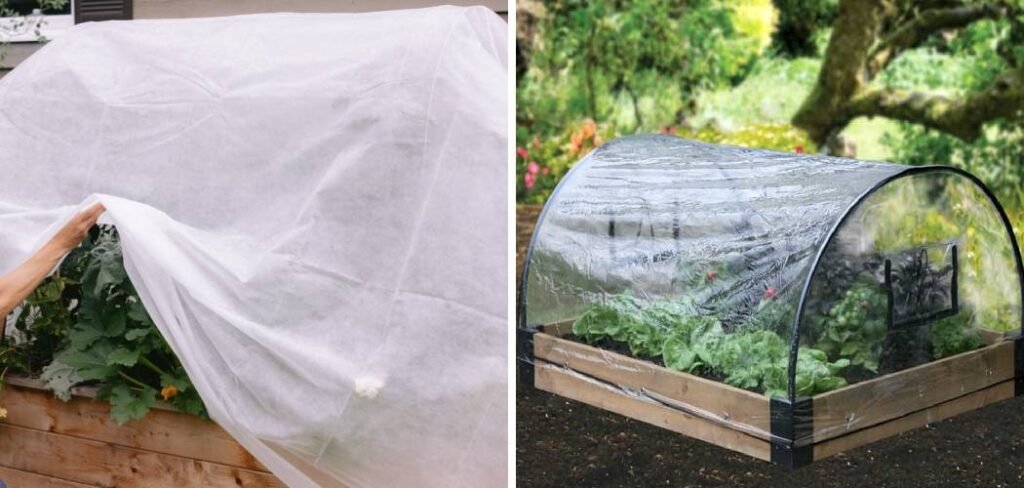
Step 2: Choose the Right Cover Material
Once you know why you need a cover, you can select the appropriate material. For frost protection, look for frost blankets or heavyweight garden fabrics that trap heat. For pest control, a fine mesh insect barrier is ideal. To shield plants from intense sun, you can use shade cloth, which comes in various densities to block a certain percentage of sunlight. If you want to create a mini-greenhouse effect to extend your growing season, clear plastic sheeting works well. Always choose a material that allows for adequate air circulation and light penetration for your specific plants.
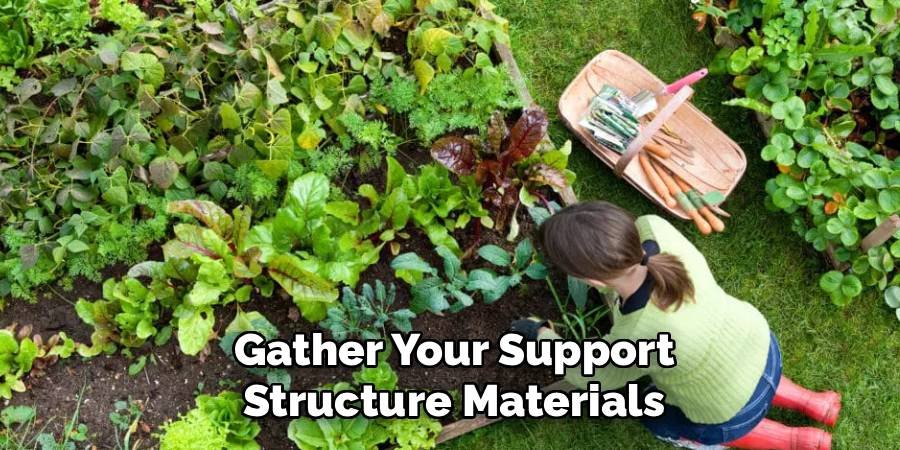
Step 3: Gather Your Support Structure Materials
Your cover will need a frame or support structure to keep it elevated above your plants. The material should not lie directly on the foliage, as this can damage the leaves and trap too much moisture. Common materials for building supports include PVC pipes, flexible fiberglass rods, bamboo canes, or even wire hoops. PVC pipes are a popular choice because they are affordable, easy to bend into arches, and durable. You will also need connectors or rebar stakes to secure the hoops in the ground. Measure your garden bed to determine the length and number of supports you’ll require.
Step 4: Measure and Prepare Your Garden Bed
With your materials ready, it’s time to prepare the garden bed. Measure the length and width of the area you intend to cover. This will help you cut your cover material to the correct size, ensuring you have enough fabric to drape over the supports and secure it at the edges. It’s always a good idea to add a little extra length and width to your measurements to be safe. Clear the area around the bed of any weeds or debris to create a clean workspace and prevent anything from getting trapped under the cover.
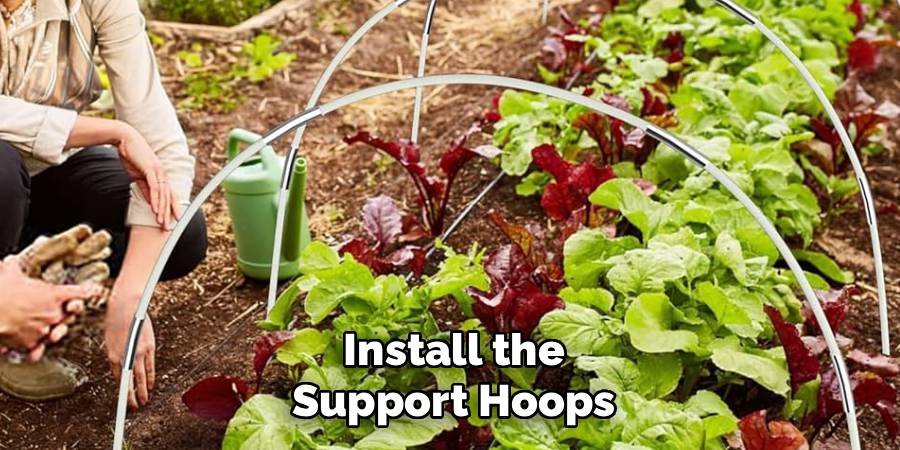
Step 5: Install the Support Hoops
Now, install the support structure. If you are using PVC pipes or fiberglass rods to create hoops, insert one end into the ground on one side of the garden bed. Gently bend the pipe or rod over the bed to form an arch and insert the other end into the soil on the opposite side. For a more secure setup, you can drive short pieces of rebar into the ground and slide the ends of your PVC pipes over them. Space your hoops every 3 to 5 feet along the length of the garden bed to provide adequate support for the cover.
Step 6: How to Cover a Vegetable Garden Bed with Fabric
Drape your chosen cover material carefully over the support hoops. Start at one end of the garden bed and slowly unroll the fabric, making sure it extends evenly over the entire structure. Be gentle to avoid snagging the material on the supports or damaging any plants underneath. Ensure the fabric reaches the ground on all sides with some extra material to spare. This extra fabric will be used to anchor the cover, preventing it from blowing away in the wind and sealing out pests. Adjust the fabric as needed to remove any large sags.
Step 7: Secure the Edges of the Cover
Securing the cover is crucial for it to be effective. The best way to do this is by weighing down the edges of the fabric. You can use rocks, bricks, soil, or bags filled with sand. Place these weights along the entire perimeter of the cover, ensuring there are no gaps where pests could enter or wind could lift the fabric. For a more permanent solution, you can use garden staples or landscape pins to fasten the fabric directly to the ground. A securely anchored cover will provide consistent protection against the elements and unwanted garden visitors.
Step 8: Monitor Your Plants and Adjust as Needed
Even with a cover in place, it’s important to check on your plants regularly. Lift a corner of the cover every few days to inspect for any signs of pests or disease. Check the soil moisture and water as needed. Some plants, like tomatoes and squash, require pollination to produce fruit. During their flowering period, you will need to remove the cover for a few hours each day to allow pollinators access. Learning how to cover a vegetable garden effectively also involves knowing when to remove or adjust the protection based on weather and your plants’ life cycle.
Common Mistakes to Avoid
When covering your vegetable garden, it’s essential to avoid some common pitfalls that could harm your plants or reduce their productivity. One mistake is using materials that retain too much heat, which can scorch your plants during sunny days. Another issue is leaving covers on for too long, especially during the flowering phase, as this can prevent pollination and lead to a poor harvest.
Additionally, neglecting to secure the covers properly can result in them being blown away by wind, leaving your garden exposed to pests or harsh weather. Overlooking regular checks for pests or diseases under the cover is another frequent oversight, as these problems can quickly spread in enclosed environments. By staying mindful of these errors, you can ensure your garden thrives under its protective covering.
Frequently Asked Questions
What Is the Best Material to Cover a Vegetable Garden?
The best material depends on your goal. For frost protection, use a frost blanket or heavyweight fabric (1.5-2.0 oz per square yard). For pest control, lightweight insect netting is ideal. To reduce sun intensity, use a shade cloth rated for 30-50% light reduction. For extending the season and creating a greenhouse effect, clear plastic sheeting is effective. Always choose a material that fits your specific climate and gardening needs.
Can I Leave My Vegetable Garden Covered All the Time?
It depends on the type of cover and the plants. Lightweight row covers for pest control can often be left on for the entire growing season. However, if your plants require pollination (like squash, cucumbers, or tomatoes), you must remove the cover when they start to flower. For covers used for frost or heat protection, it’s best to remove them when the threat has passed to ensure plants receive adequate sunlight and air circulation.
How Do I Water Plants Under a Garden Cover?
Most lightweight garden fabrics are permeable, allowing water to pass through. You can simply water directly over the top of the cover. For impermeable materials like plastic sheeting, you will need to lift the cover to water your plants. Another excellent option is to install a soaker hose or drip irrigation system underneath the cover before you secure it. This method delivers water directly to the soil, conserving moisture and keeping the foliage dry.
Will a Cover Prevent Pollinators from Reaching My Plants?
Yes, a physical barrier like a row cover will block pollinators such as bees and butterflies from reaching your plants. This is not an issue for self-pollinating plants (like peas or beans) or crops where you eat the leaves or roots (like lettuce or carrots). For plants that require cross-pollination to produce fruit (e.g., zucchini, melons, pumpkins), you must remove the cover during the day once they begin to flower.
How High Should My Garden Cover Hoops Be?
The height of your hoops should accommodate the mature height of your plants. You want the cover to be high enough so that it doesn’t touch the foliage, which can cause damage or trap moisture. For low-growing crops like lettuce or radishes, hoops that are 12-18 inches tall will suffice. For taller plants like kale or bell peppers, you will need taller hoops, around 24-36 inches high. Always check the expected mature height of your plants before installing your supports.
Conclusion
Protecting your vegetable garden is a straightforward and highly effective way to ensure your hard work pays off. By assessing your garden’s needs, choosing the right materials, and building a simple support structure, you can shield your plants from weather, pests, and other common threats. This not only leads to a healthier and more abundant harvest but also reduces your reliance on chemical treatments. Now that you have a clear understanding of how to cover vegetable garden plots, you have the knowledge to create a thriving and protected space for your plants to flourish.
About Ravuk Barg
B.Sc. Horticulture Science | Certified Master Gardener
Ravuk Barg has spent more than a decade with his hands in the soil and his head full of questions about why some gardens thrive while others struggle. What started as a single raised bed of tomatoes and basil in a modest backyard has grown into a deep, working knowledge of everything from seed germination and soil amendment to companion planting and seasonal pruning.
Over the years, Ravuk has gardened through drought summers, waterlogged springs, and pest invasions that would make most gardeners hang up their trowels for good. Those hard seasons, he’ll tell you, taught him more than any perfect growing year ever could. He writes from that earned experience—covering vegetable growing, ornamental planting, houseplant care, composting, and garden design with equal confidence and curiosity.
Philosophy & Approach
Ravuk’s approach to gardening is rooted in practicality. He favors organic methods not out of dogma, but because they work long-term—resulting in healthier soil, fewer inputs, and stronger plants. He has a particular fondness for heirloom vegetable varieties (the kind with proper flavor), unruly cottage-style flower beds, and the stubborn houseplants that everyone else gave up on.
The Mission: Give readers the honest, experience-backed advice that helps them actually succeed in their gardens—not just the ideal version, but the real one; weeds, failures, and all.
Education & Credentials
-
B.Sc. in Horticulture Science
-
Greenfield Agricultural University
-
Focus: Plant Physiology, Soil Ecology, and Sustainable Crop Production
-
-
Master Gardener Certification
-
Cooperative Extension Service
-
Focus: 200+ hours of hands-on practical training and community garden work
-
Continuing Education
-
Organic Pest Management
-
Native Plant Landscaping
-
Sustainable Crop Production