

Working with clay soil can feel like a battle. It’s heavy, dense, and can be tough to break through, whether it’s baked solid in the summer or a sticky mess in the winter. Many gardeners feel discouraged by its challenging texture, but clay soil isn’t a gardening death sentence.
In fact, it’s rich in nutrients that can help your plants thrive once you learn how to manage it properly. The key is understanding its unique properties and using the right techniques to improve its structure. This guide will provide you with a clear, step-by-step process for how to dig clay soil, turning your dense, compacted ground into a fertile and workable garden bed. With a little patience and the right approach, you can unlock the full potential of your yard.
Why Understanding Clay Soil Matters
Before you grab a shovel, it’s helpful to understand what makes clay soil so unique. Clay is made of tiny, flat particles that pack together tightly, leaving little room for air, water, or plant roots to move. This density is why it holds water so well—sometimes too well, leading to waterlogged conditions.
In dry weather, it can harden into a concrete-like surface that’s nearly impossible to penetrate. However, this same density means clay is excellent at holding onto essential plant nutrients. Unlike sandy soil, where nutrients wash away quickly, clay keeps them locked in for plants to use over time. By learning to work with its structure instead of against it, you can transform it from a difficult obstacle into a major asset for your garden, creating a rich foundation for healthy, vibrant plants.
9 Step-by-Step Guide: How to Dig Clay Soil
Turning heavy clay into a plant-friendly medium is achievable with a systematic approach. This guide will walk you through the entire process, from initial assessment to final amendments, ensuring you create a healthy and sustainable garden bed.
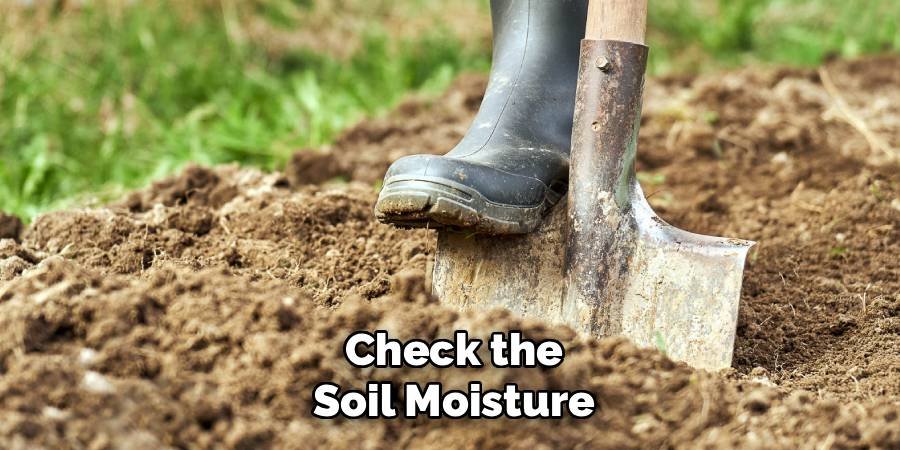
Step 1: Check the Soil Moisture
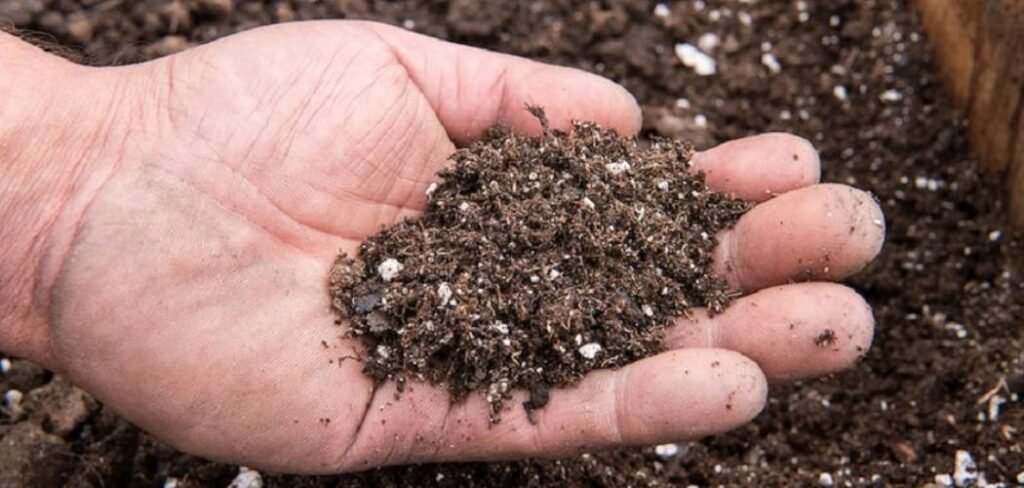
The most critical first step is to assess the moisture level of your clay soil. Never attempt to dig when it is either bone-dry or soaking wet. Dry clay is incredibly hard and can be nearly impenetrable, risking damage to your tools and your back. Conversely, working with wet clay is a messy disaster; it compacts even further as you walk on it and sticks to everything, destroying the soil structure you are trying to improve.
The ideal time to dig is when the soil is slightly moist. It should be firm but yield to a shovel with some effort. A simple test is to take a handful of soil and squeeze it. If it forms a sticky ball that doesn’t crumble, it’s too wet. If it’s too hard to dig, water the area thoroughly a day or two before you plan to work.
Step 2: Choose the Right Tools for the Job
Using the wrong tools for heavy clay soil will only lead to frustration and exhaustion. A standard garden spade might not be strong enough. Instead, opt for heavy-duty tools designed for tough jobs. A pointed shovel or a garden fork with sturdy steel tines is essential for breaking up compacted earth.
The sharp point of the shovel helps penetrate the dense ground, while a garden fork is excellent for loosening and aerating large clumps without overly pulverizing the soil structure. For very compacted areas, you might consider a broadfork, which uses your body weight to drive deep tines into the soil, making it highly effective for aeration with less strain. Having the right equipment makes the physical labor more manageable and far more effective.
Step 3: Clear the Area of Weeds and Debris
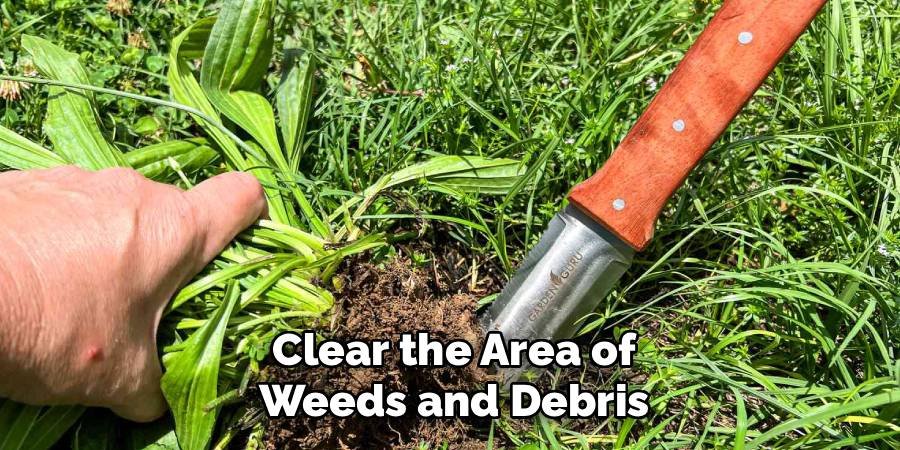
Before you begin digging, it’s important to prepare the area. Start by removing any existing vegetation, including grass, weeds, and old plant roots. This step prevents weeds from growing back and competing with your new plants for nutrients and water. You can do this by hand-pulling, using a hoe, or by smothering the area with cardboard or a tarp for several weeks beforehand—a technique known as sheet mulching.
Once the surface is clear, rake away any rocks, sticks, or other debris that could get in your way. A clean slate ensures that all your effort goes directly into improving the soil itself, without interference from unwanted materials. This also prevents you from accidentally mixing weed seeds back into your newly amended soil.
Step 4: Begin the Initial Dig (Double Digging)
With your soil at the right moisture level and your tools ready, it’s time to start digging. The “double digging” method is highly recommended for brand-new beds in clay soil. Start by digging a trench about one foot wide and one foot deep at one end of your garden bed. Place the soil you remove from this first trench into a wheelbarrow or onto a tarp—you will use it later. This initial trench gives you space to work. The process might seem labor-intensive, but it is the most effective way to break up deep compaction and dramatically improve drainage and aeration, setting your garden up for long-term success.
Step 5: Loosen the Subsoil
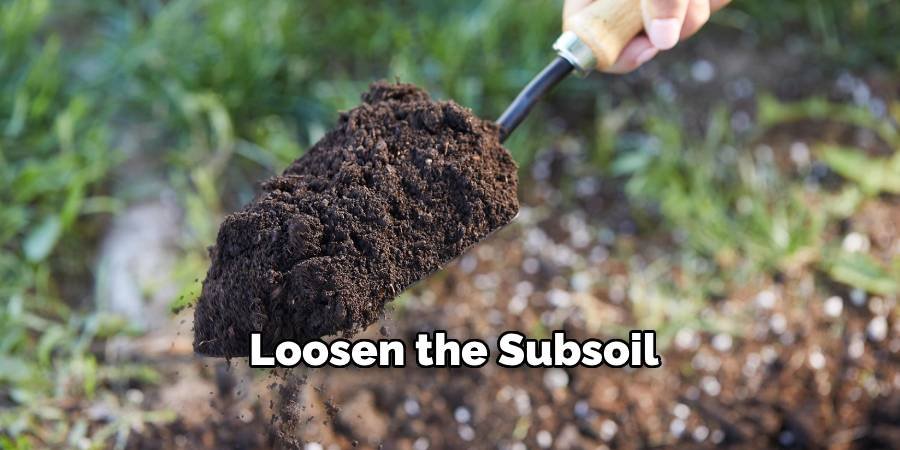
After digging your initial trench, use your garden fork to loosen the layer of compacted subsoil at the bottom of the trench. Drive the fork as deep as you can and rock it back and forth to create cracks and fissures in the dense clay. Do not turn this subsoil over or mix it with the topsoil. The goal is simply to break it up to improve drainage and allow plant roots to penetrate deeper. This step is crucial for preventing a “hardpan” layer that can trap water and suffocate roots. Loosening the subsoil creates channels for air and water, addressing the core problem of poor structure in heavy clay.
Step 6: Dig the Second Trench
Now, move to the patch of undug soil right next to your first trench. Dig a second trench of the same size (one foot wide and one foot deep). As you dig, turn the soil from this second trench directly into the first trench you created. This action begins the process of aerating and mixing the soil. As you move the soil, use your shovel or fork to break up any large, heavy clumps. Breaking them down into smaller, more manageable pieces is key. Continue this process row by row: dig a new trench, and move the soil from it into the empty trench you just created before it.
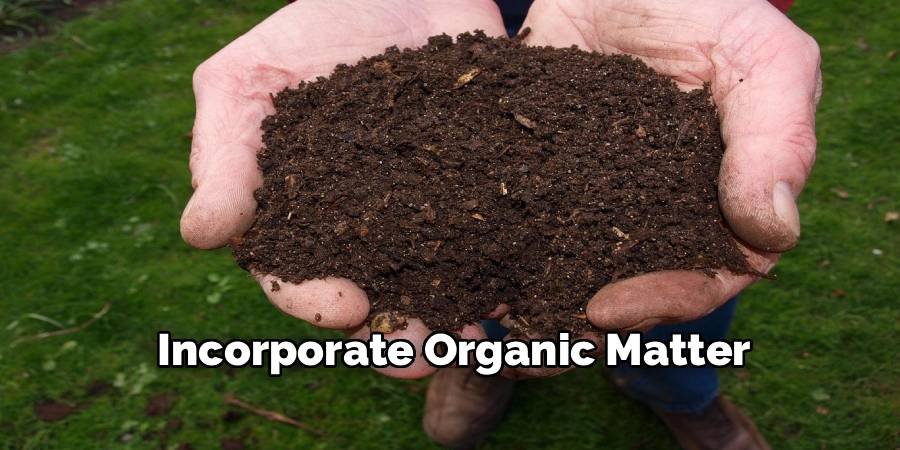
Step 7: Incorporate Organic Matter
This is the most transformative step in learning how to dig clay soil effectively. As you turn the soil from each new trench into the previous one, add a generous layer of organic matter. Aim for a 3- to 4-inch layer of materials like compost, aged manure, shredded leaves, or coconut coir. Organic matter works wonders in clay.
It forces the tiny clay particles apart, creating air pockets that improve drainage and aeration. It also provides food for beneficial microorganisms, which further enhance soil structure over time. This amendment process turns dense, nutrient-rich clay into a crumbly, fertile loam that plants love. Be generous; you can hardly add too much compost.
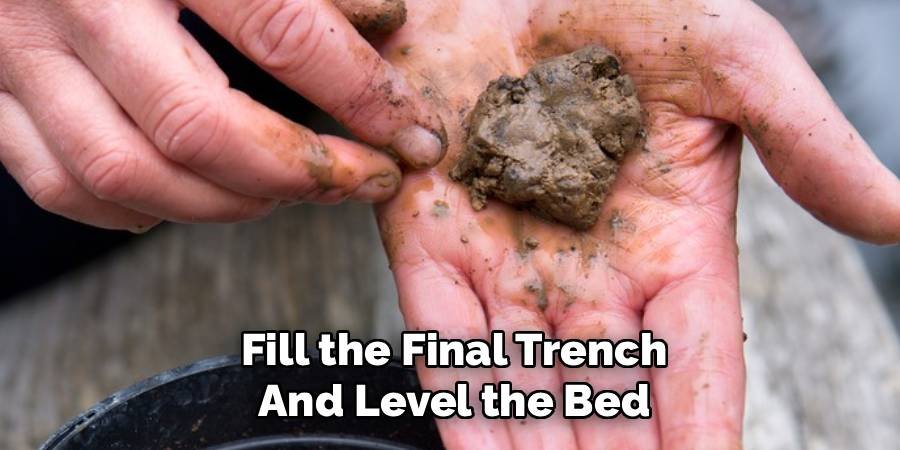
Step 8: Fill the Final Trench and Level the Bed
Once you have worked your way across the entire garden bed, you will be left with one final empty trench at the far end. Now is the time to use the soil you saved in the wheelbarrow or on the tarp from the very first trench you dug. Use that soil to fill this last trench. After all the digging and amending is complete, your garden bed will be noticeably higher than the surrounding ground due to the added volume of the organic matter. Use a sturdy garden rake to level the entire surface of the bed, breaking up any remaining small clumps and creating a smooth, even surface ready for planting.
Step 9: Apply a Layer of Mulch
The final step is to protect your newly prepared soil. Apply a 2- to 3-inch layer of mulch over the entire surface of the bed. Organic mulches like wood chips, straw, or shredded leaves are excellent choices. Mulch serves several important functions: it helps retain the soil moisture you worked so hard to balance, suppresses weed growth, and regulates soil temperature.
As the organic mulch breaks down over time, it will continue to add valuable nutrients and organic matter to your soil, continuing the improvement process. This protective layer is the finishing touch that safeguards your hard work and nurtures the soil for the seasons to come.
Frequently Asked Questions
What Is the Best Time of Year to Dig Clay Soil?
The best time to dig and amend clay soil is in the autumn. The soil is typically at an ideal moisture level—not too wet and not too dry. Digging in the fall also allows the organic matter you add to begin breaking down over the winter. The natural freeze-thaw cycles of winter will help to further break up the soil structure, making your bed even more friable and ready for spring planting.
Can I Use Sand to Improve Clay Soil?
No, you should avoid adding sand to clay soil. This is a common myth that can actually worsen your problem. Mixing sand with heavy clay creates a substance similar to concrete or mortar. Instead of loosening the soil, it makes it even more dense and impermeable. To improve clay soil structure, you should always add:
- Compost
- Aged manure
- Leaf mold
- Other bulky organic materials
How Often Should I Amend My Clay Soil?
For a brand-new garden bed, the initial “double digging” and heavy amendment is the most intensive part. After that, you should plan to top-dress your garden beds with a 1- to 2-inch layer of compost or other organic matter once or twice a year, typically in the spring and fall. There is no need to repeat the deep digging process. The ongoing addition of organic matter will maintain and continue to improve the soil structure over time.
What Are the Best Plants for Unamended Clay Soil?
While amending is always recommended, some plants are naturally more tolerant of heavy clay soil. If you are not ready to amend an area, consider planting rugged perennials and shrubs that can handle these conditions. Good choices include:
- Black-Eyed Susans (Rudbeckia)
- Daylilies (Hemerocallis)
- Hostas
- Coneflowers (Echinacea)
- Certain ornamental grasses
Should I Use a Tiller on Clay Soil?
It is generally best to avoid using a rototiller on clay soil, especially when it is wet. A tiller can pulverize the soil structure, destroying the natural aggregates and leading to even worse compaction over time. This creates a hardpan layer just below the tilled surface. Gentle methods like using a garden fork or broadfork to loosen the soil and manually incorporating amendments are much better for the long-term health of your soil.
Conclusion
Tackling a garden with dense clay soil can seem daunting, but it’s a rewarding challenge that pays off with incredibly fertile ground. The secret lies not in fighting the clay, but in understanding how to work with it. By timing your dig correctly, using the right tools, and—most importantly—incorporating a generous amount of organic matter, you can permanently improve its structure.
This guide provides a clear path to transform your heavy, compacted ground into a rich, loamy, and productive garden. Don’t be discouraged by the initial effort. Once you know how to dig clay soil and amend it properly, you unlock a world of gardening possibilities built on a nutrient-rich foundation that will support healthy plants for years to come.
About Ravuk Barg
B.Sc. Horticulture Science | Certified Master Gardener
Ravuk Barg has spent more than a decade with his hands in the soil and his head full of questions about why some gardens thrive while others struggle. What started as a single raised bed of tomatoes and basil in a modest backyard has grown into a deep, working knowledge of everything from seed germination and soil amendment to companion planting and seasonal pruning.
Over the years, Ravuk has gardened through drought summers, waterlogged springs, and pest invasions that would make most gardeners hang up their trowels for good. Those hard seasons, he’ll tell you, taught him more than any perfect growing year ever could. He writes from that earned experience—covering vegetable growing, ornamental planting, houseplant care, composting, and garden design with equal confidence and curiosity.
Philosophy & Approach
Ravuk’s approach to gardening is rooted in practicality. He favors organic methods not out of dogma, but because they work long-term—resulting in healthier soil, fewer inputs, and stronger plants. He has a particular fondness for heirloom vegetable varieties (the kind with proper flavor), unruly cottage-style flower beds, and the stubborn houseplants that everyone else gave up on.
The Mission: Give readers the honest, experience-backed advice that helps them actually succeed in their gardens—not just the ideal version, but the real one; weeds, failures, and all.
Education & Credentials
-
B.Sc. in Horticulture Science
-
Greenfield Agricultural University
-
Focus: Plant Physiology, Soil Ecology, and Sustainable Crop Production
-
-
Master Gardener Certification
-
Cooperative Extension Service
-
Focus: 200+ hours of hands-on practical training and community garden work
-
Continuing Education
-
Organic Pest Management
-
Native Plant Landscaping
-
Sustainable Crop Production