

A stuck hose nozzle is a common frustration for any gardener or homeowner. You’re ready to water your plants or wash your car, but the sprayer won’t budge. It can feel like it’s been welded on, especially after a long winter or if it’s been attached for years. The good news is that you don’t need to be a professional plumber or have superhuman strength to solve this issue.
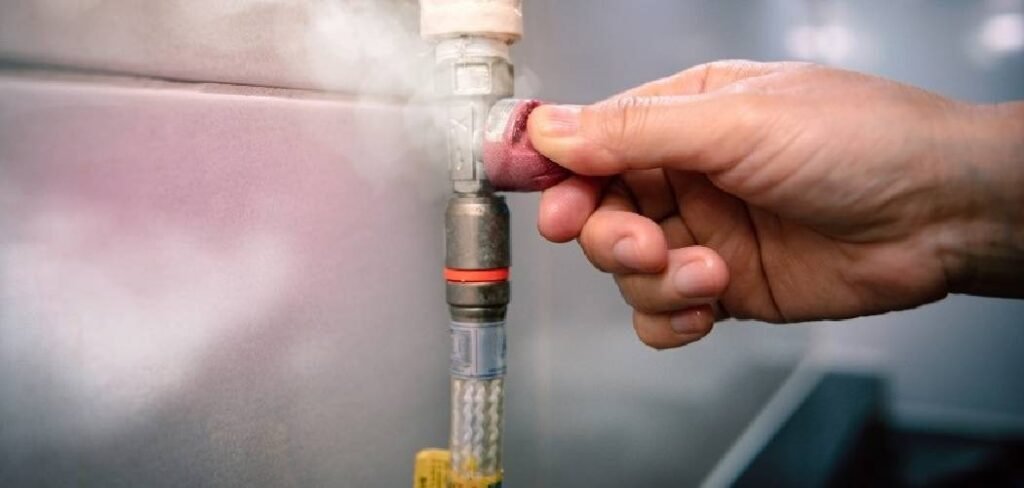
With a few simple tools and a bit of patience, you can learn exactly how to unscrew nozzle off hose without damaging the nozzle, the hose, or your hands. This guide will walk you through everything you need to know, from gathering your supplies to applying the right techniques to get that stubborn nozzle free.
Why a Hose Nozzle Gets Stuck
Understanding why a nozzle gets stuck in the first place can help prevent it from happening again. The primary culprits are corrosion, mineral buildup, and over-tightening. When metal parts, like the brass or aluminum fittings on your hose and nozzle, are exposed to water and air, a chemical reaction called oxidation occurs.
This creates a layer of corrosion that essentially fuses the threads together. Hard water, which contains high levels of minerals like calcium and magnesium, can also leave deposits that clog the threads and act like a cement. Finally, many people mistakenly believe that tightening the nozzle as hard as possible will prevent leaks. In reality, over-tightening can damage the rubber washer and jam the threads, making it incredibly difficult to remove later.
8 Step-by-Step Guide on How to Unscrew Nozzle Off Hose
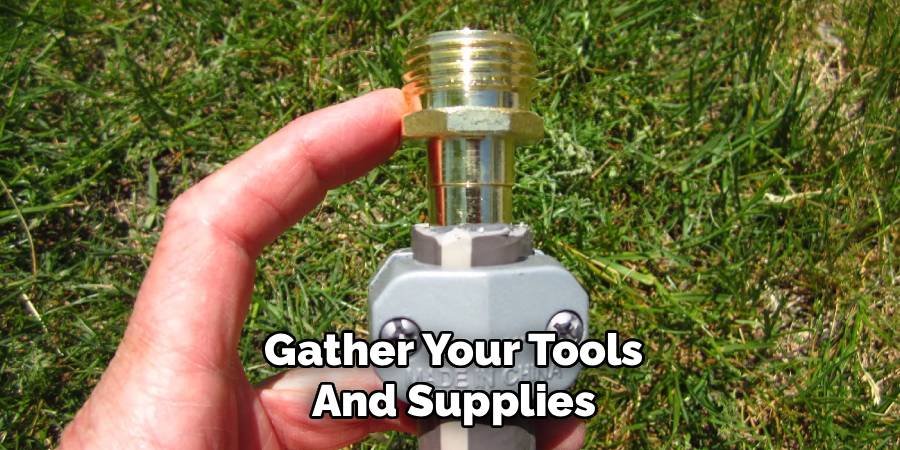
Step 1: Gather Your Tools and Supplies
Before you begin, gathering the right tools will make the job much smoother and prevent multiple trips back to the garage. You will need a few basic items. First, grab two pairs of adjustable pliers or channel-lock pliers; having two allows you to grip both the hose fitting and the nozzle simultaneously for better leverage. Next, find some penetrating oil like WD-40 or a specialized rust dissolver. A small wire brush will be useful for cleaning the threads afterward. Finally, have a pair of work gloves to protect your hands and a clean cloth or rag for wiping things down.
Step 2: Ensure the Water is Off
This step might seem obvious, but it’s a crucial one to avoid an unexpected shower. Make sure the water spigot or tap that supplies the hose is turned completely off. To be certain, squeeze the handle on your spray nozzle to release any trapped water and pressure remaining in the hose. This not only keeps you dry but also makes the hose less rigid and easier to handle. Once the pressure is released, you can focus on the task at hand without any watery interruptions. It’s a simple check that can save you a lot of hassle.
Step 3: Apply Penetrating Oil
Now it’s time to tackle the corrosion and buildup that’s locking the nozzle in place. Take your penetrating oil and spray it generously around the connection point where the nozzle screws onto the hose fitting. Make sure to get the oil into the seam between the two parts. The goal is to let the oil seep into the threads to dissolve rust and lubricate the connection. Let the oil sit for at least 15 to 30 minutes to give it time to work its magic. For extremely stubborn cases, you might need to let it soak for an hour or even reapply it.
Step 4: Use Gentle Force with Pliers
After the penetrating oil has had time to work, it’s time to apply some mechanical force. Put on your gloves and grab your two pairs of pliers. Use one pair to firmly grip the metal fitting on the end of the hose—not the rubber part, as that could cause damage. Use the second pair of pliers to grip the base of the nozzle. Position the pliers so you can apply force in opposite directions. Attempt to turn the nozzle counter-clockwise (remember: “righty-tighty, lefty-loosey”). Start with gentle but firm pressure. Don’t try to force it all at once; sometimes, a series of small, steady movements is more effective.
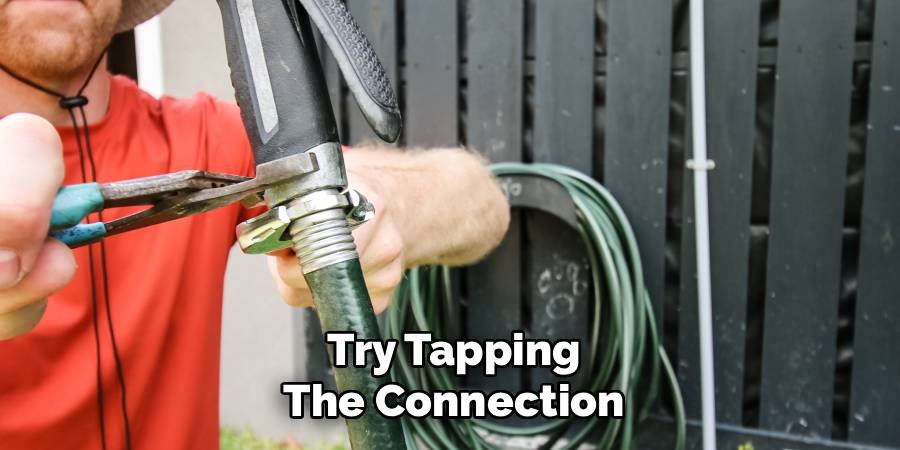
Step 5: Try Tapping the Connection
If gentle pressure isn’t working, a little vibration can help break the seal of corrosion. While maintaining a firm grip with the pliers, use the handle of one of the pliers or a small hammer to gently tap around the base of the nozzle connection. Be careful not to hit it so hard that you dent or crack the metal. The goal is to send vibrations through the threads to help loosen the grip of the rust and mineral deposits. After a few taps, try turning the nozzle again with the pliers. This combination of vibration and turning pressure is often what’s needed.
Step 6: Apply Heat for Expansion
When all else fails, heat can be a powerful ally. Metal expands when heated, and you can use this principle to your advantage. A hairdryer or a heat gun on a low setting is the safest option. Carefully apply heat evenly around the female fitting of the nozzle, as this will cause it to expand slightly more than the male fitting on the hose. Be very careful not to overheat the connection, as this can damage the rubber washer inside or melt plastic components. Heat the area for a minute or two, then immediately try to unscrew it with the pliers while it’s still warm.
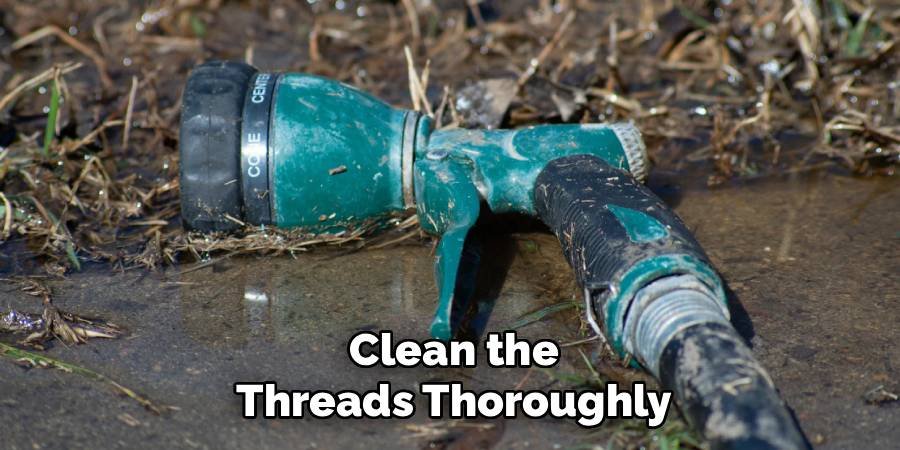
Step 7: Clean the Threads Thoroughly
Success! Once the nozzle is off, take a moment to clean the threads on both the hose fitting and the nozzle. Use your wire brush to scrub away any remaining rust, dirt, or mineral deposits. If you see any stubborn gunk, you can apply a bit more penetrating oil or a specialized calcium and lime remover and continue scrubbing. A thorough cleaning is essential because it prevents the nozzle from getting stuck again in the future. Once both sets of threads are clean and shiny, wipe them down with a dry cloth.
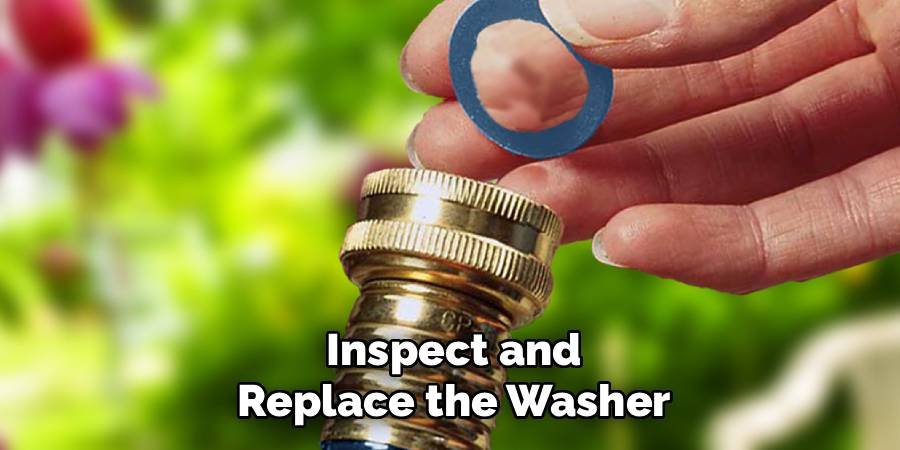
Step 8: Inspect and Replace the Washer
Before you reattach the nozzle or put on a new one, inspect the rubber washer inside the female end of the hose fitting. Over time, these washers can become cracked, brittle, or compressed, which is a common cause of leaks. If it looks worn out, it’s best to replace it. Hose washers are inexpensive and readily available at any hardware or garden store. A fresh washer will create a tight seal, preventing leaks without you needing to over-tighten the nozzle. This simple step ensures a reliable, drip-free connection for your future watering needs.
Frequently Asked Questions
What Can I Use If I Don’t Have Penetrating Oil?
If you don’t have a commercial penetrating oil like WD-40, you can try a few household alternatives. A mixture of equal parts automatic transmission fluid and acetone is a powerful homemade rust penetrant. For a less chemical-heavy option, white vinegar or even cola can work, as their acidity helps dissolve mineral buildup and light corrosion. Apply your chosen liquid to the threads, let it sit for at least 30 minutes, and then proceed with the steps to unscrew the nozzle.
Is It Possible to Damage the Hose While Removing the Nozzle?
Yes, it is possible to damage the hose if you’re not careful. The most common mistake is gripping the soft, rubber part of the hose with pliers instead of the metal fitting at the end. This can tear or puncture the hose. Also, applying excessive, brute force can strip the threads on the hose fitting, making it impossible to attach any nozzle securely. Always use controlled pressure and grip only the metal components to minimize the risk of damage.
How Can I Prevent My Nozzle from Getting Stuck in the Future?
Prevention is key. To stop your nozzle from getting stuck again, apply a small amount of plumber’s grease or silicone lubricant to the hose threads before attaching the nozzle. This creates a waterproof barrier that prevents corrosion. Also, avoid over-tightening; the nozzle only needs to be hand-tight to create a good seal with the washer. Finally, at the end of the gardening season, remove the nozzle from the hose for storage to prevent them from seizing up over the winter.
Can I Use the Same Method for Plastic Nozzles and Fittings?
You can use a similar method, but you must be much more gentle. Plastic threads are more susceptible to stripping or cracking under pressure. Avoid using excessive force with pliers. Heat is also a risky option for plastic, as it can easily melt or deform the fittings. For plastic nozzles, rely more on penetrating oil, patience, and gentle, steady twisting. If it’s truly stuck, you may have to accept that the nozzle needs to be cut off and replaced, as they are generally less expensive than their metal counterparts.
What Should I Do If the Threads on the Hose or Nozzle Are Stripped?
If you discover that the threads are stripped on either the nozzle or the hose, they will no longer form a secure, leak-proof connection. If the nozzle’s threads are stripped, the simplest solution is to discard it and buy a new one. If the threads on the hose end are damaged, you can buy a hose repair kit from a hardware store. These kits allow you to cut off the damaged end and attach a new fitting, saving you from having to replace the entire hose.
Conclusion
A stuck hose nozzle is a fixable problem that doesn’t have to ruin your day or your gardening plans. By following a systematic approach—gathering the right tools, using penetrating oil, and applying steady force—you can overcome even the most stubborn connection. The key is to work patiently and avoid brute force that could cause damage. Now that you have a clear understanding of how to unscrew nozzle off hose, you can approach the task with confidence. Taking a few preventative measures, like cleaning the threads and using lubricant, will ensure you don’t have to fight this battle again anytime soon.
About Ravuk Barg
B.Sc. Horticulture Science | Certified Master Gardener
Ravuk Barg has spent more than a decade with his hands in the soil and his head full of questions about why some gardens thrive while others struggle. What started as a single raised bed of tomatoes and basil in a modest backyard has grown into a deep, working knowledge of everything from seed germination and soil amendment to companion planting and seasonal pruning.
Over the years, Ravuk has gardened through drought summers, waterlogged springs, and pest invasions that would make most gardeners hang up their trowels for good. Those hard seasons, he’ll tell you, taught him more than any perfect growing year ever could. He writes from that earned experience—covering vegetable growing, ornamental planting, houseplant care, composting, and garden design with equal confidence and curiosity.
Philosophy & Approach
Ravuk’s approach to gardening is rooted in practicality. He favors organic methods not out of dogma, but because they work long-term—resulting in healthier soil, fewer inputs, and stronger plants. He has a particular fondness for heirloom vegetable varieties (the kind with proper flavor), unruly cottage-style flower beds, and the stubborn houseplants that everyone else gave up on.
The Mission: Give readers the honest, experience-backed advice that helps them actually succeed in their gardens—not just the ideal version, but the real one; weeds, failures, and all.
Education & Credentials
-
B.Sc. in Horticulture Science
-
Greenfield Agricultural University
-
Focus: Plant Physiology, Soil Ecology, and Sustainable Crop Production
-
-
Master Gardener Certification
-
Cooperative Extension Service
-
Focus: 200+ hours of hands-on practical training and community garden work
-
Continuing Education
-
Organic Pest Management
-
Native Plant Landscaping
-
Sustainable Crop Production