

Starting seeds can feel overwhelming for new gardeners, but learning how to use soil blocks transforms this process into something both simple and rewarding. Unlike traditional plastic seed trays, soil blocks create self-contained growing units that eliminate transplant shock and promote healthier root development.
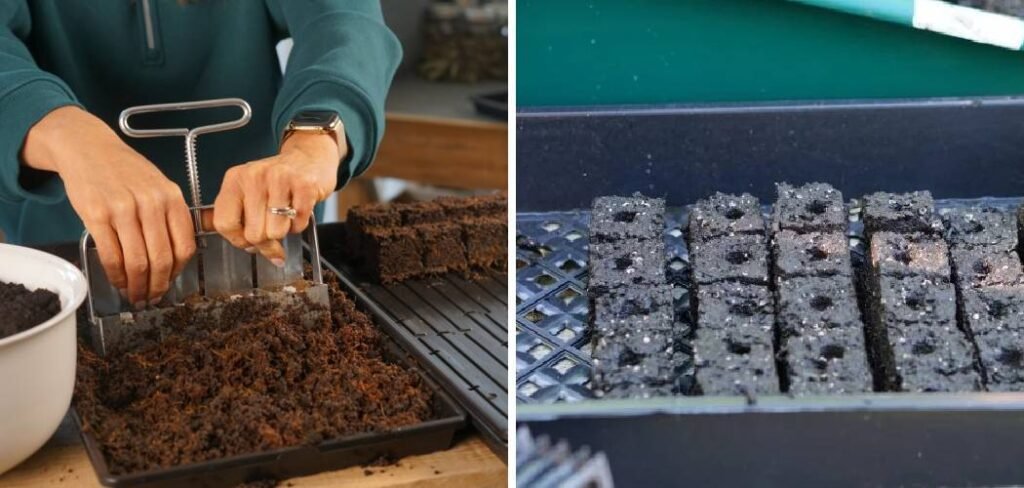
Soil blocks are compressed cubes of growing medium formed using a specialized blocking tool. These ingenious contraptions replace plastic containers entirely, creating perfect seed-starting environments that decompose naturally when planted.
The magic happens in the compression. When properly made, soil blocks hold their shape while remaining porous enough for excellent drainage and air circulation. Seeds nestled in these blocks develop robust root systems without becoming root-bound.
This method saves money, reduces plastic waste, and produces stronger seedlings. Your plants start life in optimal conditions and transition seamlessly into garden beds without missing a beat.
Why You Need Soil Blocks
Traditional seed starting methods create problems that soil blocks elegantly solve. Plastic trays often cause root circling, where roots grow in endless loops instead of spreading outward.
Transplant shock devastates seedlings when roots get damaged during the move from container to garden. Soil blocks eliminate this trauma entirely since the entire growing medium transfers with the plant.
Cost savings add up quickly. One soil block maker lasts decades, while plastic trays crack, warp, and need constant replacement. The blocking mix uses readily available materials like peat, compost, and sand.
Environmental benefits matter too. Reducing plastic consumption helps gardens and planet alike. Soil blocks decompose completely, leaving no waste behind.
Space efficiency improves dramatically. Blocks sit closer together than individual pots, maximizing growing area in limited spaces like windowsills or cold frames.
10 Step-by-Step Guide: How to Use Soil Blocks
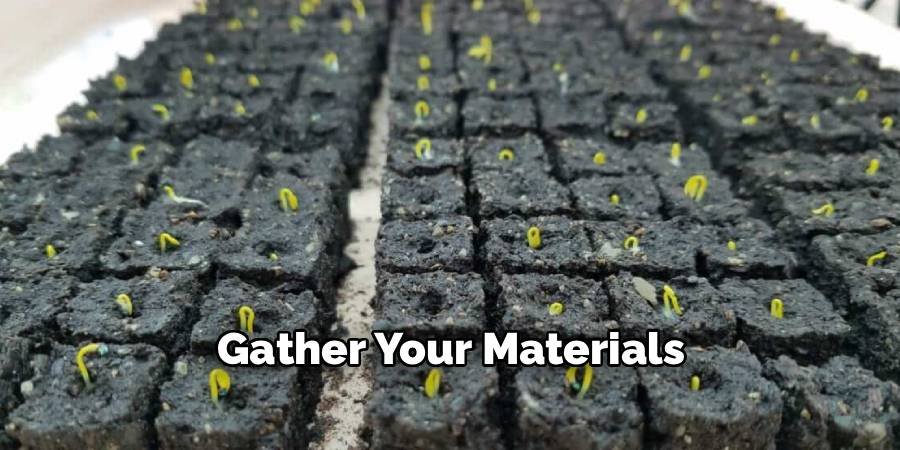
Step 1: Gather Your Materials
Success starts with proper preparation and quality ingredients. You’ll need a soil block maker, blocking mix ingredients, and basic tools for the process.
Purchase a 2-inch soil block maker for most seeds, though 3/4-inch mini blockers work well for tiny seeds like lettuce. The investment pays dividends through years of reliable service and superior seedling production.
Essential ingredients include peat moss or coconut coir for structure, compost for nutrients, sand for drainage, and lime to balance pH. These components work together creating the perfect growing environment for young plants.
Step 2: Mix Your Blocking Medium
Creating the perfect blocking mixture requires precise ratios and thorough blending. Combine 3 parts peat moss, 2 parts compost, 1 part coarse sand, and 1/4 part lime in a large container.
Mix ingredients thoroughly while gradually adding water until the mixture holds together when squeezed but doesn’t drip excessively. The consistency should resemble wet concrete that maintains its shape under pressure.
Test the mixture by forming a handful into a ball. It should hold together firmly without crumbling apart or feeling soggy and waterlogged.
Step 3: Prepare Your Workspace
Organization prevents mess and ensures smooth block-making sessions. Set up on a waterproof surface with all materials within easy reach for efficient workflow.
Place newspaper or plastic sheeting underneath your work area to catch spills and scattered soil. Have your seeds, labels, and planting tools organized nearby for quick access.
Fill a shallow pan with water for cleaning the block maker between uses. Clean tools work better and prevent soil from sticking to the forming chambers.
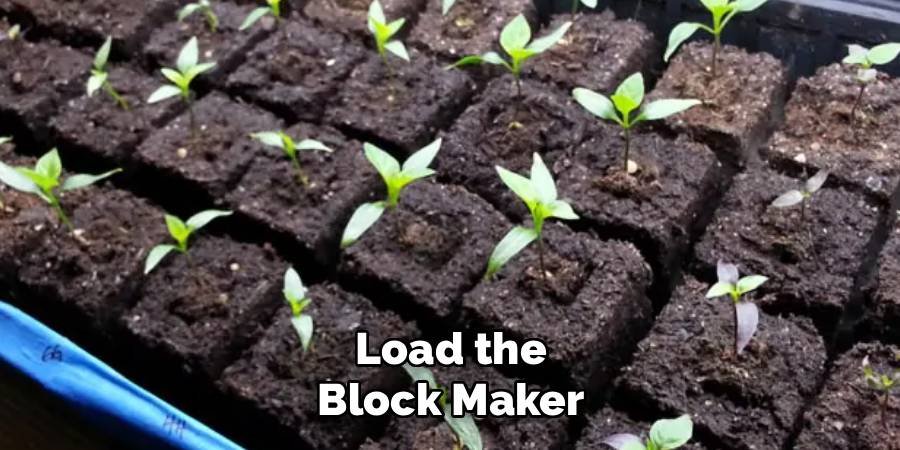
Step 4: Load the Block Maker
Proper loading technique determines block quality and consistency. Press the soil block maker firmly into your prepared mixture, ensuring all chambers fill completely without air pockets.
Scrape excess mixture from the top using a straight edge like a ruler or knife. Level surfaces create uniform blocks that sit evenly and look professional.
Check that mixture consistency allows clean chamber filling. Adjust water content if mixture seems too dry and crumbles or too wet and sticks excessively.
Step 5: Form the Blocks
Creating perfect soil blocks requires steady pressure and confident movement. Position the loaded block maker over your growing surface and press down firmly to eject the blocks.
Lift the tool straight up to avoid disturbing freshly formed blocks. Properly made blocks hold their shape immediately and maintain structural integrity throughout the growing period.
Space blocks close together but not touching to maximize growing area while ensuring adequate air circulation around each seedling as it develops.
Step 6: Create Planting Depressions
Most seeds benefit from proper planting depth, which requires creating small indentations in your freshly formed blocks. Use your finger or a pencil to make holes appropriate for seed size.
Plant large seeds like beans or squash in deeper holes, while tiny seeds like lettuce need only shallow depressions. The general rule suggests planting depth equal to twice the seed diameter.
Make depressions immediately after forming blocks while the mixture remains soft and workable. Waiting too long results in harder surfaces that resist indentation efforts.
Step 7: Plant Your Seeds
Seed placement affects germination success and seedling development. Place one or two seeds per block, depending on germination rates and your thinning preferences later.
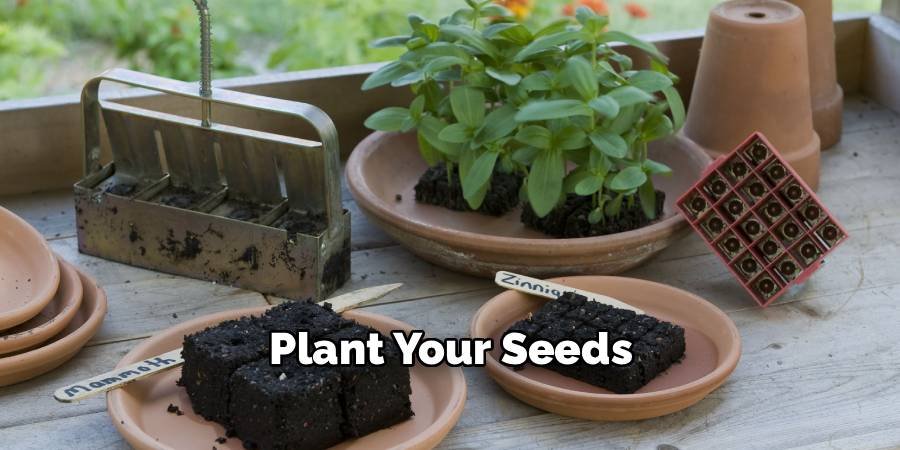
Cover seeds lightly with loose blocking mixture or fine compost, ensuring proper soil contact while maintaining appropriate depth. Large seeds need more covering than tiny ones that barely require burial.
Label each variety immediately to prevent confusion later. Use waterproof markers and plant labels that withstand watering and humidity without fading or smearing.
Step 8: Provide Proper Moisture
Watering soil blocks requires finesse to maintain structure while ensuring adequate moisture. Use a fine mist spray bottle to water gently without disturbing block integrity.
Water from below when possible by placing blocks in shallow trays and adding water until blocks absorb moisture from the bottom up. This method prevents surface crusting and maintains block shape.
Monitor moisture levels daily since soil blocks dry faster than traditional containers. Consistent moisture promotes even germination and healthy root development throughout the growing period.
Step 9: Maintain Growing Conditions
Successful seed starting requires attention to temperature, light, and air circulation. Place blocks in warm locations for faster germination, typically between 65-75°F for most vegetables.
Provide adequate light once seedlings emerge using grow lights or sunny windows. Insufficient light creates weak, stretched seedlings that struggle in garden conditions.
Ensure good air circulation to prevent fungal diseases and strengthen stems. A small fan on low speed helps simulate natural breezes that encourage sturdy growth.
Step 10: Transplant When Ready
Timing transplant correctly ensures continued success in garden beds. Wait until seedlings develop their first true leaves and weather conditions support outdoor growth.
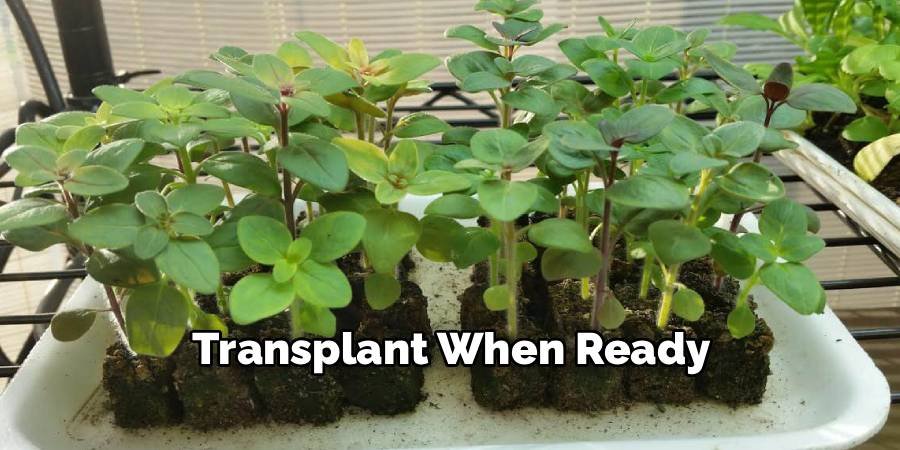
Plant entire soil blocks directly into prepared garden soil without disturbing roots. The blocks decompose naturally while roots expand into surrounding soil seamlessly.
Water transplants thoroughly after planting and provide temporary shade if weather seems stressful. Monitor newly transplanted seedlings closely during their first week of garden life.
Maintaining Your Soil Block System
Successful soil block gardening requires ongoing attention to moisture, temperature, and growing conditions. Check blocks daily for drying since they lose moisture faster than plastic containers.
Maintain consistent temperatures appropriate for your chosen crops. Most vegetables prefer temperatures between 65-75°F during germination and early growth phases.
Rotate blocks periodically to ensure even light exposure and prevent seedlings from leaning toward light sources. This simple practice promotes straight, sturdy stems.
Clean your soil block maker thoroughly after each use to prevent buildup that affects block formation. Store tools in dry locations to prevent rust and extend their useful life.
Common Mistakes to Avoid
Beginners often struggle with mixture consistency, making blocks either too wet or too dry for proper formation and plant growth.
Overwatering destroys block structure and drowns developing roots. Use light, frequent watering rather than heavy applications that saturate growing medium.
Planting too early wastes effort when unexpected freezes kill tender seedlings. Follow local frost dates and hardening-off procedures for best results.
Crowding blocks together restricts air circulation and promotes disease problems. Space blocks appropriately even when growing area seems limited for healthy plant development.
FAQ: Frequently Asked Questions
What Size Soil Block Maker Should I Buy?
Choose 2-inch blocks for most vegetable seeds and flowers, while 3/4-inch mini blocks work better for tiny seeds like lettuce and herbs requiring less growing space.
How Long Do Soil Blocks Last?
Well-made blocks maintain structure for 4-6 weeks, providing adequate time for seed starting and transplant readiness in most growing situations.
Can I Reuse Soil Block Mixture?
Yes, unused blocking mixture stores well for several weeks when kept moist and covered, though fresh mixture often produces more consistent results.
What’s the Best Storage Method for Block Makers?
Clean tools thoroughly after use and store in dry locations to prevent rust, oiling metal parts lightly for long-term storage protection.
Do Soil Blocks Work for All Seeds?
Most vegetable and flower seeds thrive in soil blocks, though very large seeds like corn might need bigger blocks or direct sowing methods.
Conclusion
Learning how to use soil blocks revolutionizes your seed starting approach and produces healthier transplants for your garden. This time-tested method eliminates transplant shock while reducing costs and environmental impact compared to disposable plastic containers.
The initial investment in a quality soil block maker pays dividends through years of successful seed starting. Your seedlings develop stronger root systems and transition seamlessly into garden beds.
Start small with a few varieties to master the technique before expanding your operation. Practice makes perfect, and each season brings improved skills and better results.
The satisfaction of growing plants from seed to harvest using sustainable methods enriches the gardening experience. Soil blocks connect you directly to traditional growing wisdom while supporting modern environmental consciousness.
Your garden will thrive with robust transplants that establish quickly and produce abundant harvests. The investment in learning this valuable skill creates lasting benefits for both gardener and environment.
Future growing seasons become more efficient and cost-effective as you master soil block techniques. The method scales beautifully from small windowsill operations to larger greenhouse production systems.
Your commitment to sustainable gardening practices inspires others while reducing plastic waste in landfills. Soil blocks represent gardening at its most elegant and environmentally responsible.
About Ravuk Barg
B.Sc. Horticulture Science | Certified Master Gardener
Ravuk Barg has spent more than a decade with his hands in the soil and his head full of questions about why some gardens thrive while others struggle. What started as a single raised bed of tomatoes and basil in a modest backyard has grown into a deep, working knowledge of everything from seed germination and soil amendment to companion planting and seasonal pruning.
Over the years, Ravuk has gardened through drought summers, waterlogged springs, and pest invasions that would make most gardeners hang up their trowels for good. Those hard seasons, he’ll tell you, taught him more than any perfect growing year ever could. He writes from that earned experience—covering vegetable growing, ornamental planting, houseplant care, composting, and garden design with equal confidence and curiosity.
Philosophy & Approach
Ravuk’s approach to gardening is rooted in practicality. He favors organic methods not out of dogma, but because they work long-term—resulting in healthier soil, fewer inputs, and stronger plants. He has a particular fondness for heirloom vegetable varieties (the kind with proper flavor), unruly cottage-style flower beds, and the stubborn houseplants that everyone else gave up on.
The Mission: Give readers the honest, experience-backed advice that helps them actually succeed in their gardens—not just the ideal version, but the real one; weeds, failures, and all.
Education & Credentials
-
B.Sc. in Horticulture Science
-
Greenfield Agricultural University
-
Focus: Plant Physiology, Soil Ecology, and Sustainable Crop Production
-
-
Master Gardener Certification
-
Cooperative Extension Service
-
Focus: 200+ hours of hands-on practical training and community garden work
-
Continuing Education
-
Organic Pest Management
-
Native Plant Landscaping
-
Sustainable Crop Production