

Building raised garden beds is one of the most rewarding projects for any gardener, but protecting your investment starts with knowing how to seal wood for raised garden beds properly. Without proper sealing, even the most carefully constructed cedar or pine beds can deteriorate within just a few seasons.

Wood sealing creates a protective barrier against moisture, soil contact, and the natural elements that cause rot and decay. This process extends your garden bed’s lifespan from 3-5 years to potentially 10-15 years or more.
The good news? Sealing wood is surprisingly straightforward when you know the right techniques and products to use. You’ll save money, reduce maintenance headaches, and create healthier growing conditions for your plants.
Why You Need to Seal Your Garden Bed Wood
Raw wood exposed to soil and moisture faces constant threats from fungal growth, insect damage, and natural weathering processes. Even naturally rot-resistant woods like cedar and redwood benefit significantly from proper sealing.
Unsealed wood absorbs moisture from both soil contact and rainfall, creating perfect conditions for decay-causing fungi. This moisture also attracts termites and other wood-boring insects that can compromise structural integrity.
Sealed wood maintains its appearance longer, resists warping and cracking, and creates a cleaner barrier between treated lumber chemicals and your growing soil. The small upfront investment in sealing materials pays dividends in extended bed life and reduced replacement costs.
10 Step-by-Step Guide: How to Seal Wood for Raised Garden Beds
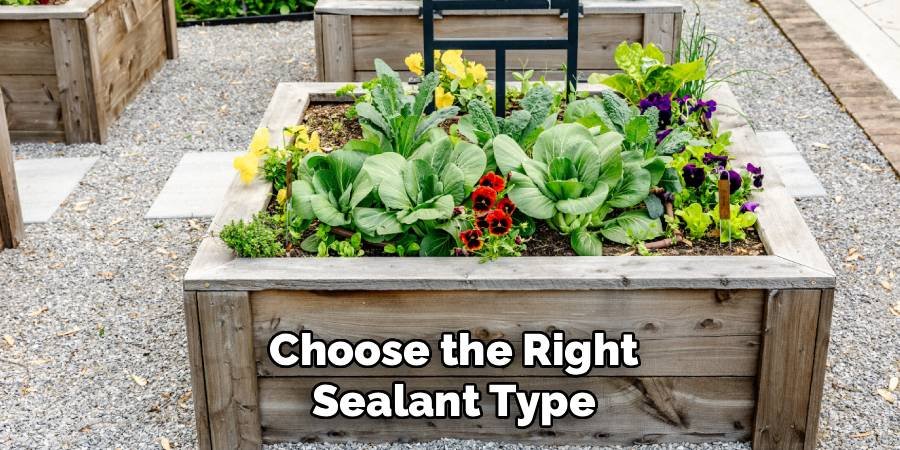
Step 1: Choose the Right Sealant Type
Select a food-safe, non-toxic wood sealant specifically designed for garden applications. Avoid traditional deck stains or sealers that contain harmful chemicals that can leach into soil.
Look for products labeled as organic-compliant or vegetable garden safe. Water-based polyurethanes, natural wax sealers, and plant-based penetrating oils work best. Linseed oil and tung oil provide excellent protection while remaining completely natural and garden-friendly.
Before applying the sealant, ensure the wood surface is clean and dry. Use sandpaper to smooth any rough edges or splinters, which helps the sealant adhere more effectively while also preventing potential injuries when handling the garden bed. Wipe away any dust or debris with a damp cloth and allow it to fully dry before proceeding. Proper preparation ensures an even application and enhances the longevity of the sealant, protecting the wood from moisture, pests, and weathering.
Step 2: Prepare Your Workspace
Set up a well-ventilated work area away from plants, pets, and food preparation areas. Lay down drop cloths or plastic sheeting to protect surrounding surfaces from sealant drips and spills.
Gather all necessary tools including brushes, rollers, sandpaper, clean rags, and protective equipment like gloves and safety glasses. Having everything ready ensures smooth workflow and prevents interruptions during the sealing process.
Step 3: Sand the Wood Surface
Begin with 120-grit sandpaper to smooth rough surfaces and remove any existing finish or weathering. Sand along the wood grain direction to avoid creating scratches that trap moisture.
Progress to 150-grit sandpaper for a final smooth finish that allows optimal sealant penetration. Pay special attention to cut ends and joints where moisture typically penetrates first. Clean surfaces thoroughly with a tack cloth to remove all dust particles.
Step 4: Clean and Dry the Wood
Remove all sanding dust using a vacuum or compressed air, followed by wiping with a slightly damp cloth. Allow wood to dry completely before applying any sealant products.
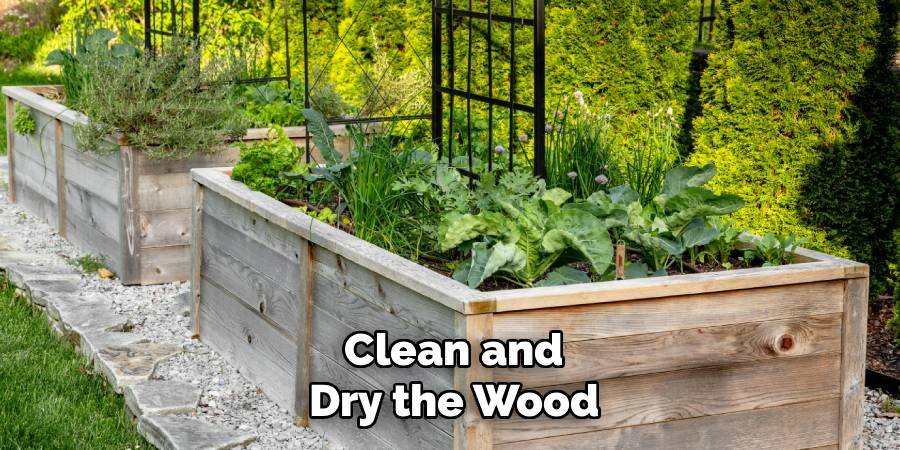
Check moisture content using a moisture meter if available – wood should be below 15% moisture for optimal sealant adhesion. In humid conditions, allow extra drying time or use fans to accelerate the process.
Step 5: Apply Primer If Required
Some sealant systems require a specialized primer for maximum adhesion and protection. Read manufacturer instructions carefully to determine if your chosen product needs primer application.
Apply primer using thin, even coats with a high-quality brush or roller. Work systematically to avoid missed spots, paying extra attention to end grain areas that absorb more product. Allow primer to cure according to label directions.
Step 6: Apply the First Sealant Coat
Begin sealant application during mild weather conditions – avoid extremely hot, cold, or windy days that affect curing. Apply thin, even coats using long, smooth brush strokes along the wood grain.
Start with less visible areas to practice your technique before moving to prominent surfaces. Maintain a wet edge to prevent lap marks, and watch for drips or runs that need immediate attention. Coverage should be uniform without heavy buildup.
Step 7: Allow Proper Curing Time
Follow manufacturer recommendations for curing time between coats – rushing this process compromises protection quality. Most sealants require 4-24 hours between applications depending on temperature and humidity.
Keep freshly sealed wood protected from rain, dew, and direct sunlight during curing. Good air circulation speeds curing while preventing dust and debris from settling on tacky surfaces.
Step 8: Apply Additional Coats
Most wood sealants require 2-3 coats for optimal protection, with each subsequent coat providing enhanced durability. Sand lightly between coats with fine-grit paper to promote adhesion.
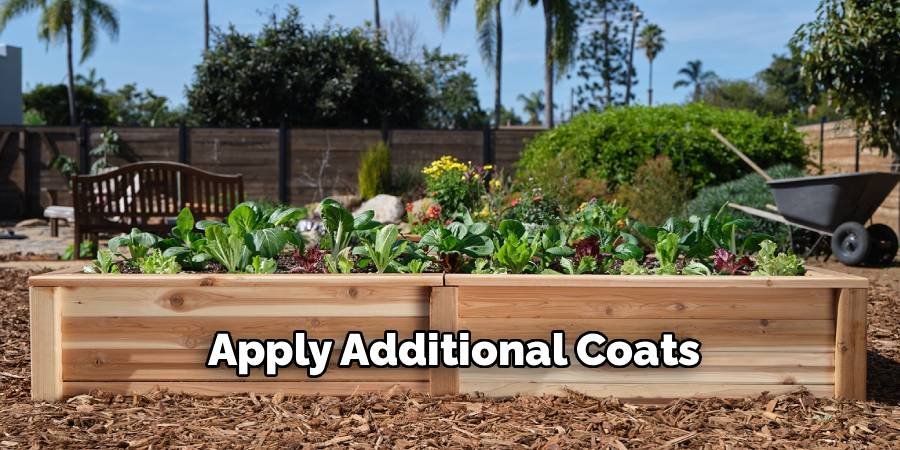
Apply final coats using the same technique as the first, maintaining consistent coverage and avoiding heavy application that causes runs or uneven texture. Each coat should be thinner than the previous one.
Step 9: Focus on High-Risk Areas
Pay special attention to joints, corners, and any hardware attachment points where moisture typically penetrates. These areas often need extra sealant application or more frequent maintenance.
Apply additional coats to cut ends and bottom edges that contact soil directly. Consider using a small artist’s brush for detailed work around complex shapes or tight spaces.
After completing the application, allow the sealant to fully cure as specified by the manufacturer’s instructions. This curing period is essential for achieving maximum durability and protection against moisture. Avoid exposing the treated surfaces to heavy water contact or extreme conditions during this time to ensure proper bonding and effectiveness. Regularly inspecting the sealed surfaces and reapplying sealant as needed will help maintain long-term integrity and prevent premature wear.
Step 10: Perform Final Inspection and Touch-ups
Examine all surfaces under good lighting to identify any missed spots, thin coverage, or imperfections that need correction. Address these issues while sealant is still workable.
Check that hardware mounting holes and cut edges receive adequate coverage. Mark your calendar for future maintenance schedules – most sealants need reapplication every 3-5 years depending on climate conditions.
Allow the sealant to cure completely before exposing it to water or heavy use. Curing times can vary depending on the product and environmental conditions, so refer to the manufacturer’s instructions for specific guidelines. Avoid touching or disturbing the sealant during this period to ensure a smooth and durable finish. Proper curing is essential for maximizing the sealant’s effectiveness and extending its lifespan. Once cured, perform a water test if applicable to confirm the sealant’s integrity and ensure no leaks or gaps remain.
Maintaining Your Sealed Garden Beds
Regular maintenance extends sealant life and keeps your garden beds looking great. Inspect beds annually for signs of wear, cracking, or moisture penetration that indicate resealing needs.
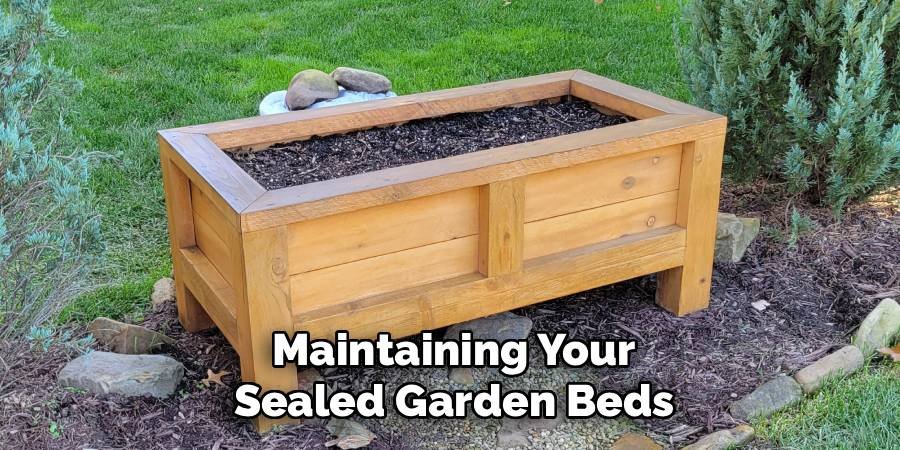
Clean sealed surfaces with mild soap and water to remove dirt, algae, and plant residues that can trap moisture against the wood. Avoid pressure washing which can damage sealant layers.
Touch up damaged areas immediately to prevent moisture intrusion. Keep a small amount of matching sealant for quick repairs of scratches, dings, or worn spots.
Common Mistakes to Avoid
Never seal wet or damp wood – trapped moisture causes premature sealant failure and encourages rot from within. Always check moisture levels and allow adequate drying time.
Avoid applying sealant in direct sunlight or extreme temperatures that cause rapid drying and poor penetration. Early morning or late afternoon application provides ideal conditions.
Don’t skip surface preparation steps thinking you’ll save time. Proper sanding and cleaning ensure maximum sealant adhesion and longevity. Rushing these steps leads to premature failure and costly reapplication.
FAQ Frequently Asked Questions
What’s the Best Sealant for Vegetable Garden Beds?
Food-safe options like pure tung oil, linseed oil, or certified organic wood sealants provide excellent protection without chemical contamination risks to edible plants.
How Often Should I Reseal My Garden Beds?
Reseal every 3-5 years depending on climate conditions, wood type, and sealant quality. Harsh weather conditions may require more frequent applications.
Can I Seal Pressure-Treated Lumber for Garden Use?
Yes, but choose sealants specifically designed for pressure-treated wood and ensure the lumber is appropriate for food garden applications before sealing.
Should I Seal the Inside Surfaces of Garden Beds?
Seal all wood surfaces exposed to moisture, including inside faces that contact soil. This provides comprehensive protection and extends bed lifespan significantly.
What Temperature Is Best for Applying Wood Sealant?
Apply sealants when temperatures range between 50-80°F with low humidity and no precipitation expected for 24-48 hours after application.
Conclusion
Learning how to seal wood for raised garden beds properly transforms a simple weekend project into a long-lasting investment in your gardening success. The process requires patience and attention to detail, but the results speak for themselves through years of reliable performance.
Your sealed garden beds will resist moisture damage, maintain structural integrity, and provide a safe growing environment for vegetables and flowers alike. The time invested in proper sealing techniques saves money on replacements and reduces ongoing maintenance requirements.
Remember that quality materials and careful application techniques make all the difference in final results. Take your time with each step, choose appropriate products for your specific needs, and maintain regular inspection schedules.
Your garden beds will reward this careful attention with decades of productive growing seasons. The plants growing in your properly sealed beds will thrive in their stable, well-protected environment while you enjoy the satisfaction of a job well done.
About Ravuk Barg
B.Sc. Horticulture Science | Certified Master Gardener
Ravuk Barg has spent more than a decade with his hands in the soil and his head full of questions about why some gardens thrive while others struggle. What started as a single raised bed of tomatoes and basil in a modest backyard has grown into a deep, working knowledge of everything from seed germination and soil amendment to companion planting and seasonal pruning.
Over the years, Ravuk has gardened through drought summers, waterlogged springs, and pest invasions that would make most gardeners hang up their trowels for good. Those hard seasons, he’ll tell you, taught him more than any perfect growing year ever could. He writes from that earned experience—covering vegetable growing, ornamental planting, houseplant care, composting, and garden design with equal confidence and curiosity.
Philosophy & Approach
Ravuk’s approach to gardening is rooted in practicality. He favors organic methods not out of dogma, but because they work long-term—resulting in healthier soil, fewer inputs, and stronger plants. He has a particular fondness for heirloom vegetable varieties (the kind with proper flavor), unruly cottage-style flower beds, and the stubborn houseplants that everyone else gave up on.
The Mission: Give readers the honest, experience-backed advice that helps them actually succeed in their gardens—not just the ideal version, but the real one; weeds, failures, and all.
Education & Credentials
-
B.Sc. in Horticulture Science
-
Greenfield Agricultural University
-
Focus: Plant Physiology, Soil Ecology, and Sustainable Crop Production
-
-
Master Gardener Certification
-
Cooperative Extension Service
-
Focus: 200+ hours of hands-on practical training and community garden work
-
Continuing Education
-
Organic Pest Management
-
Native Plant Landscaping
-
Sustainable Crop Production