

Nothing ruins a perfectly manicured landscape faster than decorative rocks that have mysteriously vanished into the ground. If you’re frustrated watching your carefully placed river rocks, gravel pathways, or decorative stone borders slowly disappear, you’re not alone. Learning how to keep landscaping rocks from sinking is essential for maintaining beautiful outdoor spaces that stand the test of time.
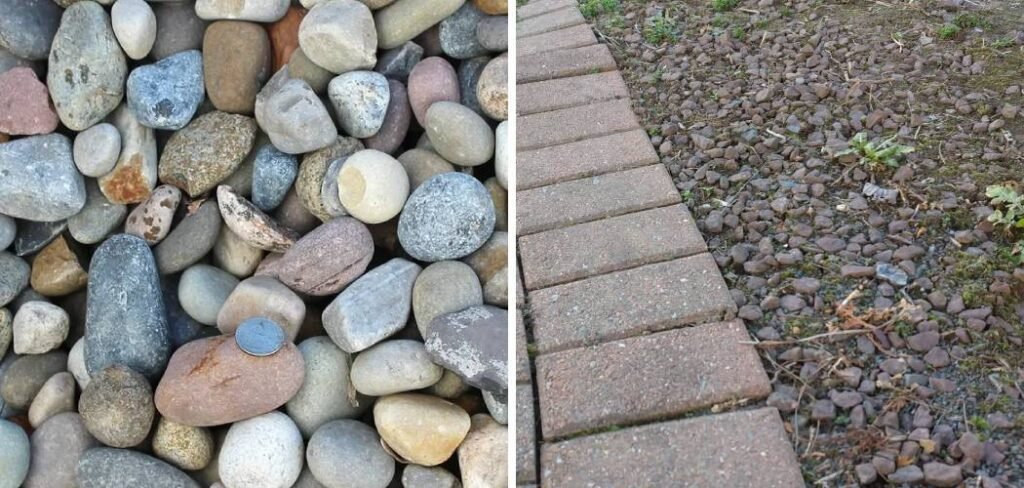
Rock sinking happens more often than most homeowners realize. Heavy rainfall, soil movement, and inadequate ground preparation all contribute to this common landscaping headache. The good news? With proper preparation and the right techniques, you can prevent your decorative stones from playing hide-and-seek with your soil.
This comprehensive guide will walk you through proven methods to keep your landscaping rocks exactly where you want them. From understanding why rocks sink in the first place to implementing long-lasting solutions, you’ll discover everything needed to protect your investment and maintain stunning curb appeal year after year.
Why You Need to Prevent Rock Sinking
Sinking decorative stones create more problems than just aesthetic disappointment. When rocks disappear into soft soil, they leave unsightly gaps in your carefully planned design. These voids collect debris, weeds, and water, creating maintenance nightmares that compound over time.
Beyond appearance issues, sunken rocks represent wasted money and effort. Quality landscaping materials aren’t cheap, and constantly replacing stones that have vanished underground becomes an expensive habit. Proper prevention saves both time and budget while ensuring your outdoor spaces remain beautiful.
Structural integrity matters too. Sinking rocks in pathways create uneven surfaces that pose safety hazards. Garden borders lose their definition when stones migrate downward, allowing mulch and soil to spill beyond intended boundaries. Taking preventive measures protects both your investment and your landscape’s functionality.
8 Step-by-Step Guide: How to Keep Landscaping Rocks from Sinking
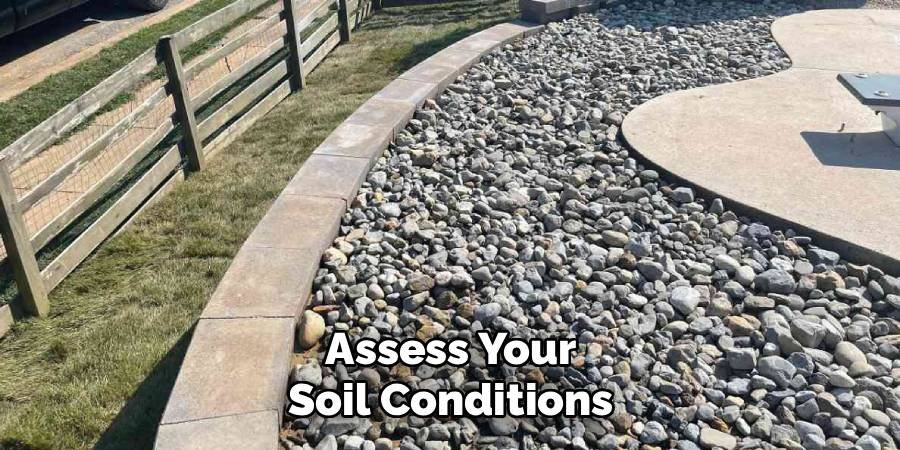
Step 1: Assess Your Soil Conditions
Understanding your soil type is crucial for preventing rock migration. Clay soils retain moisture and expand when wet, creating unstable conditions that push stones upward and allow them to settle unevenly. Sandy soils drain quickly but offer little support for heavy materials.
Test your soil’s drainage by digging a hole twelve inches deep and filling it with water. If water remains after twenty-four hours, you’re dealing with poor drainage that requires special attention. Document these findings to guide your preparation strategy.
Consider seasonal changes too. Soil that seems stable in summer might become swampy during spring thaws or heavy rain seasons. Factor these conditions into your planning to ensure year-round stability.
Step 2: Excavate to Proper Depth
Remove existing soil to create a stable foundation for your rock installation. For decorative gravel and small stones, excavate three to four inches below the final desired surface level. Larger rocks and stepping stones require deeper excavation, typically six to eight inches.
Mark your excavation boundaries clearly using spray paint or stakes and string. This prevents over-digging and ensures consistent depth across the entire project area. Work systematically, checking depth frequently with a measuring stick.
Save removed soil for other garden projects, but don’t reuse it as backfill under your rocks. Native soil often lacks the drainage and stability needed for long-term stone placement success.
Step 3: Install Landscape Fabric
High-quality landscape fabric creates a barrier between your decorative rocks and the underlying soil. This prevents stones from gradually working their way downward while still allowing water to drain properly. Choose commercial-grade fabric designed specifically for hardscape applications.
Roll fabric across your excavated area, overlapping seams by at least six inches. Secure edges with landscape staples every two feet, paying special attention to corners and curves where fabric might shift during rock placement.
Cut precise holes for existing plants or structures using a utility knife. Seal these cuts with landscape-grade adhesive tape to prevent tearing during installation and maintenance.
Step 4: Create a Gravel Base Layer
A compacted gravel base provides the stable foundation your decorative rocks need for lasting placement. Use crushed stone or decomposed granite rather than rounded river rock, which doesn’t compact well and shifts under weight.

Spread base material evenly across your fabric-covered area, maintaining consistent two-inch depth. Compact thoroughly using a plate compactor or hand tamper, working in sections to ensure uniform density throughout the entire area.
Check for low spots or irregularities after initial compaction. Add material as needed and recompact until you achieve a firm, level surface that doesn’t shift under pressure.
Step 5: Add Sand Leveling Layer
A thin sand layer over your compacted gravel base helps create perfectly level surfaces for final rock placement. Use coarse sand rather than fine varieties, which can create drainage problems and shift during heavy rains.
Apply sand in half-inch layers, screding level with a straight board. Work systematically across the entire area, maintaining consistent depth and checking frequently with a level to ensure proper grade.
Lightly mist the sand layer with water to help it settle and compact naturally. Avoid oversaturating, which can create soft spots that compromise stability.
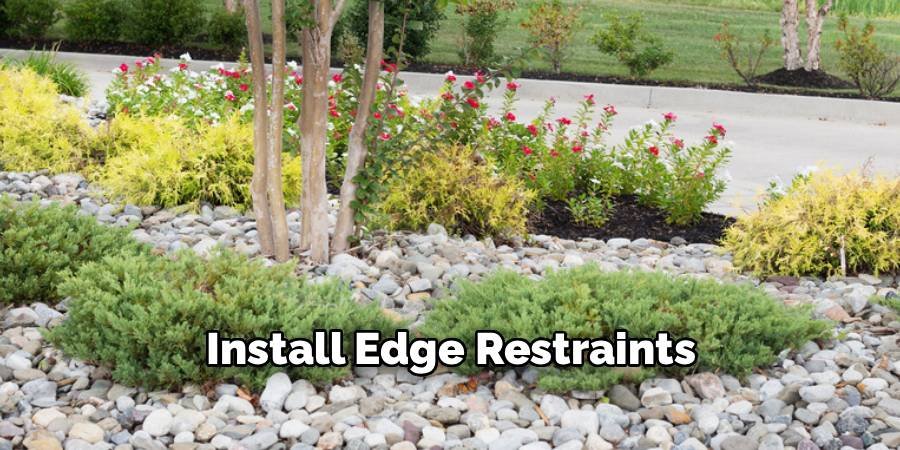
Step 6: Install Edge Restraints
Professional-grade edge restraints prevent your decorative rocks from migrating beyond intended boundaries. Metal or plastic edging systems work well for most applications, providing invisible barriers that maintain clean design lines.
Install edging along all perimeter areas, driving stakes deep enough to provide solid anchoring. Connect sections according to manufacturer specifications, ensuring smooth transitions at corners and curves.
For heavy-duty applications like driveways or high-traffic areas, consider concrete edge restraints. These permanent solutions provide maximum stability but require more installation time and expertise.
Step 7: Place Your Decorative Rocks
Begin rock placement at one end of your prepared area, working systematically to maintain even distribution and consistent depth. Pour materials gradually, spreading them with rakes or shovels to prevent damage to underlying fabric and base layers.
Maintain uniform depth across the entire installation, typically one and a half times the diameter of your chosen stone size. This provides adequate coverage while preventing excessive weight that could cause settling problems.
Work in manageable sections, completing each area fully before moving to the next. This approach ensures consistent quality and prevents accidentally disturbing completed sections.
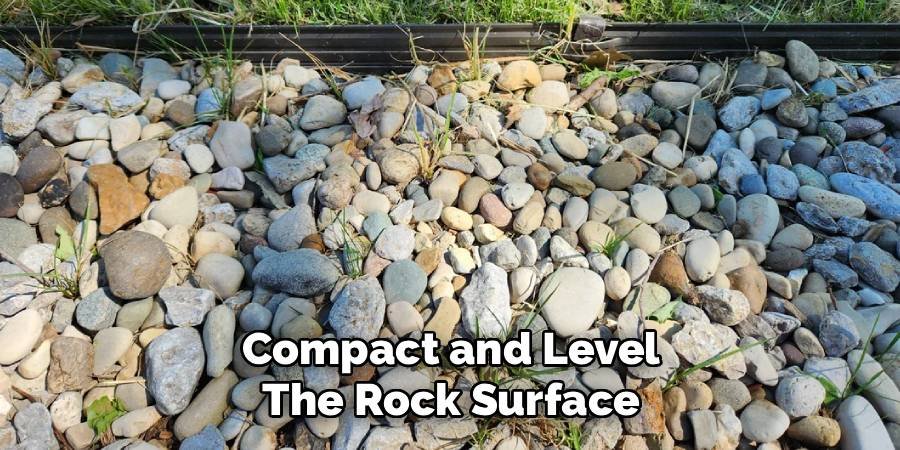
Step 8: Compact and Level the Rock Surface
Light compaction helps settle your decorative rocks into stable positions without damaging individual stones. Use a plate compactor with a rubber mat attachment, or hand-tamp smaller areas using a padded tamper.
Check surface levels frequently during compaction, adding material to low spots as needed. The goal is creating an even surface that drains properly while maintaining attractive appearance.
Pay special attention to edges and transitions between different materials. These areas often require extra attention to achieve smooth, professional-looking results.
Maintaining Your Rock Installation
Regular maintenance keeps your landscaping rocks looking great and functioning properly for years. Inspect installations monthly, looking for signs of settling, displacement, or drainage problems that require attention.
Remove debris like leaves and organic matter that can break down and create soft spots under your rocks. Use leaf blowers or rakes for regular cleaning, avoiding harsh chemicals that might damage stabilization treatments.
Address problems immediately when they appear. Small issues like minor settling or edge displacement are easy to fix when caught early, but become major headaches if left untreated.
Common Mistakes to Avoid
Skipping proper soil preparation is the biggest mistake homeowners make when installing decorative rocks. Rushing this crucial step virtually guarantees future problems with sinking and displacement.
Using inadequate base materials or insufficient depth creates unstable foundations that fail under normal weather conditions. Don’t try to save money by cutting corners on materials that determine long-term success.
Ignoring drainage requirements leads to water accumulation that destabilizes even properly prepared installations. Plan for water management from the beginning rather than trying to address problems after they develop.
FAQ Frequently Asked Questions
How Deep Should I Dig Before Installing Landscaping Rocks?
Excavate 3-4 inches for small decorative gravel and 6-8 inches for larger stones. Include space for landscape fabric, base gravel, and leveling sand in your depth calculations.
What Type of Fabric Works Best Under Decorative Rocks?
Commercial-grade landscape fabric designed for hardscape applications provides optimal durability and drainage. Avoid lightweight fabrics that tear easily or impermeable materials that block water flow.
Can I Install Rocks Directly on Soil Without Preparation?
Direct soil installation leads to sinking problems within months. Proper base preparation is essential for long-term stability and appearance.
How Often Should I Check My Rock Installations?
Monthly inspections help catch problems early. Look for settling, displacement, drainage issues, or edge deterioration that requires attention.
What’s the Best Way to Fix Rocks That Have Already Sunk?
Remove affected rocks, improve base preparation with proper excavation and materials, then reinstall following proven methods. Address underlying drainage problems to prevent recurring issues.
Conclusion
Successfully preventing how to keep landscaping rocks from sinking requires proper planning, quality materials, and attention to detail during installation. The techniques outlined in this guide provide proven methods for creating stable, attractive rock installations that maintain their beauty for years.
Remember that initial preparation determines long-term success. Investing time and effort in proper excavation, base materials, and drainage solutions saves money and frustration down the road. Your carefully planned landscape deserves the foundation needed for lasting results.
Start your next rock installation project with confidence, knowing you have the knowledge and techniques needed for professional results. With proper preparation and installation methods, your decorative rocks will stay exactly where you want them, enhancing your outdoor spaces with reliable beauty that stands the test of time.
About Ravuk Barg
B.Sc. Horticulture Science | Certified Master Gardener
Ravuk Barg has spent more than a decade with his hands in the soil and his head full of questions about why some gardens thrive while others struggle. What started as a single raised bed of tomatoes and basil in a modest backyard has grown into a deep, working knowledge of everything from seed germination and soil amendment to companion planting and seasonal pruning.
Over the years, Ravuk has gardened through drought summers, waterlogged springs, and pest invasions that would make most gardeners hang up their trowels for good. Those hard seasons, he’ll tell you, taught him more than any perfect growing year ever could. He writes from that earned experience—covering vegetable growing, ornamental planting, houseplant care, composting, and garden design with equal confidence and curiosity.
Philosophy & Approach
Ravuk’s approach to gardening is rooted in practicality. He favors organic methods not out of dogma, but because they work long-term—resulting in healthier soil, fewer inputs, and stronger plants. He has a particular fondness for heirloom vegetable varieties (the kind with proper flavor), unruly cottage-style flower beds, and the stubborn houseplants that everyone else gave up on.
The Mission: Give readers the honest, experience-backed advice that helps them actually succeed in their gardens—not just the ideal version, but the real one; weeds, failures, and all.
Education & Credentials
-
B.Sc. in Horticulture Science
-
Greenfield Agricultural University
-
Focus: Plant Physiology, Soil Ecology, and Sustainable Crop Production
-
-
Master Gardener Certification
-
Cooperative Extension Service
-
Focus: 200+ hours of hands-on practical training and community garden work
-
Continuing Education
-
Organic Pest Management
-
Native Plant Landscaping
-
Sustainable Crop Production