

A lush, green lawn is a point of pride for any homeowner, but small stones can quickly ruin the view and pose several problems. Not only do they make the grass look patchy and uncared for, but they can also damage lawnmowers, create tripping hazards, and make it uncomfortable to walk barefoot.
Whether they’ve appeared after construction, due to soil erosion, or from a gravel driveway, knowing how to remove small stones from lawn areas is an essential skill for maintaining a healthy and beautiful yard. This process might seem daunting at first, but with the right tools and a systematic approach, you can clear your lawn of unwanted debris and pave the way for thicker, healthier grass growth. This guide will walk you through everything you need to know, from initial preparation to the final steps of restoring your lawn to its former glory.
Why You Need to Remove Stones from Your Lawn
Removing stones from your lawn is more than just a cosmetic fix. These small rocks can cause significant damage to your lawn care equipment, particularly the blades of your lawnmower. Hitting a stone can dull, chip, or even break a blade, leading to costly repairs and uneven cuts that stress your grass. Furthermore, stones create compacted soil areas where grass struggles to grow, leading to bare patches. They also get in the way of essential lawn care tasks like aeration and dethatching. By clearing them away, you create a safer environment for playing and ensure your maintenance efforts are more effective.
10-Step-by-Step Guide: How to Remove Small Stones from Lawn
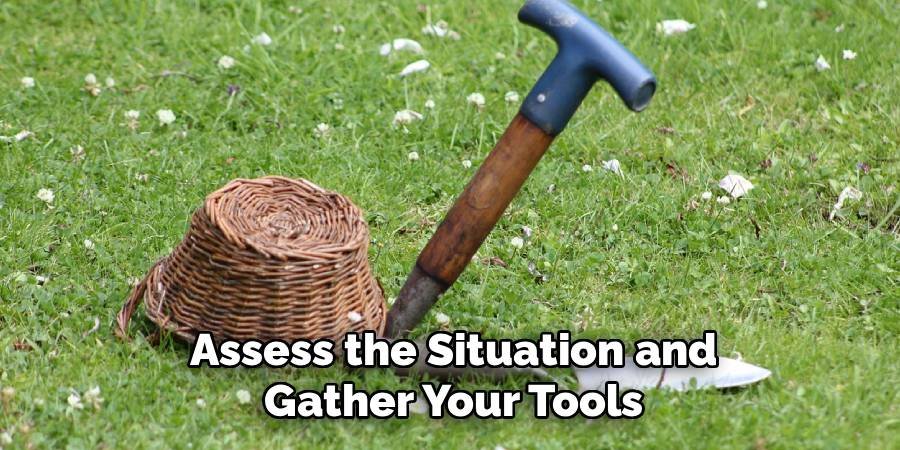
Step 1: Assess the Situation and Gather Your Tools
Before you begin, walk through your yard to determine the scale of the problem. Identify the areas with the highest concentration of stones. Is it a small patch or the entire lawn? Understanding the scope will help you choose the right method and tools. For this project, you will need a sturdy leaf rake or landscape rake, a wheelbarrow or large buckets, work gloves to protect your hands, and a shovel or spade. If you’re dealing with a large area or deeply embedded stones, you might also consider renting a power rake or a mechanical rock picker to make the job easier and more efficient.
Step 2: Mow the Lawn Short
To get a clear view of all the stones hiding in your grass, the first practical step is to mow your lawn. Set your lawnmower to one of its lowest blade settings, but be careful not to scalp the turf. A shorter cut exposes the surface of the soil, making the stones much easier to spot and collect. This step is crucial because taller grass can easily conceal smaller pebbles, leading you to miss them during the removal process. Mowing first ensures you can work more effectively, saving you time and preventing the frustration of finding more stones after you thought you were finished.
Step 3: Rake the Lawn Vigorously
With the grass cut short, it’s time to start gathering the loose stones. Use a durable metal leaf rake or a landscape rake, which has stiffer tines better suited for this task. Rake the entire lawn methodically, working in one direction to create neat piles of stones and other debris. Apply firm pressure to dislodge stones that are lightly embedded in the topsoil. This process will not only pull up the stones but also help dethatch your lawn by removing dead grass and moss. Collect the piles into your wheelbarrow or buckets as you go to keep the workspace tidy and manageable.
Step 4: Manually Pick Larger Stones
While raking is effective for smaller pebbles, you will likely encounter larger stones that the rake can’t move easily. Put on your work gloves and walk through the lawn, manually picking up any stones that are too big for the rake. This is also a good opportunity to remove any rocks that are deeply embedded in the soil. You may need a small trowel or spade to dig these out. Collecting the larger stones by hand ensures a thorough cleaning and prevents them from causing damage to any machinery you might use later. Place these stones in your wheelbarrow along with the raked piles.
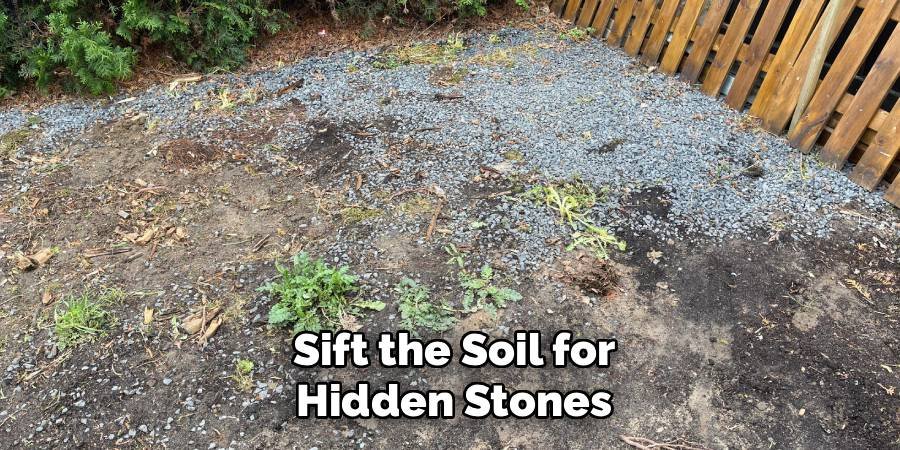
Step 5: Sift the Soil for Hidden Stones
For areas with a high concentration of small stones mixed into the topsoil, sifting can be an effective technique. Use a shovel to scoop up the top layer of soil and stones from a particularly rocky patch. Place the mixture onto a soil sifter or a screen made of hardware cloth stretched over a wooden frame. Shake the sifter over your wheelbarrow or a tarp. The fine soil will fall through the mesh, leaving the stones behind. While this method is more labor-intensive, it is incredibly effective for ensuring you remove as many stones as possible from targeted problem areas.
Step 6: Use a Power Rake for Large Areas
If you are dealing with a large lawn or a severe stone problem, renting a power rake (also known as a scarifier or dethatcher) can save you a significant amount of time and effort. A power rake has rotating tines that dig into the ground, pulling up thatch, debris, and small stones to the surface. Run the machine over your lawn in overlapping rows, just as you would with a lawnmower. After you have covered the entire area, the stones will be sitting on top of the grass, ready to be raked up and collected easily. This is a powerful tool, so be sure to follow the operating instructions carefully.
Step 7: Loosen the Soil to Expose Deeper Stones
Some stones may be packed down and hidden just below the surface. To bring them to light, you can loosen the top layer of soil. A garden fork or a core aerator can be used to gently break up compacted soil without causing major disruption to your lawn. Go over the affected areas, pushing the fork into the ground and slightly wiggling it to disturb the soil. This action will often push buried stones to the surface, where they can then be raked away. This step is particularly useful after a heavy rainfall when the ground is softer and easier to work.
Step 8: Topdress the Lawn with Compost and Topsoil
After removing the stones, your lawn may have some bare or uneven spots. This is the perfect time to improve your soil quality by topdressing. Spread a thin layer of high-quality compost or topsoil over the entire lawn, about a quarter-inch thick. Use the back of a rake to spread it evenly, allowing it to settle into the aeration holes and low spots. This new layer will create a better growing medium for your grass, improve drainage, and help smother any tiny pebbles that you might have missed. It also enriches the soil with vital nutrients for healthier growth.
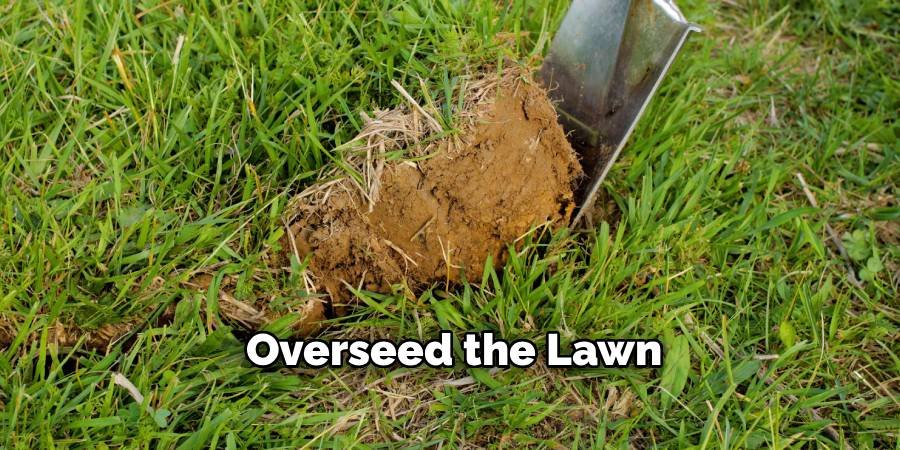
Step 9: Overseed the Lawn
Now that you have a clean, stone-free, and nutrient-rich surface, it’s time to repair any damage and thicken your turf. Overseeding involves spreading new grass seed over your existing lawn. Choose a high-quality seed blend that matches your current grass type and is suitable for your climate. Use a broadcast spreader to ensure even distribution across the entire yard, paying extra attention to any bare patches. The new seed will germinate in the fresh topsoil, filling in gaps and creating a denser, more resilient lawn that is better equipped to crowd out future weeds.
Step 10: Water and Care for Your Renewed Lawn
The final step is to provide your newly seeded lawn with the care it needs to thrive. Water the lawn lightly but frequently for the first couple of weeks to keep the seed and topsoil consistently moist, which is crucial for germination. Once the new grass has started to grow, you can return to a less frequent, deeper watering schedule. Avoid heavy foot traffic on the lawn for a few weeks to give the young grass seedlings a chance to establish strong roots. Proper watering and care will ensure your hard work pays off with a beautiful, stone-free lawn.
Maintaining Your Stone-Free Lawn
Once you’ve cleared your lawn of stones, a little preventative maintenance can keep it that way. Regularly inspect the edges of your property, especially near driveways or walkways, and remove any new stones that appear. If you have gravel areas, consider installing a sturdy border or edging to prevent stones from migrating into the grass. When adding new soil or mulch to garden beds, ensure it’s been screened for rocks. Consistent lawn care, including regular mowing and aeration, will also help keep the soil healthy and make it easier to spot and remove any stray stones before they become a larger problem.
Common Mistakes to Avoid
A common mistake is using a plastic rake, which can easily break when trying to move stones. Always opt for a sturdy metal rake. Another error is not mowing the grass short enough before starting, which leads to missing many of the smaller stones. Some people also skip the topdressing and overseeding steps, leaving their lawn patchy and vulnerable. Finally, avoid the temptation to just bury the stones with a thick layer of topsoil. This is a temporary fix at best; the stones will eventually work their way back to the surface over time, especially in areas with frost heave.
FAQ Frequently Asked Questions
How Do I Get Rid of Tiny Pebbles in My Grass?
For very small pebbles, use a stiff-tined landscape rake to gather them into piles. For heavily infested areas, consider using a soil sifter.
Can a Lawnmower Pick Up Small Rocks?
While some mowers might mulch and bag very small stones, it is highly damaging to the blades and internal parts. It is not a recommended removal method.
Will Grass Grow Over Small Stones?
Grass may struggle to grow over stones because they block root access to soil and water. This often results in weak, patchy, or bare spots in your lawn.
What Is the Fastest Way to Remove Rocks From a Large Yard?
The fastest method for a large area is to rent machinery. A power rake or a specialized rock picker attachment for a tractor will collect stones much more quickly.
What Can I Do With the Stones I Remove?
You can repurpose the stones for various landscaping projects, such as creating a garden path, using them as a base for a patio, or adding them to drainage ditches.
Conclusion
Learning how to remove small stones from lawn areas is a rewarding process that significantly improves your yard’s health, appearance, and safety. By following a systematic approach—from mowing and raking to topdressing and overseeding—you can effectively clear your turf of unwanted debris and create an ideal environment for lush, green grass to flourish. While it requires some effort, the long-term benefits of a stone-free lawn are well worth it. You’ll enjoy a smoother, more uniform surface that is safer for your family and easier on your lawn care equipment. With a little ongoing maintenance, you can keep your lawn looking its best for years to come. Your garden will thank you for the effort.
About Ravuk Barg
B.Sc. Horticulture Science | Certified Master Gardener
Ravuk Barg has spent more than a decade with his hands in the soil and his head full of questions about why some gardens thrive while others struggle. What started as a single raised bed of tomatoes and basil in a modest backyard has grown into a deep, working knowledge of everything from seed germination and soil amendment to companion planting and seasonal pruning.
Over the years, Ravuk has gardened through drought summers, waterlogged springs, and pest invasions that would make most gardeners hang up their trowels for good. Those hard seasons, he’ll tell you, taught him more than any perfect growing year ever could. He writes from that earned experience—covering vegetable growing, ornamental planting, houseplant care, composting, and garden design with equal confidence and curiosity.
Philosophy & Approach
Ravuk’s approach to gardening is rooted in practicality. He favors organic methods not out of dogma, but because they work long-term—resulting in healthier soil, fewer inputs, and stronger plants. He has a particular fondness for heirloom vegetable varieties (the kind with proper flavor), unruly cottage-style flower beds, and the stubborn houseplants that everyone else gave up on.
The Mission: Give readers the honest, experience-backed advice that helps them actually succeed in their gardens—not just the ideal version, but the real one; weeds, failures, and all.
Education & Credentials
-
B.Sc. in Horticulture Science
-
Greenfield Agricultural University
-
Focus: Plant Physiology, Soil Ecology, and Sustainable Crop Production
-
-
Master Gardener Certification
-
Cooperative Extension Service
-
Focus: 200+ hours of hands-on practical training and community garden work
-
Continuing Education
-
Organic Pest Management
-
Native Plant Landscaping
-
Sustainable Crop Production