

Keeping your lawn looking neat and tidy requires more than just cutting the grass. One of the most effective ways to maintain a pristine yard is learning how to attach a bag to a lawn mower properly. This simple yet crucial step transforms your mowing routine from leaving scattered clippings across your lawn to collecting them efficiently in one convenient container.
Many homeowners struggle with this seemingly basic task, often finding themselves frustrated when the bag won’t stay secure or falls off mid-mow. The good news is that once you understand the proper technique, attaching a grass collection bag becomes second nature.
Whether you’re a first-time homeowner or someone who’s always relied on others for yard work, this comprehensive guide will walk you through everything you need to know. You’ll discover the step-by-step process, learn about different bag types, and understand how proper attachment can significantly improve your lawn care results.
Grass Collection Bag Securely
Attaching a grass collection bag correctly is essential for efficient lawn mowing and hassle-free yard work. A secure attachment ensures that clippings are collected properly and prevents spills or interruptions during mowing. In this section, we will cover the basic steps for attaching the bag, tips to ensure a snug fit, and common mistakes to avoid. By following these guidelines, you’ll not only save time but also achieve a pristine, well-manicured lawn.
8 Step-by-Step Guide on how to attach a bag to a lawn mower
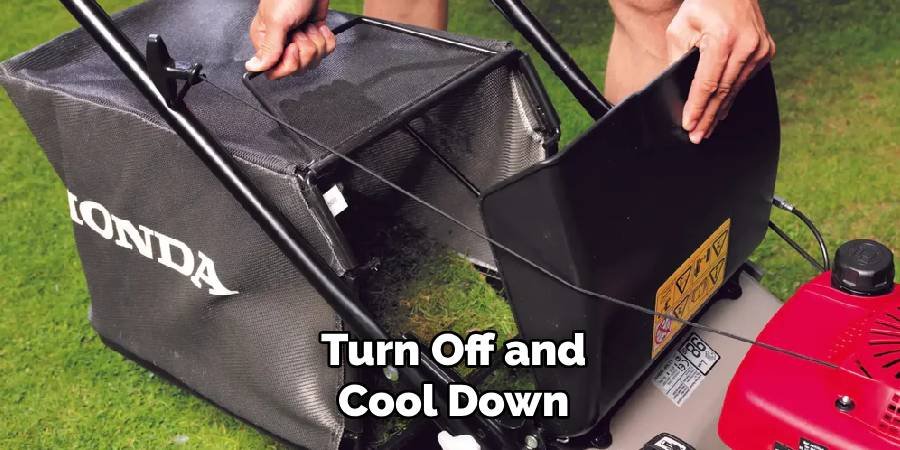
Step 1: Safety First – Turn Off and Cool Down
Before attempting any attachment procedure, ensure your mower engine is completely turned off and has had adequate time to cool down. Remove the spark plug wire to prevent accidental starting during the process. This critical safety step protects you from potential injuries caused by moving parts or hot surfaces. Wait at least 15-20 minutes after use before handling any mower components. Check that the blade has stopped spinning completely and inspect the discharge chute area for any debris that might interfere with bag installation.
Step 2: Locate the Discharge Chute
Identify your mower’s rear or side discharge chute, which is the opening where grass clippings normally exit the cutting deck. This metal or plastic component typically features mounting brackets or hooks designed specifically for bag attachment. Examine the chute carefully to understand its design and note any clips, levers, or securing mechanisms. Some mowers have a discharge chute cover that must be removed before bag installation, while others allow direct attachment over the existing opening.
Step 3: Position the Collection Bag
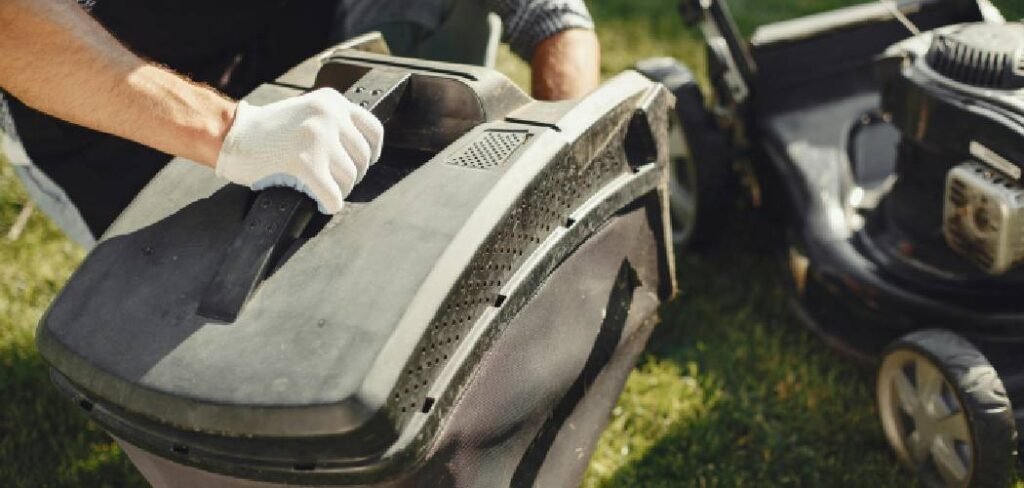
Hold your grass collection bag with both hands and align it with the discharge chute opening. Most bags feature a rigid frame or collar that corresponds to the chute’s shape and size. The bag should sit flush against the mower deck without forcing or excessive pressure. Proper positioning ensures optimal airflow and prevents clippings from escaping during operation. Take note of any directional indicators on the bag that show correct orientation for your specific mower model.
Step 4: Secure the Upper Attachment Points
Connect the bag’s upper mounting brackets or hooks to their corresponding attachment points on the discharge chute. These connections typically involve sliding hooks into slots, snapping clips into place, or engaging lever mechanisms. Apply firm, even pressure to ensure each connection point is fully engaged and locked. Listen for clicking sounds or visual confirmation that latches have properly secured. Double-check that all upper attachments are tight and won’t come loose during mowing operations.
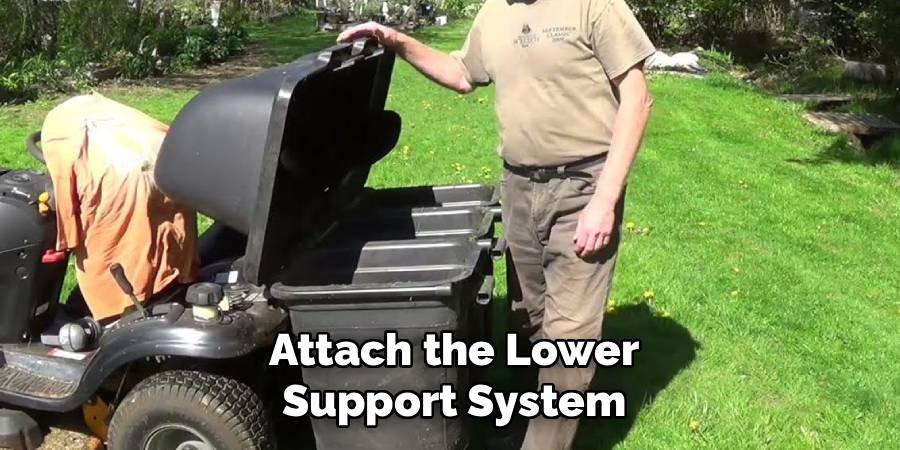
Step 5: Attach the Lower Support System
Most mower bags include a lower support bracket or strap system that prevents the bag from sagging or dragging on the ground when full. Locate these support components and attach them to designated mounting points on your mower’s frame or deck. Proper lower support distribution ensures the bag maintains its shape and doesn’t interfere with mower movement. Adjust the support tension so the bag hangs freely but remains stable during operation.
Step 6: Test the Secure Connection
Gently tug on the attached bag from multiple angles to verify all connection points are properly secured. The bag should remain firmly in place without any loose or wobbling components. Rock the bag slightly from side to side and front to back, checking that it doesn’t detach or shift position. This testing phase prevents mid-mow disconnections that could damage your mower or create safety hazards. If any attachment point feels loose, recheck the connection and ensure proper engagement.
Step 7: Verify Proper Clearance
Inspect the area around the attached bag to ensure adequate clearance from the ground, mower wheels, and other moving parts. The bag should hang at the appropriate height to avoid contact with obstacles while maintaining proper positioning for optimal grass collection. Check that the bag doesn’t interfere with mower steering or maneuverability. Ensure the bag opening aligns perfectly with the discharge chute to maximize collection efficiency and prevent clogging.
Step 8: Perform a Final Safety Check
Conduct one last comprehensive inspection of your bag attachment before starting your mowing session. Verify that all latches, clips, and brackets are properly engaged and secure. Confirm the bag is correctly positioned and won’t interfere with mower operation. Check that the discharge chute is unobstructed and grass can flow freely into the collection bag. Replace the spark plug wire and prepare for efficient, mess-free mowing with your properly attached grass collection system.

Maintaining Your Bag to a Lawn Mower
Regular maintenance keeps your mower bag functioning optimally throughout the cutting season. Empty the bag when it reaches about three-quarters full to maintain proper airflow and prevent overloading. Clean the bag after each use, removing stuck clippings and debris that could cause odors or deterioration. Inspect attachment points regularly for wear or damage. Replace worn brackets or hooks promptly to prevent unexpected failures during operation. Keep the bag dry and avoid storing it in direct sunlight to prevent fading or cracking.
After each use, check the mower blades for any signs of damage or dullness. Sharpen them regularly throughout the season to ensure a clean and efficient cut. In addition, lubricate any moving parts on your mower to prevent rusting and keep the machine running smoothly. If you notice any leaks or holes in your bag, patch them immediately with a durable adhesive or replace the bag entirely if necessary. This will prevent clippings from spilling out during use and maintain proper collection efficiency. Properly storing your lawn mower and its attached bag is also important for maintaining its longevity. Store in a dry area
Common Mistakes
The most frequent error involves forcing bag attachment when components don’t align properly. This can damage both the bag and mower mounting hardware. Another common mistake is neglecting to secure all attachment points, leading to mid-mow disconnections.
Many users forget to check bag capacity, resulting in overfilling that reduces collection efficiency and strains the mounting system. Always monitor bag fullness during extended mowing sessions. Other issues include not properly cleaning and maintaining the bag, resulting in clogs and decreased airflow. It’s also important to regularly inspect and replace worn or damaged components to ensure optimal performance.
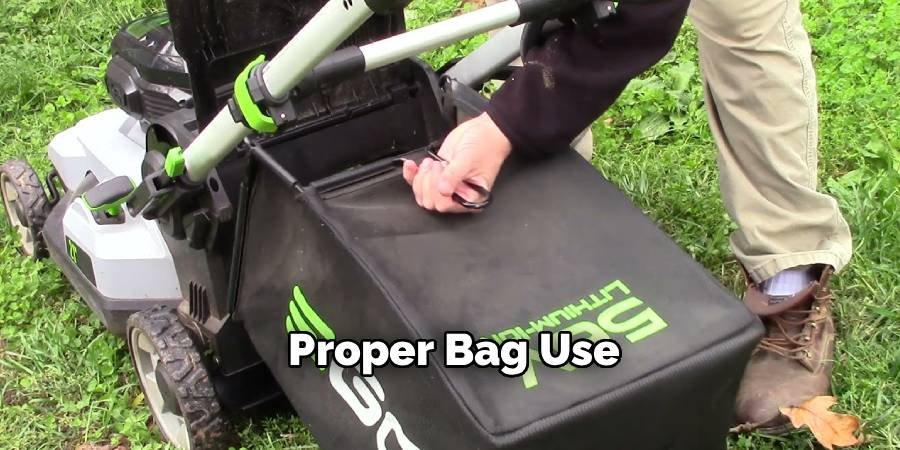
Proper Bag Use
To avoid these mistakes, it’s crucial to follow proper bag usage guidelines. This includes selecting the correct bag for your specific mower model and ensuring all attachments are securely fastened before use. Additionally, always empty the bag when it reaches half full capacity to prevent strain on the mounting system. Clean the bag after each use by removing any grass clippings or debris from both the inside and outside of the bag. Finally, make sure to store the bag in a clean and dry location when
FAQ
How do I know if my mower bag is properly attached?
A properly attached bag should feel secure when gently tugged and maintain its position without wobbling or shifting during mower operation.
Can I use any bag with my lawn mower?
No, mower bags are model-specific and must match your mower’s discharge chute design and mounting hardware for proper fit and function.
How often should I empty the grass collection bag?
Empty your bag when it reaches approximately 75% capacity to maintain optimal airflow and prevent overloading that could damage attachment points.
What should I do if my bag keeps falling off?
Check all mounting brackets for damage, ensure proper alignment, and verify you’re using the correct bag model for your specific mower.
Is it safe to mow without emptying a full bag?
Mowing with an overfull bag reduces collection efficiency, strains attachment hardware, and can cause the bag to detach unexpectedly during operation.
Conclusion
Learning how to attach a bag to a lawn mower properly transforms your yard maintenance routine from a messy chore into an efficient, professional-looking operation. The eight-step process outlined above ensures secure attachment and optimal performance every time you mow.
Remember that proper bag attachment not only keeps your lawn looking pristine but also provides valuable composting material for your garden. The time invested in mastering this technique pays dividends in easier cleanup and improved lawn appearance.
Take your time during the initial learning process, and don’t hesitate to consult your mower’s manual for model-specific guidance. With practice, attaching your grass collection bag will become an automatic part of your pre-mowing routine.
Your lawn will thank you for the extra care, and you’ll appreciate the convenience of efficient grass collection. Start implementing these techniques today, and enjoy the satisfaction of a perfectly manicured yard with minimal cleanup effort.
About Ravuk Barg
B.Sc. Horticulture Science | Certified Master Gardener
Ravuk Barg has spent more than a decade with his hands in the soil and his head full of questions about why some gardens thrive while others struggle. What started as a single raised bed of tomatoes and basil in a modest backyard has grown into a deep, working knowledge of everything from seed germination and soil amendment to companion planting and seasonal pruning.
Over the years, Ravuk has gardened through drought summers, waterlogged springs, and pest invasions that would make most gardeners hang up their trowels for good. Those hard seasons, he’ll tell you, taught him more than any perfect growing year ever could. He writes from that earned experience—covering vegetable growing, ornamental planting, houseplant care, composting, and garden design with equal confidence and curiosity.
Philosophy & Approach
Ravuk’s approach to gardening is rooted in practicality. He favors organic methods not out of dogma, but because they work long-term—resulting in healthier soil, fewer inputs, and stronger plants. He has a particular fondness for heirloom vegetable varieties (the kind with proper flavor), unruly cottage-style flower beds, and the stubborn houseplants that everyone else gave up on.
The Mission: Give readers the honest, experience-backed advice that helps them actually succeed in their gardens—not just the ideal version, but the real one; weeds, failures, and all.
Education & Credentials
-
B.Sc. in Horticulture Science
-
Greenfield Agricultural University
-
Focus: Plant Physiology, Soil Ecology, and Sustainable Crop Production
-
-
Master Gardener Certification
-
Cooperative Extension Service
-
Focus: 200+ hours of hands-on practical training and community garden work
-
Continuing Education
-
Organic Pest Management
-
Native Plant Landscaping
-
Sustainable Crop Production