

Building raised garden beds on a slope may seem challenging, but it’s a great way to utilize your sloping yard. Many gardeners think they can’t grow vegetables or flowers on a hill, but that’s not true. With the proper planning and strategy, you can create beautiful, productive garden beds that work with your slope, rather than against it.
Sloped gardens offer unique benefits like better drainage, interesting visual appeal, and the ability to grow different plants at various levels. This guide will show you exactly how to build a raised garden bed on a slope using simple methods that anyone can follow.
Why Build Raised Garden Beds on Slopes?
Slopes present both challenges and opportunities for gardeners. The main problems include water runoff, soil erosion, and difficulty accessing plants. However, raised beds solve these problems and create more even growth space. Raised garden beds on slopes provide excellent drainage, prevent soil erosion, and make it easier to garden on your back. They help you control soil quality and create microclimates for different plants. The elevated design allows for better air circulation and makes pest management easier.
When you build raised beds on slopes, you are essentially creating terraces. This ancient agricultural technique has been used for thousands of years to grow crops on hillsides. Modern gardeners can use the same principles with simpler construction methods.
Planning Your Sloped Raised Garden Bed
Before you start building, measure the angle of your slope and decide where you will place your beds. Choose sunny areas that receive at least 6-8 hours of direct sunlight per day. Consider how you will reach each bed for watering, weeding, and harvesting.
Think about water runoff during heavy rains. You want to contain and slow the water, not rush it past your plants. Plan a path through the middle of the bed that is safe to walk on, even when wet.
Decide on the size and number of beds based on your garden goals and available space. Small beds are easier to build and maintain, especially on steep slopes. You can add more beds later as you gain experience.
Materials and Tools Needed
To build a raised garden bed on a slope, you will need sturdy materials that can withstand soil pressure and weather. Cedar, redwood, or composite wood work best because they resist rot and insects. Avoid using treated wood near food plants. Tools needed include a level, measuring tape, drill, saw, shovel, and rubber mallet. You will also need galvanized screws or bolts, corner brackets, and landscape fabric.
For steep slopes, consider adding rebar or stakes for extra stability. Calculate soil needs carefully. Raised beds require more soil than flat gardens due to their depth. Plan on 6-12 inches of high-quality growing medium, depending on what you want to grow. Root vegetables need deeper beds than lettuce or herbs.
10 Methods Guide on How to Build a Raised Garden Bed on a Slope
Method 1: Stepped Terrace Beds
Create multiple tiers of beds that descend like stairs down the slope. Each bed sits evenly, following the natural contours of your hillside. This method works well for moderate slopes and creates an attractive stepped look.
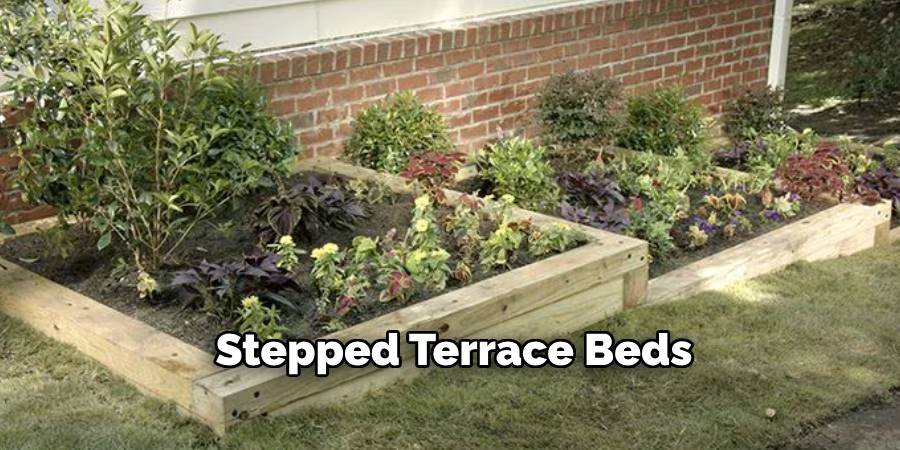
Start at the top of the slope and work your way down. Build each tier of beds, then adjust the height of the next tier to maintain consistent spacing. Fill the top bed with the soil excavated from each tier.
Method 2: Single Long Retaining Bed
Create a long raised bed that follows the shape of the slope. The front wall is level while the back wall conforms to the ground. This creates a sloping growing surface that is easier to reach than a steep slope. This method works best on gentle slopes with temperatures below 15 degrees. Make sure the bed is wide enough so that the back is not too much higher than the front. Typically, 3-4 feet wide works well for this design.
Method 3: Leveled Platform Method
Dig and level a platform for each bed, creating a flat area on your slope. This involves more soil removal but results in a more even growth. Use the excavated soil to level the lower parts of the slope. This method provides the most professional look and the easiest growing environment. Plants grow on level ground, which makes it easier to care for and harvest. Flat platforms make walking and working safer.
Method 4: Stacked Stone or Block Beds
Use retaining wall blocks or natural stone to create sturdy raised beds. These materials withstand slope pressure well and create a permanent structure. The weight and interlocking design provide excellent stability.
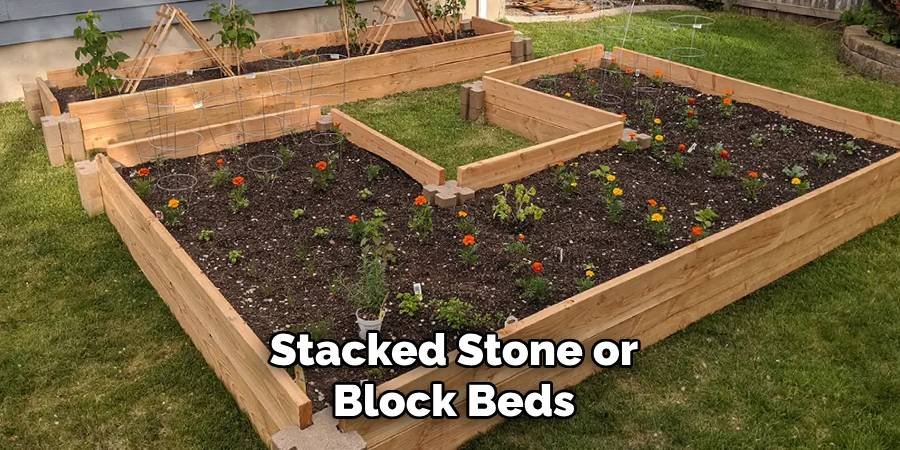
Stack the blocks or stones in a slightly staggered pattern for maximum strength. Fill any gaps with small rocks or gravel for drainage. These beds can be taller than wooden beds and last for decades with minimal maintenance.
Method 5: Embedded Post System
Drive sturdy posts deep into the slope, then attach boards to create the walls of your bed. This method securely anchors beds on steep slopes where regular construction can cause them to slip. Use pressure-treated posts to stay in contact with the ground. Dig a hole at least 18 inches deep, or one-third the height of your posts. Set the posts in concrete for maximum stability. This extra foundation work ensures that your beds stay stable through freeze-thaw cycles and heavy rains.
Method 6: Keyhole Garden Design
Create a circular or keyhole-shaped bed with a composting center. This permaculture design works great on slopes because the central compost area collects water and nutrients that flow out of the plants. The keyhole shape allows for easy access from multiple angles and maximizes growing space. Build the walls higher on the slope to level the growing surface. The central compost breaks down and creates rich soil.
Method 7: Hugelkultur Slope Beds
Bury wood and branches at the base of your bed to help retain natural water and create soil structure. This permaculture technique works especially well on sloping areas where water drains quickly.
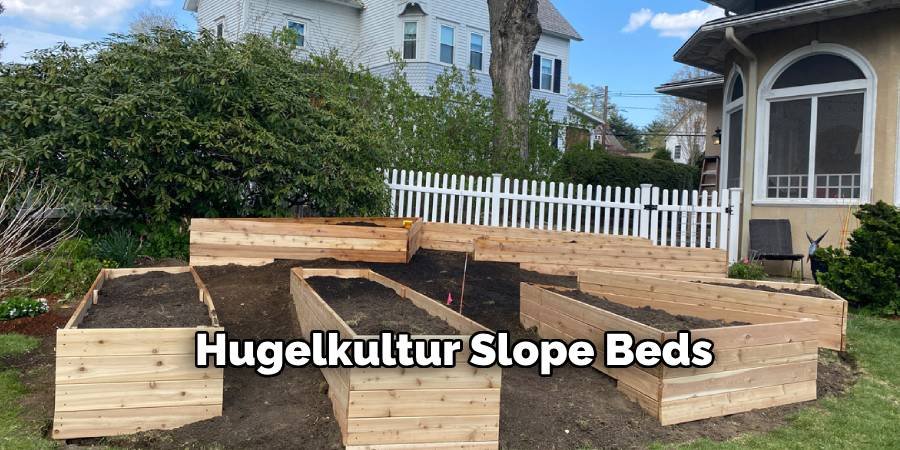
Start with larger pieces of wood at the bottom, then add smaller branches, and finally, soil. As the wood slowly decomposes, it holds water like a sponge and feeds beneficial soil microbes. This creates incredibly fertile growing conditions.
Method 8: Modular Box System
Create individual rectangular boxes that can be placed and rearranged as needed. This flexible system allows you to adjust your garden layout over time and move beds as needed.
Use corner brackets or simple butt joints for easy assembly. Make the boxes light enough so that two people can move them when empty. This system is perfect for renters or gardeners who like to experiment with layouts.
Method 9: Living Retaining Wall Beds
Use a retaining wall to plant appropriate plants in your raised beds. Use a retaining wall for herbs, strawberries, or spring flowers. This maximizes your planting area and prevents erosion.
Choose plants that don’t mind root competition and can tolerate the specific moisture and light conditions of your slope. Succulents, native grasses, and ground covers often work well when planting a retaining wall.
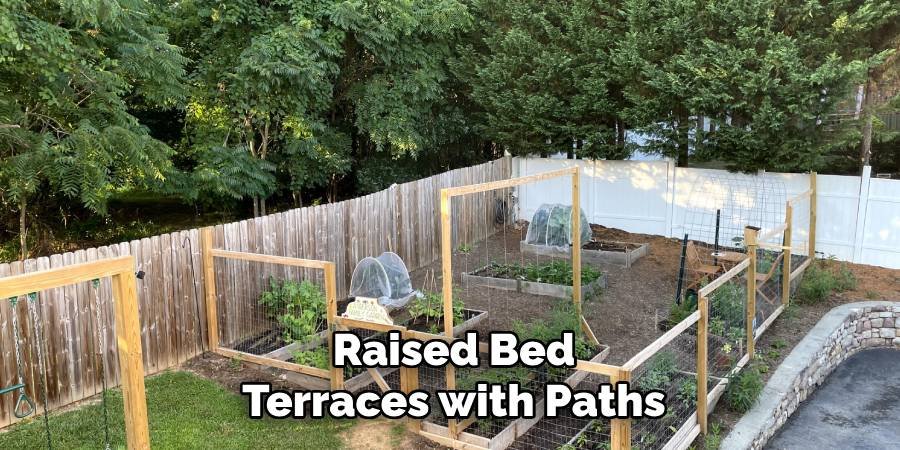
Method 10: Raised Bed Terraces with Paths
Create a series of raised beds connected by safe, stable paths. This comprehensive approach turns your entire slope into a productive garden and ensures safe access to all areas.
Plan paths with a gentle grade that are comfortable for walking. Use gravel, mulch, or stepping stones to create a stable surface. Consider handrails for steep sections to ensure safety when carrying equipment or crops.
Maintenance and Care Tips
Regular maintenance keeps raised beds productive and attractive. Check the bed walls annually for signs of movement or damage. Tighten loose screws and replace damaged boards promptly. Add fresh soil or compost each season to replace soil used by plants or lost to permanent settlement. This keeps the growing depth consistent and maintains soil fertility.
Monitor drainage throughout the year, especially after heavy rains. Clear any blocked drainage holes and adjust the mulch layer to prevent waterlogging problems.
Common Mistakes to Avoid
Do not make the bed too wide for easy access from all sides. On slopes, the bed should be narrower than on flat ground because it becomes more difficult to reach across.
Avoid using materials that cannot withstand moisture and soil pressure. Thin boards or weak corner joints in raised bed applications will fail quickly.
Do not neglect safety when building or maintaining sloped beds. Use the right tools, work with helpers if necessary, and consider professional help for very steep or complex projects.
Conclusion
Building raised garden beds on slopes opens up new possibilities for your gardening endeavors. With proper planning and the right construction methods, you can transform challenging sloping areas into productive, beautiful growing spaces. The ten methods outlined in this guide provide solutions for all kinds of slopes and gardening goals. Remember that success comes from matching your construction method to your specific slope conditions and gardening needs.
Start with simple designs and work your way up to more complex systems as you gain experience. Take the time to carefully plan drainage, access, and plant selection. Your sloped raised garden beds will provide years of garden enjoyment, solve erosion problems, and maximize your growing space. Whether you choose simple terraced beds or elaborate keyhole designs, you’ll soon discover that gardening on slopes can be both rewarding and surprisingly manageable with the right approach.
About Ravuk Barg
B.Sc. Horticulture Science | Certified Master Gardener
Ravuk Barg has spent more than a decade with his hands in the soil and his head full of questions about why some gardens thrive while others struggle. What started as a single raised bed of tomatoes and basil in a modest backyard has grown into a deep, working knowledge of everything from seed germination and soil amendment to companion planting and seasonal pruning.
Over the years, Ravuk has gardened through drought summers, waterlogged springs, and pest invasions that would make most gardeners hang up their trowels for good. Those hard seasons, he’ll tell you, taught him more than any perfect growing year ever could. He writes from that earned experience—covering vegetable growing, ornamental planting, houseplant care, composting, and garden design with equal confidence and curiosity.
Philosophy & Approach
Ravuk’s approach to gardening is rooted in practicality. He favors organic methods not out of dogma, but because they work long-term—resulting in healthier soil, fewer inputs, and stronger plants. He has a particular fondness for heirloom vegetable varieties (the kind with proper flavor), unruly cottage-style flower beds, and the stubborn houseplants that everyone else gave up on.
The Mission: Give readers the honest, experience-backed advice that helps them actually succeed in their gardens—not just the ideal version, but the real one; weeds, failures, and all.
Education & Credentials
-
B.Sc. in Horticulture Science
-
Greenfield Agricultural University
-
Focus: Plant Physiology, Soil Ecology, and Sustainable Crop Production
-
-
Master Gardener Certification
-
Cooperative Extension Service
-
Focus: 200+ hours of hands-on practical training and community garden work
-
Continuing Education
-
Organic Pest Management
-
Native Plant Landscaping
-
Sustainable Crop Production