

A concrete patio, driveway, or slab in your yard can feel like a gray, lifeless obstacle to your gardening dreams. Many homeowners assume they are stuck with these hardscapes, but that couldn’t be further from the truth. With the right techniques and a little creativity, you can transform that barren concrete into a vibrant, green oasis. This guide will walk you through exactly how to landscape over concrete, turning an eyesore into a beautiful and functional part of your outdoor space.
Whether you envision a lush container garden, a raised bed overflowing with vegetables, or a cozy seating area surrounded by plants, this project is more achievable than you think. Let’s get started on creating the garden you’ve always wanted.
Why Landscape Over Concrete?
Transforming a concrete surface into a garden offers a surprising number of benefits beyond simple aesthetics. It’s a practical solution for urban dwellers with limited green space, allowing you to cultivate plants, herbs, and even vegetables right outside your door. This approach also helps improve local air quality and can reduce the urban heat island effect, as plant life absorbs sunlight that concrete would otherwise reflect as heat. Furthermore, covering concrete can enhance your property’s value and create a more inviting atmosphere for relaxing and entertaining.
It gives you a blank canvas to design a unique outdoor living area that perfectly suits your style and needs.
8 Step-by-Step Guide on How to Landscape Over Concrete
Step 1: Clean and Inspect the Concrete Surface
Before you can build your new garden, it is essential to start with a clean and stable foundation. Begin by thoroughly sweeping the concrete slab to remove any loose dirt, leaves, and debris. Next, use a pressure washer or a stiff-bristled brush with a strong cleaning solution to scrub away any stubborn stains, moss, or mildew. While cleaning, carefully inspect the surface for significant cracks or damage. Minor cracks are usually not a concern, but larger ones may need to be filled with a concrete patching compound to ensure a level and secure base for your project.
Step 2: Plan Your Garden Layout and Design
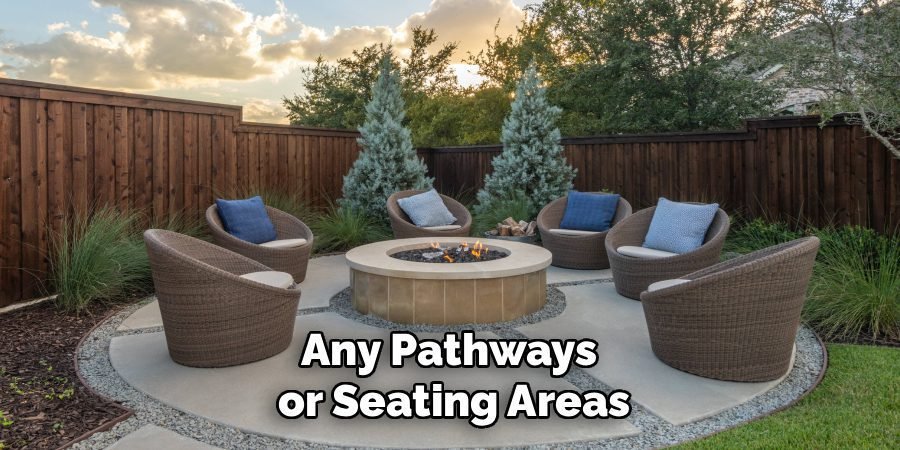
With a clean slate, you can now envision your new green space. Consider what you want to achieve. Are you dreaming of a vegetable garden, a colorful flower display, or a low-maintenance succulent arrangement? Sketch out your design on paper, noting the dimensions of your concrete area. Plan the placement of raised beds, large containers, and any pathways or seating areas. Think about sun exposure throughout the day—which spots get full sun, and which are shadier? This will help you choose the right plants for the right locations, setting your garden up for success.
Step 3: Select Your Containers and Raised Beds
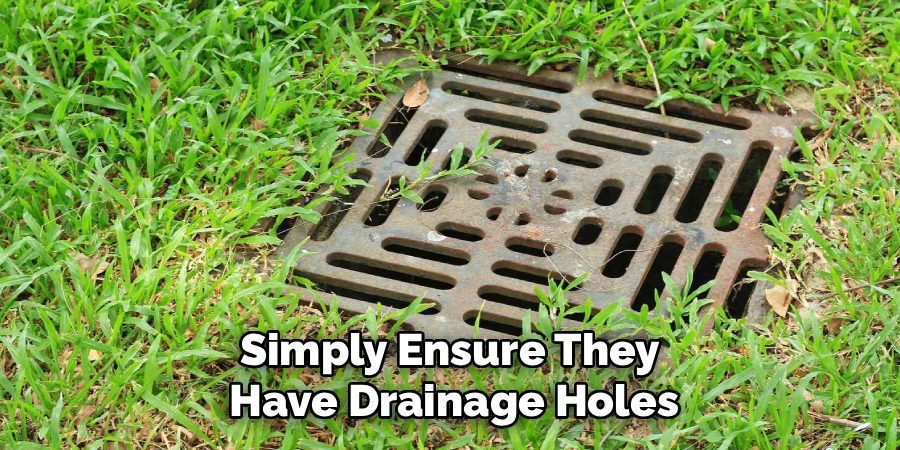
Your choice of containers will define the structure and style of your new garden. For a project focused on how to landscape over concrete, raised garden beds are an excellent option as they provide ample soil depth for root growth. You can build them from wood, metal, or composite materials. For a more flexible approach, consider an array of large pots and planters. Options range from classic terracotta and ceramic to lightweight fiberglass and resin. Ensure every container you choose has drainage holes at the bottom to prevent waterlogging, which can lead to root rot.
Step 4: Ensure Proper Drainage
Proper drainage is the most critical factor for a healthy garden built on a non-porous surface like concrete. Water needs a way to escape so your plant roots don’t drown. If you are using individual containers, simply ensure they have drainage holes. For large, heavy raised beds, place them on “pot feet” or bricks to create a small gap between the bed and the concrete. This air gap allows water to drain out freely from the bottom and flow away. It also prevents unsightly water stains from forming on the concrete surface underneath your garden beds.
Step 5: Add a Permeable Barrier
Before adding soil, it’s wise to line the bottom of your raised beds or large planters with a permeable barrier. A layer of landscape fabric is perfect for this. This material serves two key purposes. First, it prevents soil from washing out through the drainage holes every time you water your plants, which keeps your patio area cleaner. Second, it helps to keep weeds from growing up from any existing cracks in the concrete slab below. Simply cut the fabric to size and lay it down inside the container before you begin adding your soil mix.
Step 6: Choose the Right Soil Mix
The success of your garden depends heavily on the quality of the soil you use. Since you are creating a contained ecosystem, you cannot simply use native soil from your yard, which is often too dense and may harbor pests. Instead, purchase a high-quality potting mix or create your own blend. A good mixture for containers and raised beds typically includes peat moss or coco coir for moisture retention, compost for nutrients, and perlite or vermiculite to ensure the soil remains light and airy, promoting healthy root development.
Step 7: Select Your Plants
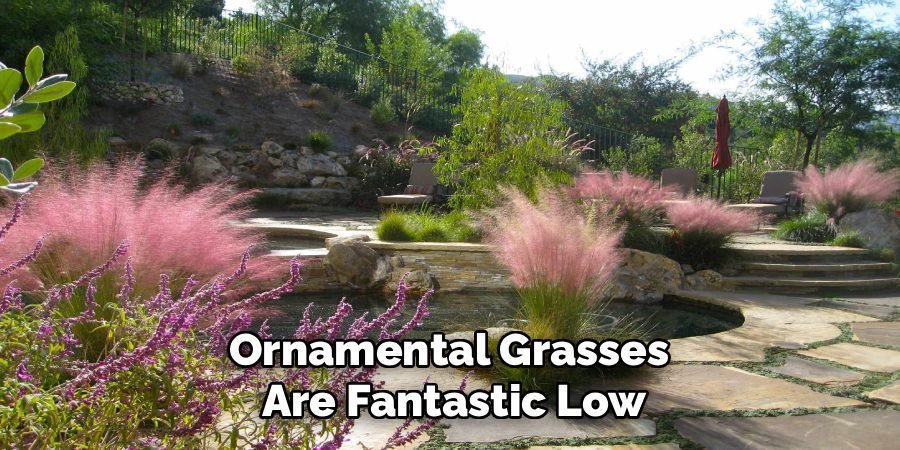
Now for the fun part: choosing your plants! Refer back to your garden plan and the sun-exposure map you created. Select plants that are well-suited to the amount of sunlight each area receives and are appropriate for container living. Drought-tolerant plants like succulents, sedums, and ornamental grasses are fantastic low-maintenance options. If you have enough soil depth, you can grow vegetables like tomatoes, peppers, and lettuce. For vibrant color, consider annual flowers like petunias and marigolds or perennials like lavender and coneflowers that will return each year.
Step 8: Plant and Mulch Your Garden
With your containers filled and plants selected, it’s time to start planting. Gently remove each plant from its nursery pot, loosen the root ball slightly, and place it in its new home, ensuring the top of the root ball is level with the surrounding soil. Fill in any gaps with more soil mix and press down gently. Once all your plants are in place, water them thoroughly. Finally, add a two-inch layer of mulch, such as wood chips or shredded bark, around the base of the plants. Mulch helps retain soil moisture, suppress weeds, and regulate soil temperature.
Watering and Ongoing Maintenance
Gardens in containers and raised beds tend to dry out more quickly than in-ground gardens, especially during hot, sunny weather. Check the soil moisture daily by sticking your finger an inch or two deep. If it feels dry, it’s time to water. Water deeply until you see it running out of the drainage holes. You will also need to fertilize your plants periodically, as nutrients will leach out of the soil with each watering. Use a balanced, all-purpose liquid fertilizer every few weeks during the growing season to keep your garden lush and productive.
Harvest and Enjoy
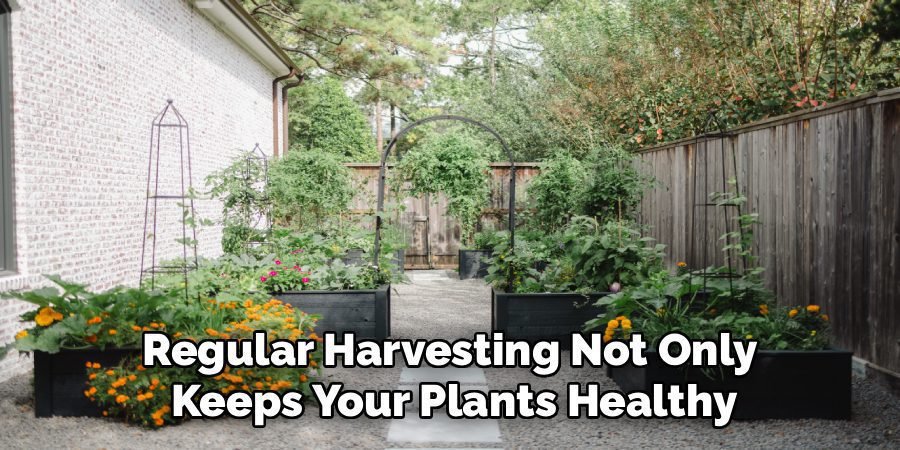
One of the most rewarding parts of container gardening is harvesting the fruits, vegetables, or herbs you’ve grown. Be sure to pick your crops when they are ripe to encourage the plants to continue producing. For leafy greens and herbs, gently snip only what you need to allow for regrowth. Tomatoes, peppers, and other fruiting plants should be harvested when they reach their full color and size. Regular harvesting not only keeps your plants healthy but also ensures you enjoy fresh, homegrown produce throughout the season.
Frequently Asked Questions (FAQ)
Can I build a raised garden bed directly on concrete?
Yes, you absolutely can. It’s one of the most effective ways to create a garden on a concrete slab. The key is to ensure there is a small gap between the bottom of the bed and the concrete surface to allow for proper water drainage. Placing the bed on a few bricks or specialized “pot feet” works perfectly. This prevents water from getting trapped, which could lead to root rot and damage to both your plants and the raised bed structure over time.
What are the best plants to grow on a concrete patio?
The best plants depend on your climate and the amount of sun the area receives. For hot, sunny patios, drought-tolerant species like succulents, lavender, rosemary, and ornamental grasses are excellent choices. If you have at least six inches of soil depth, you can successfully grow a variety of vegetables and herbs, such as lettuce, bush beans, basil, and mint. For shady spots, consider hostas, ferns, and impatiens. Always choose plants suited for container life.
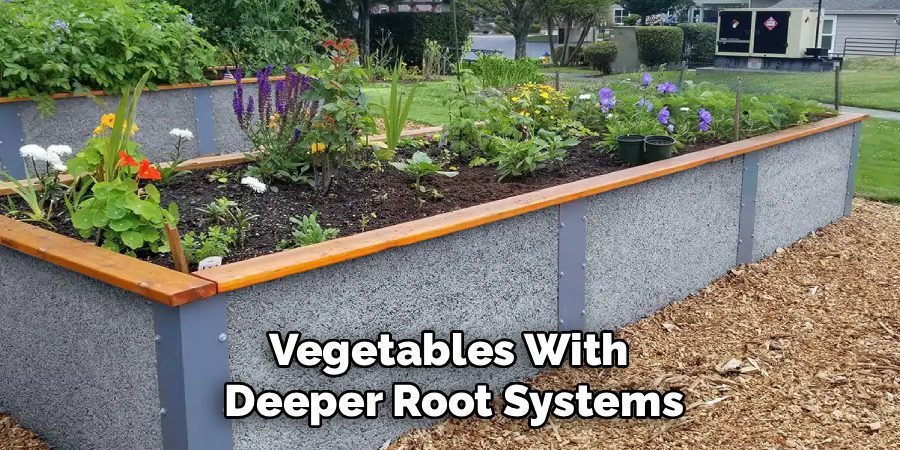
How deep should a raised bed be on concrete?
The ideal depth depends on what you want to grow. For shallow-rooted plants like lettuce, herbs, and most annual flowers, a depth of 6 to 8 inches is sufficient. For larger plants and vegetables with deeper root systems, such as tomatoes, peppers, and carrots, you should aim for a depth of at least 10 to 12 inches. Providing adequate soil depth ensures your plants have enough room to establish a strong root system, access nutrients, and thrive.
Do I need to put anything between my raised bed and the concrete?
It is highly recommended to place a barrier between the soil and the concrete. The best practice is to first elevate the bed slightly for drainage and then line the bottom with a permeable landscape fabric before adding soil. This fabric will hold the soil in place, preventing it from washing out through the bottom, while still allowing excess water to drain away freely. This simple step helps maintain a cleaner patio and a healthier garden environment.
Will the weight of a raised bed crack my concrete?
For most standard concrete patios and driveways, the weight of a soil-filled raised bed is not a concern. A typical residential concrete slab is engineered to support significant weight. However, if your concrete is already thin, old, or has extensive cracking and structural issues, it would be wise to consult a professional before placing a very large or heavy garden structure on it. For most homeowners, this is not a problem you will encounter.
Conclusion
A concrete slab doesn’t have to be the end of your gardening ambitions. As you’ve seen, it can be the perfect foundation for a new, creative, and productive green space. By cleaning the surface, planning your layout, choosing the right containers, and ensuring proper drainage and soil, you can successfully bring life to the most sterile of surfaces. This project allows you to reclaim unused areas and enjoy the many benefits of gardening, no matter how limited your yard might be. Now that you know how to landscape over concrete, you have the power to transform that gray space into a vibrant garden you can be proud of.
About Ravuk Barg
B.Sc. Horticulture Science | Certified Master Gardener
Ravuk Barg has spent more than a decade with his hands in the soil and his head full of questions about why some gardens thrive while others struggle. What started as a single raised bed of tomatoes and basil in a modest backyard has grown into a deep, working knowledge of everything from seed germination and soil amendment to companion planting and seasonal pruning.
Over the years, Ravuk has gardened through drought summers, waterlogged springs, and pest invasions that would make most gardeners hang up their trowels for good. Those hard seasons, he’ll tell you, taught him more than any perfect growing year ever could. He writes from that earned experience—covering vegetable growing, ornamental planting, houseplant care, composting, and garden design with equal confidence and curiosity.
Philosophy & Approach
Ravuk’s approach to gardening is rooted in practicality. He favors organic methods not out of dogma, but because they work long-term—resulting in healthier soil, fewer inputs, and stronger plants. He has a particular fondness for heirloom vegetable varieties (the kind with proper flavor), unruly cottage-style flower beds, and the stubborn houseplants that everyone else gave up on.
The Mission: Give readers the honest, experience-backed advice that helps them actually succeed in their gardens—not just the ideal version, but the real one; weeds, failures, and all.
Education & Credentials
-
B.Sc. in Horticulture Science
-
Greenfield Agricultural University
-
Focus: Plant Physiology, Soil Ecology, and Sustainable Crop Production
-
-
Master Gardener Certification
-
Cooperative Extension Service
-
Focus: 200+ hours of hands-on practical training and community garden work
-
Continuing Education
-
Organic Pest Management
-
Native Plant Landscaping
-
Sustainable Crop Production