

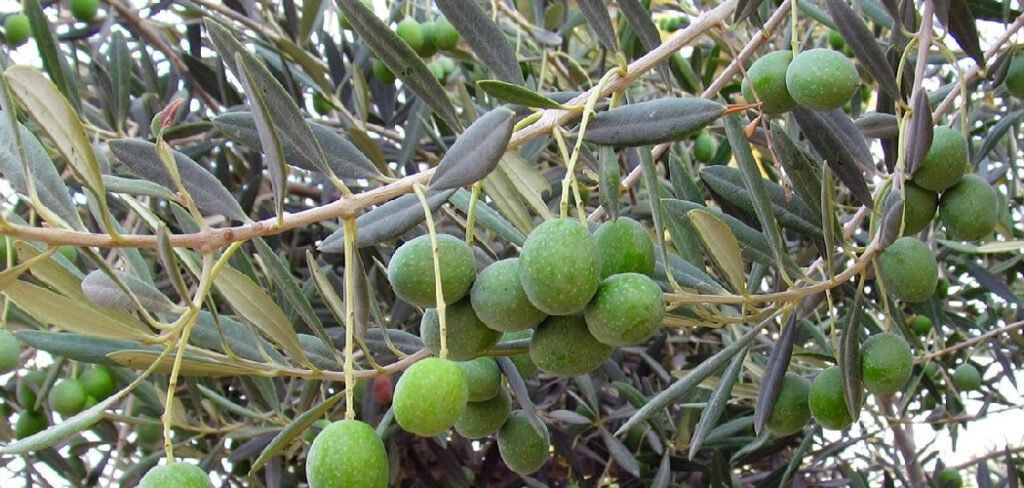
Growing olive trees can be a rewarding experience, bringing a touch of the Mediterranean to your garden and even yielding delicious fruit. But to ensure your trees thrive, proper care is essential. A common question among new growers is about feeding their trees. Understanding how to fertilize olive trees is a critical skill that directly impacts their health, vigor, and ability to produce olives. This guide is designed for beginners, breaking down the process into simple, manageable steps. We’ll cover everything from choosing the right fertilizer to applying it correctly, ensuring your olive trees get the nutrients they need to flourish for years to come.
Why Fertilizing Olive Trees is Important
Fertilizing is more than just feeding your tree; it’s about providing the essential building blocks for healthy growth and abundant fruit. Olive trees, like all plants, require a balance of nutrients to thrive. While they are famously hardy and can survive in poor soil, optimal growth and fruit production depend on proper nutrition. Fertilizing replenishes vital nutrients in the soil that may be lacking or have been depleted over time.
8 Step-by-Step Guide on How to Fertilize Olive Trees
Step 1: Determine the Best Time to Fertilize
Timing is crucial for effective fertilization. The best time to feed your olive tree is in the spring, just as new growth begins to appear. A second, lighter application can be given in mid-summer to support the tree through its active growing season. Avoid fertilizing in the late fall or winter, as this can encourage new, tender growth that is susceptible to frost damage. For newly planted trees, wait until they have established themselves for a full season before starting a fertilizing routine. This allows the root system to develop without the risk of fertilizer burn.

Step 2: Test Your Soil’s pH and Nutrient Levels
Before adding any fertilizer, it’s wise to understand what your soil already provides. A simple soil testing kit, available at most garden centers, can tell you the pH and nutrient levels of your soil. Olive trees prefer a slightly alkaline soil with a pH between 6.5 and 8.0. The test results will reveal any deficiencies in key nutrients like nitrogen (N), phosphorus (P), and potassium (K). This information allows you to choose a fertilizer that addresses your tree’s specific needs, preventing over-fertilization and ensuring a more targeted, effective approach to feeding your plant.
Step 3: Choose the Right Fertilizer
Based on your soil test, select a balanced fertilizer. A complete fertilizer with an N-P-K ratio like 10-10-10 or 13-13-13 is often a good starting point for mature trees. Nitrogen is particularly important for leafy growth. If your tree’s leaves are pale or yellowing, a nitrogen-rich formula may be necessary. Organic options, such as compost, well-rotted manure, or specialized olive tree fertilizers, are excellent choices. They release nutrients slowly and improve soil structure over time. For container-grown olives, a liquid fertilizer formulated for potted plants can be easier to apply.
Step 4: Calculate the Correct Amount of Fertilizer
The amount of fertilizer needed depends on the age and size of your tree. Over-fertilizing can be more harmful than not fertilizing at all, as it can burn the roots and damage the tree. As a general rule, apply about one pound of balanced fertilizer for each year of the tree’s age, up to a maximum of 10-15 pounds for very large, mature trees. Always read and follow the specific instructions on the fertilizer package, as application rates can vary between products. For liquid fertilizers, dilute them according to the label’s directions.
Step 5: Prepare the Area Around the Tree
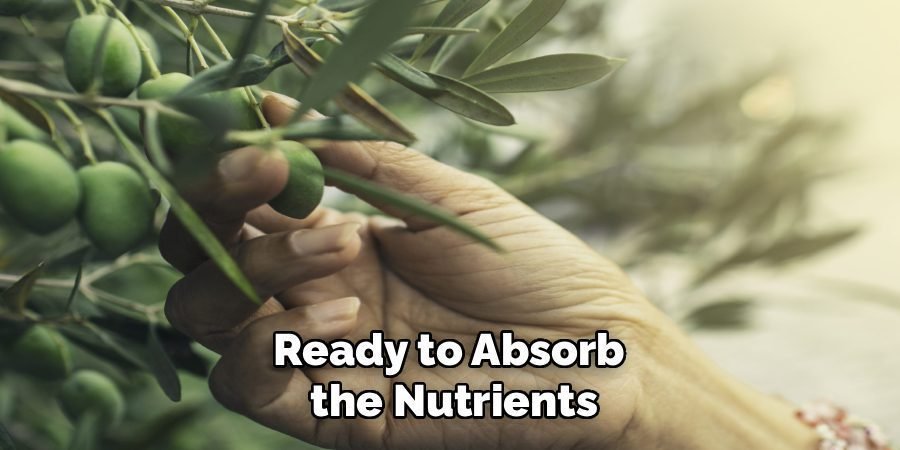
Before you apply the fertilizer, clear the area around the base of the olive tree. Remove any weeds, grass, or debris from the drip line—the area on the ground directly beneath the outer edge of the tree’s branches. This ensures that the tree, not competing weeds, receives the full benefit of the nutrients. Lightly watering the soil a day before fertilizing can also help, as it ensures the ground is moist and ready to absorb the nutrients. This preparation makes the application process smoother and more effective for the tree’s root system.
Step 6: Apply the Fertilizer Correctly
Now you are ready to learn how to fertilize olive trees effectively. Spread the granular fertilizer evenly on the ground, starting about six inches away from the trunk and extending out to the drip line. Do not pile fertilizer directly against the trunk, as this can cause it to rot or burn. The tree’s most active feeder roots are located at the edge of the canopy, so this is where the nutrients are most needed. Use a hand spreader or simply scatter it by hand to ensure uniform coverage over the entire root zone.
Step 7: Water the Fertilizer into the Soil
Immediately after applying the fertilizer, water the area thoroughly. This is a critical step that serves two main purposes. First, it helps to dissolve the fertilizer granules and carry the nutrients down into the soil where the tree’s roots can access them. Second, it prevents the concentrated fertilizer from burning the surface roots and the base of the trunk. A deep, slow watering is most effective. Ensure the soil is well-saturated to a depth of several inches to activate the fertilizer and begin the feeding process for your olive tree.
Step 8: Monitor Your Tree’s Response
After fertilizing, pay attention to your tree’s health and growth over the following weeks and months. Look for signs of positive change, such as darker green leaves, new shoot growth, and healthy flower or fruit development. If you notice yellowing leaves or burnt leaf tips, you may have over-fertilized. In this case, flush the soil with plenty of water and reduce the amount of fertilizer you use in the future. Observing your tree is the best way to fine-tune your approach for next season’s care.
Prune Your Tree for Optimal Growth
Pruning is an essential part of tree care that helps maintain its shape, remove dead or diseased branches, and encourage healthy growth. Use sharp, clean pruning tools to avoid spreading diseases, and make precise cuts just above a node or branch collar. Be sure to prune during the correct season for your tree type—most trees benefit from pruning in late winter or early spring, before new growth begins. Regular pruning not only improves the tree’s appearance but also increases airflow and sunlight penetration, promoting a stronger and more vibrant tree.
Frequently Asked Questions (FAQ)
What Are the Signs an Olive Tree Needs Fertilizing?
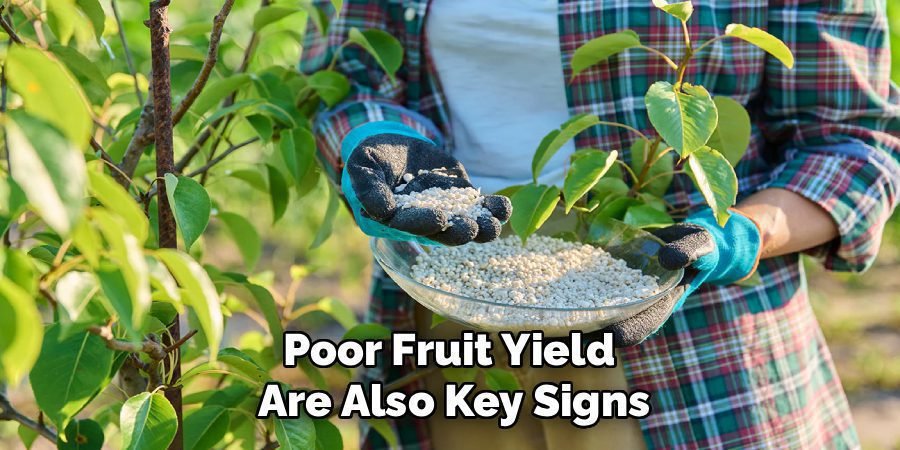
An olive tree that needs fertilizing will often show visible signs of nutrient deficiency. The most common indicator is pale green or yellowing leaves (chlorosis), especially on older growth, which suggests a lack of nitrogen. Stunted or slow growth, sparse foliage, and a poor fruit yield are also key signs. If your tree fails to produce new shoots during the growing season or drops its fruit prematurely, it is likely in need of essential nutrients that a balanced fertilizer can provide.
Can I Use Coffee Grounds to Fertilize My Olive Tree?
Yes, you can use coffee grounds, but with caution. Coffee grounds are a source of nitrogen and can slightly acidify the soil. Since olive trees prefer neutral to slightly alkaline soil, use them sparingly. It’s best to add used coffee grounds to your compost pile first, allowing them to break down and neutralize. Applying a thin layer of compost enriched with coffee grounds around the tree’s base is a safer way to provide a slow-release source of nutrients without drastically altering the soil’s pH.
How Often Should I Fertilize an Olive Tree in a Pot?
Potted olive trees require more frequent fertilizing than those planted in the ground because watering leaches nutrients from the limited soil volume. During the growing season (spring and summer), it is best to feed them every 4-6 weeks with a balanced liquid fertilizer diluted to half-strength. This provides a steady supply of nutrients without overwhelming the plant. Reduce feeding in the fall and stop completely during the winter when the tree is dormant and its growth has slowed down significantly.
Is Organic Fertilizer Better for Olive Trees?
Organic fertilizers are an excellent choice for olive trees. Options like compost, aged manure, and fish emulsion release nutrients slowly, reducing the risk of fertilizer burn. They also improve the overall soil health by adding organic matter, which enhances water retention and encourages beneficial microbial activity in the soil. While synthetic fertilizers provide a quick nutrient boost, organic options contribute to the long-term health and sustainability of the soil ecosystem your olive tree lives in, making them a fantastic long-term solution.
What Happens if I Over-Fertilize My Olive Tree?
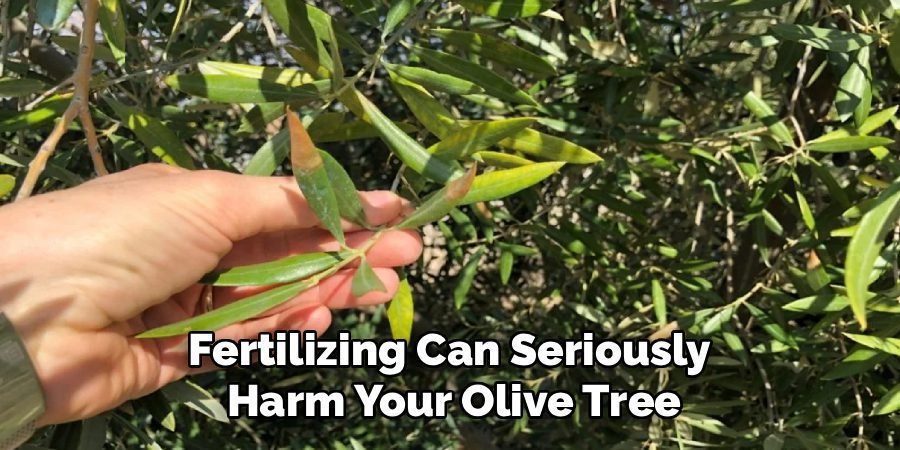
Over-fertilizing can seriously harm your olive tree. An excess of nutrients, particularly nitrogen, can cause “fertilizer burn,” which appears as brown, dry, or scorched leaf edges and tips. It can also damage the tree’s root system, impairing its ability to absorb water and nutrients. In severe cases, it may lead to leaf drop and dieback of branches. If you suspect you have over-fertilized, flush the soil thoroughly with water to help leach out the excess salts and refrain from fertilizing again until the tree shows signs of recovery.
Conclusion
Mastering how to fertilize olive trees is a straightforward process that yields significant rewards. By understanding when to fertilize, choosing the right product, and applying it correctly, you provide your tree with the foundation it needs for vigorous growth and a plentiful harvest. Remember to test your soil, apply fertilizer at the drip line, and water it in thoroughly. With this knowledge, you are well-equipped to nurture a healthy, productive olive tree. Now you can confidently take on this essential gardening task and watch your tree thrive.
About Ravuk Barg
B.Sc. Horticulture Science | Certified Master Gardener
Ravuk Barg has spent more than a decade with his hands in the soil and his head full of questions about why some gardens thrive while others struggle. What started as a single raised bed of tomatoes and basil in a modest backyard has grown into a deep, working knowledge of everything from seed germination and soil amendment to companion planting and seasonal pruning.
Over the years, Ravuk has gardened through drought summers, waterlogged springs, and pest invasions that would make most gardeners hang up their trowels for good. Those hard seasons, he’ll tell you, taught him more than any perfect growing year ever could. He writes from that earned experience—covering vegetable growing, ornamental planting, houseplant care, composting, and garden design with equal confidence and curiosity.
Philosophy & Approach
Ravuk’s approach to gardening is rooted in practicality. He favors organic methods not out of dogma, but because they work long-term—resulting in healthier soil, fewer inputs, and stronger plants. He has a particular fondness for heirloom vegetable varieties (the kind with proper flavor), unruly cottage-style flower beds, and the stubborn houseplants that everyone else gave up on.
The Mission: Give readers the honest, experience-backed advice that helps them actually succeed in their gardens—not just the ideal version, but the real one; weeds, failures, and all.
Education & Credentials
-
B.Sc. in Horticulture Science
-
Greenfield Agricultural University
-
Focus: Plant Physiology, Soil Ecology, and Sustainable Crop Production
-
-
Master Gardener Certification
-
Cooperative Extension Service
-
Focus: 200+ hours of hands-on practical training and community garden work
-
Continuing Education
-
Organic Pest Management
-
Native Plant Landscaping
-
Sustainable Crop Production