

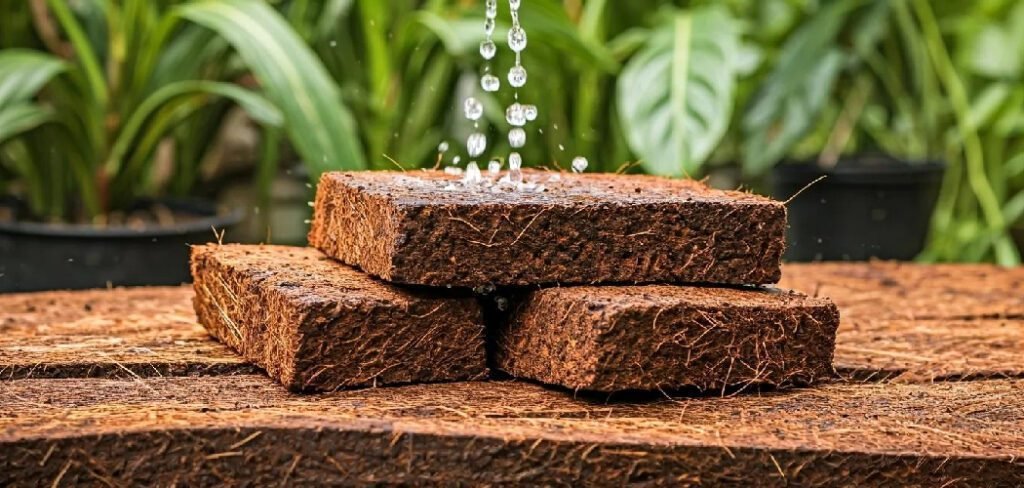
Welcome to the wonderful world of coco coir! If you’re a home gardener looking for a sustainable and effective growing medium, you’ve come to the right place. Coco coir, a natural fiber extracted from coconut husks, is an excellent alternative to traditional peat moss. It comes compressed into dense blocks, which can seem intimidating at first. However, learning how to use coco coir bricks is a simple process that can significantly improve your gardening success. This guide will walk you through everything you need to know, from rehydrating the brick to amending it for your plants.
Why Choose Coco Coir for Your Garden?
Coco coir is more than just a peat moss alternative; it’s a superior growing medium for several reasons. Its excellent water retention means you’ll water your plants less often, as the fibers hold onto moisture without becoming waterlogged. This same quality ensures fantastic aeration, allowing oxygen to reach plant roots and preventing common issues like root rot. As a byproduct of the coconut industry, coco coir is a renewable and eco-friendly choice. It’s also naturally pH-neutral and free from the pathogens and pests that can sometimes be found in soil.
8 Step-by-Step Guide on How to Use Coco Coir Bricks
Step 1: Gather Your Supplies
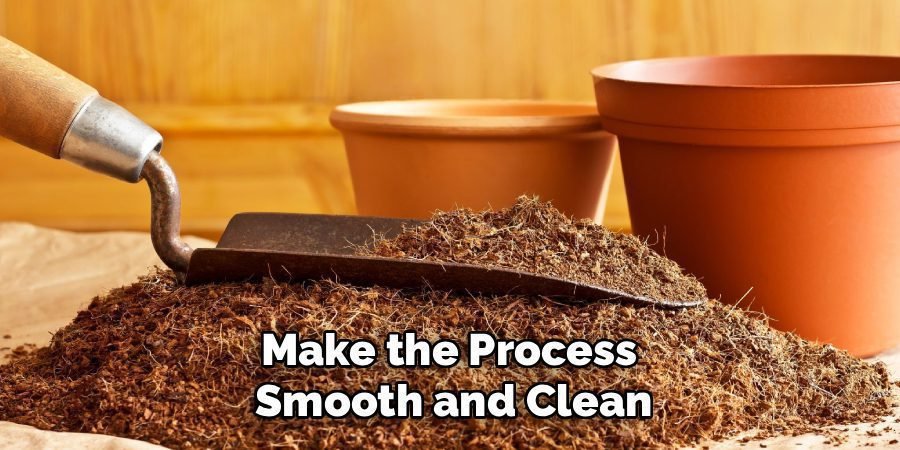
Before you begin, gather a few essential items to make the process smooth and clean. You will need your compressed coco coir brick, a large container like a bucket or a wheelbarrow that can hold at least five times the brick’s volume, and a supply of warm water. It’s also wise to have a sturdy trowel or a small spade on hand to help break up the coir as it expands. If you plan to use the coir immediately, you can also prepare any amendments you wish to add, such as compost or perlite.
Step 2: Choose a Suitable Container
Selecting the right container is crucial for managing the expansion of the coco coir. The brick will swell to several times its original size, so you need a vessel that can accommodate the final volume. A 5-gallon bucket is usually sufficient for a standard-sized brick, but a larger tub or wheelbarrow works even better. Using an oversized container prevents spills and gives you plenty of room to mix and fluff the coir once it has been fully rehydrated, ensuring a mess-free and easy experience.
Step 3: Add Warm Water to the Brick
Place your coco coir brick in the center of your chosen container. Now, begin adding warm water slowly. Warm water helps the compressed fibers expand more quickly than cold water. The amount of water needed will vary depending on the size of your brick, but a general rule is to add about one gallon (or 4-5 liters) of water for every 2.2 pounds (or 1 kg) of coco coir. Pour the water directly over the brick and watch as it starts to absorb the liquid and expand.
Step 4: Let the Brick Soak and Expand
Patience is key during this step. After adding the initial amount of water, allow the brick to sit and soak for at least 15 to 30 minutes. You will see it visibly swell and soften as it absorbs the moisture. The dense, hard block will transform into a loose, soil-like material. If you notice any dry spots, feel free to add more water incrementally. The goal is to achieve a consistency that is damp and spongy, similar to a wrung-out sponge, not overly saturated or dripping wet.
Step 5: Break Up the Expanded Coir
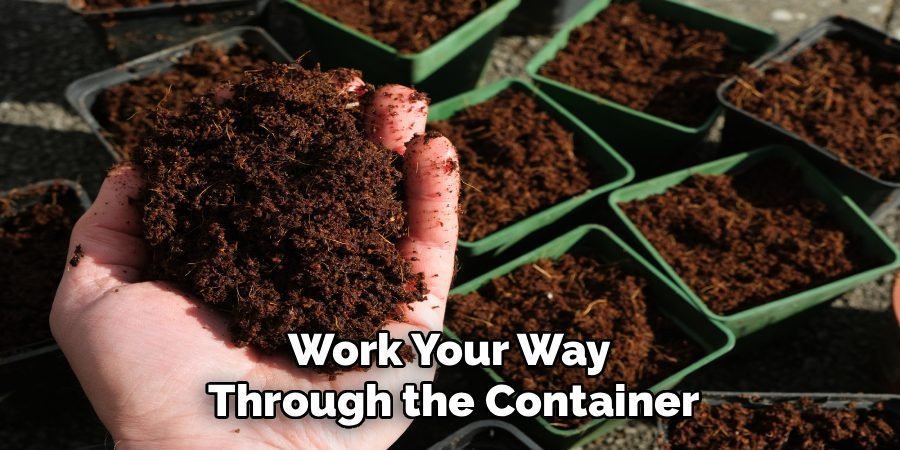
Once the brick has fully expanded, it’s time to break it apart. Use your hands or a garden trowel to fluff the material. Work your way through the container, separating the fibers and ensuring there are no compressed clumps left. This step is important for creating a uniform and airy texture, which is vital for healthy root development. Continue mixing and fluffing until you have a consistent, light, and soil-like medium ready for your plants. This is an essential part of learning how to use coco coir bricks effectively.
Step 6: Rinse and Buffer If Necessary
Some lower-quality coco coir bricks can contain high levels of salts, which may harm sensitive plants. To be safe, it’s a good practice to rinse the rehydrated coir. You can do this by placing it in a container with drainage holes and flushing it with fresh water. Additionally, coco coir naturally has a high cation exchange capacity and may hold onto calcium and magnesium. Buffering the coir by soaking it in a Cal-Mag solution for several hours ensures these essential nutrients will be available to your plants later.
Step 7: Add Amendments for Nutrients
Coco coir is an inert medium, meaning it contains very few nutrients on its own. To create a complete potting mix, you will need to add amendments. For a balanced mix, a common ratio is two parts coco coir to one part compost or worm castings. This provides a slow-release source of organic nutrients. Adding one part perlite or pumice will further improve drainage and aeration, creating an ideal environment for most container plants. Mix these components thoroughly to distribute them evenly throughout the coir.
Step 8: Pot Your Plants
Your nutrient-rich coco coir mix is now ready for use! You can use it as a standalone potting mix, for starting seeds, or to amend garden beds. Fill your pots or trays with the prepared mix, leaving enough room for your plant’s root ball. Gently place your plant in the container and fill in the surrounding space with more of the coir mix. Lightly press down to secure the plant and remove any large air pockets. Water your newly potted plant thoroughly to help it settle into its new home.
Maintenance
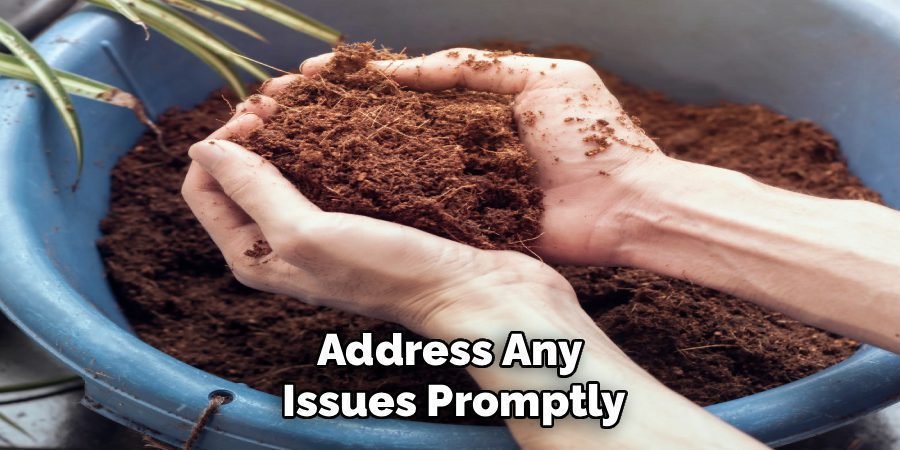
Proper maintenance ensures healthy growth and longevity for your plants. Regularly check the moisture level of the coco coir mix; it should remain slightly damp but not overly saturated. Water your plants as needed, depending on their specific requirements and environmental conditions. Periodically inspect your plants for signs of pests or diseases, and address any issues promptly. Additionally, consider supplementing with organic fertilizers to replenish nutrients in the coir mix and support robust plant development. With consistent care, your plants will thrive in their vibrant and nutrient-rich environment.
Frequently Asked Questions (FAQ)
How Much Does a Coco Coir Brick Expand?
A standard coco coir brick can expand significantly, typically yielding about 8 to 10 quarts (around 2 to 2.5 gallons) of potting medium once rehydrated. A larger 10-pound brick can produce up to 15-18 gallons of material. It is always a good idea to check the packaging, as it usually provides an estimate of the final volume. This impressive expansion makes coco coir bricks an economical and space-saving option for gardeners.
Can I Use Coco Coir by Itself?
While you can technically grow plants in 100% coco coir, it is not recommended for long-term success. Coco coir is an inert medium, meaning it lacks the essential nutrients that plants need to thrive. For best results, it should be amended with nutrient sources like compost or worm castings. It’s most effective when used as a base for a custom potting mix or in hydroponic systems where nutrients are supplied through a liquid solution.
How Often Should I Water Plants in Coco Coir?
One of the main benefits of coco coir is its excellent water retention. It holds moisture well but also allows for good drainage, which reduces the risk of overwatering. You will likely find yourself watering less frequently than with traditional potting soil. The best way to know when to water is to check the top inch or two of the coir. If it feels dry to the touch, it is time to water again.

Is Coco Coir Reusable?
Yes, coco coir can be reused for several growing cycles. After harvesting your plants, simply remove the old root matter, rinse the coir thoroughly to wash away any leftover nutrients or salts, and re-amend it as needed. If you are concerned about pathogens from a previous plant, you can sterilize the coir by pouring boiling water over it and letting it cool. This makes it a cost-effective and sustainable choice for gardeners.
What Is the Difference Between Coco Coir and Peat Moss?
Coco coir and peat moss are often used interchangeably, but they have key differences. Coco coir is a byproduct of the coconut industry, making it a renewable resource, whereas peat moss is harvested from bogs that take centuries to form. Coir also has a neutral pH, while peat moss is acidic. Furthermore, coco coir rehydrates easily, whereas dry peat moss can be hydrophobic and difficult to moisten. For these reasons, many gardeners consider coco coir to be a more sustainable and user-friendly option.
Conclusion
Using coco coir bricks is a simple, rewarding, and environmentally friendly way to elevate your gardening. By following these steps, you can easily transform a dense, compact brick into a light, airy growing medium that your plants will love. From its superior water retention and aeration to its sustainable origins, coco coir offers numerous advantages over traditional options. Now that you have a clear understanding of how to use coco coir bricks, you are ready to give your plants a fantastic foundation for healthy growth. Happy gardening
About Ravuk Barg
B.Sc. Horticulture Science | Certified Master Gardener
Ravuk Barg has spent more than a decade with his hands in the soil and his head full of questions about why some gardens thrive while others struggle. What started as a single raised bed of tomatoes and basil in a modest backyard has grown into a deep, working knowledge of everything from seed germination and soil amendment to companion planting and seasonal pruning.
Over the years, Ravuk has gardened through drought summers, waterlogged springs, and pest invasions that would make most gardeners hang up their trowels for good. Those hard seasons, he’ll tell you, taught him more than any perfect growing year ever could. He writes from that earned experience—covering vegetable growing, ornamental planting, houseplant care, composting, and garden design with equal confidence and curiosity.
Philosophy & Approach
Ravuk’s approach to gardening is rooted in practicality. He favors organic methods not out of dogma, but because they work long-term—resulting in healthier soil, fewer inputs, and stronger plants. He has a particular fondness for heirloom vegetable varieties (the kind with proper flavor), unruly cottage-style flower beds, and the stubborn houseplants that everyone else gave up on.
The Mission: Give readers the honest, experience-backed advice that helps them actually succeed in their gardens—not just the ideal version, but the real one; weeds, failures, and all.
Education & Credentials
-
B.Sc. in Horticulture Science
-
Greenfield Agricultural University
-
Focus: Plant Physiology, Soil Ecology, and Sustainable Crop Production
-
-
Master Gardener Certification
-
Cooperative Extension Service
-
Focus: 200+ hours of hands-on practical training and community garden work
-
Continuing Education
-
Organic Pest Management
-
Native Plant Landscaping
-
Sustainable Crop Production