

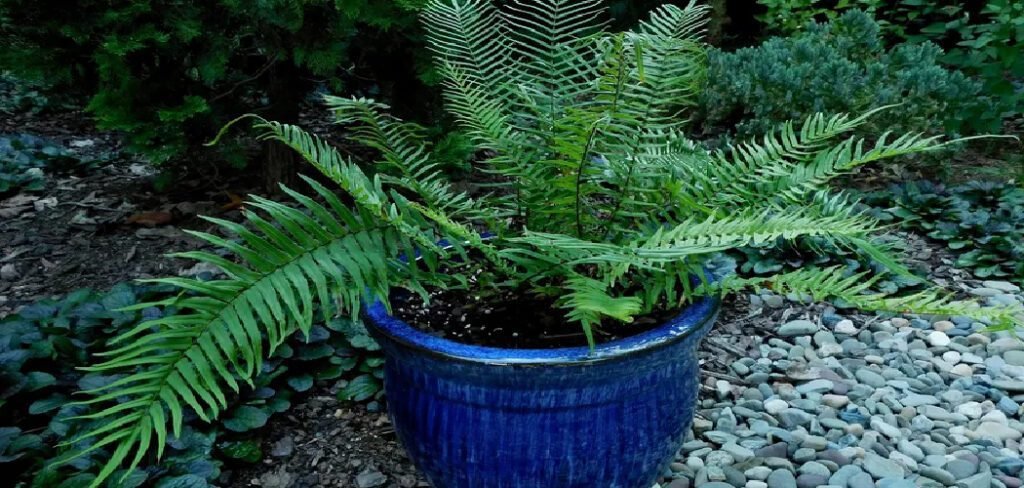
Ferns bring a touch of lush, ancient greenery to any indoor space. Their delicate fronds can transform a room, but keeping them vibrant in containers requires more than just sunlight and water. Unlike their counterparts in the wild, potted ferns have limited access to nutrients. This is where proper feeding comes in. Learning how to fertilize ferns in pots is a simple skill that makes a world of difference, ensuring your plants have the fuel they need to thrive. This guide will walk you through everything, from choosing the right fertilizer to creating a feeding schedule that encourages beautiful, healthy foliage.
Why Fertilizing Ferns in Pots is Important
Ferns growing in their natural woodland habitat benefit from a constantly replenishing supply of nutrients. Decaying leaves, organic matter, and microbial activity in the soil create a rich environment. In contrast, a fern in a pot is in a closed system. The potting mix contains a finite amount of food, which the plant gradually consumes. Each time you water your fern, some nutrients are also leached out and washed away. Without replenishment, the fern will eventually exhaust its food source, leading to yellowing fronds, stunted growth, and a lackluster appearance.
Regular fertilization is the key to replacing these lost nutrients and mimicking the rich soil of a forest floor.
8 Step Methods Guide on How to Fertilize Ferns in Pots
Step 1: Choose the Right Fertilizer
Selecting an appropriate fertilizer is the first and most critical step. Ferns are sensitive to overly strong chemical inputs, so a balanced, water-soluble fertilizer is ideal. Look for a formula where the N-P-K (Nitrogen-Phosphorus-Potassium) numbers are equal, such as 10-10-10 or 20-20-20. Nitrogen supports lush frond growth, phosphorus aids root development, and potassium contributes to overall plant health. Alternatively, organic options like fish emulsion or liquid seaweed are excellent choices, as they release nutrients gently and improve soil health over time.

Step 2: Dilute the Fertilizer to Half-Strength
Ferns have delicate root systems that can easily be burned by full-strength fertilizers. To prevent this, always dilute your chosen fertilizer to half or even quarter the strength recommended on the packaging. For example, if the instructions say to mix one tablespoon per gallon of water, use only half a tablespoon instead. This “weakly, weekly” approach is much safer and more effective for ferns than infrequent, strong doses. It provides a steady, gentle supply of nutrients without overwhelming the plant’s sensitive roots.
Step 3: Water the Fern Before Fertilizing
Never apply fertilizer to dry soil. Fertilizing a thirsty plant is a fast track to root burn, as the dry roots will absorb the concentrated nutrient solution too quickly, causing severe damage. To avoid this, give your fern a thorough watering with plain water about an hour before you plan to feed it. This ensures the soil is evenly moist and the roots are hydrated. The water acts as a protective buffer, allowing the diluted fertilizer to be distributed more evenly throughout the root ball without shocking the system.
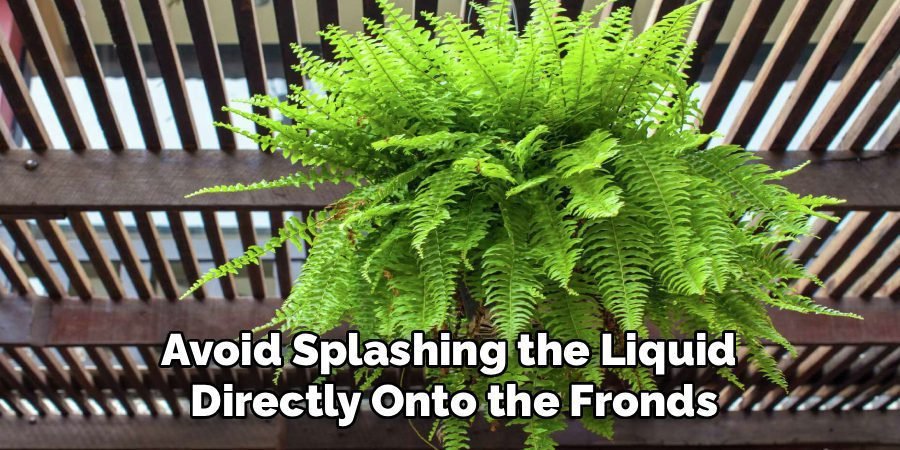
Step 4: Apply the Diluted Fertilizer
Once the soil is moist, you can apply the diluted fertilizer solution. Pour it evenly over the soil surface, just as you would when watering normally. Try to avoid splashing the liquid directly onto the fronds, though a little bit won’t cause harm. Continue pouring until the solution begins to drain from the holes at the bottom of the pot. This indicates that the entire root system has been saturated, ensuring all the roots have access to the nutrients you’ve just provided.
Step 5: Establish a Consistent Feeding Schedule
Consistency is key for healthy fern growth. During the active growing season, which typically runs from spring through early fall, fertilize your fern every two to four weeks. This regular feeding schedule provides the steady stream of nutrients needed to support new frond development. Watch your plant for cues; if it’s producing lots of new growth, it may benefit from feeding every two weeks. If growth is slower, once a month is sufficient. This part of learning how to fertilize ferns in pots is about observing and responding to your plant.
Step 6: How to Fertilize Ferns in Pots During Winter
Ferns, like many houseplants, enter a period of dormancy or slow growth during the winter months. Shorter days and lower light levels signal the plant to conserve energy. During this time, its nutrient requirements decrease significantly. You should stop fertilizing altogether from late fall until early spring. Feeding a dormant fern can do more harm than good, as unused fertilizer salts can build up in the soil and damage the roots. Resume your regular feeding schedule only when you see signs of new growth in the spring.
Step 7: Recognize Signs of Over-Fertilization
It’s important to know when you’ve given your fern too much of a good thing. Signs of over-fertilization include yellowing or browning leaf tips, a white crust forming on the soil surface, wilting fronds despite moist soil, and stunted growth. If you suspect you have over-fertilized, you need to flush the soil. To do this, take the pot to a sink or tub and let lukewarm water run through the soil for several minutes. This will help wash away the excess fertilizer salts and give the roots a fresh start.
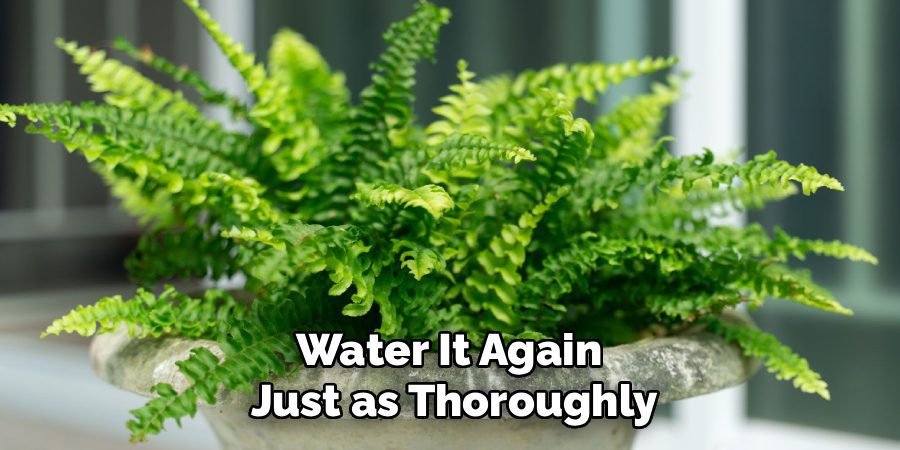
Step 8: Leach the Soil Periodically
Even with proper dilution, fertilizer salts can slowly accumulate in the potting soil over time. To prevent this buildup from harming your fern’s roots, it is a good practice to leach the soil every few months. This process is simple: just water the plant thoroughly with plain water, letting it drain completely. Then, about 30 minutes later, water it again just as thoroughly. This second flush will carry away any remaining salt residue from the soil, keeping the root environment clean and healthy for optimal nutrient absorption.
Frequently Asked Questions (FAQ)
What Is the Best Fertilizer for Potted Ferns?
The best fertilizer for potted ferns is a balanced, water-soluble formula, such as a 20-20-20 or 10-10-10. Because ferns have sensitive roots that are easily burned, you should always dilute the fertilizer to half or a quarter of the recommended strength. Organic options like fish emulsion or compost tea are also excellent, as they provide nutrients gently and contribute to the overall health of the soil. Avoid slow-release granular fertilizers, which can release nutrients too intensely for a fern’s delicate system.
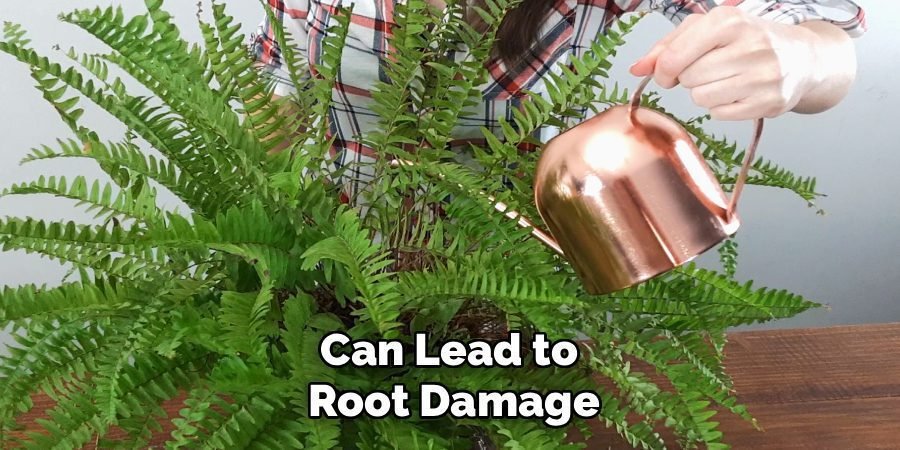
How Often Should I Fertilize My Indoor Fern?
During the growing season, from spring through fall, you should fertilize your indoor fern every two to four weeks. A “weakly, weekly” or bi-weekly approach with a highly diluted solution is often best. In the winter, when the fern’s growth slows down or stops completely, you should not fertilize it at all. Resume your feeding schedule in the spring once you notice the plant is actively producing new fronds. Over-fertilizing, especially during dormancy, can lead to root damage.
Can I Use Coffee Grounds to Fertilize My Fern?
While coffee grounds are acidic and contain some nitrogen, they are not a complete fertilizer for ferns. Using them directly on the soil can lead to mold growth and may compact the soil, reducing aeration. If you wish to use them, it is better to add them to a compost pile first. Once fully composted, the resulting material can be mixed into your fern’s potting soil. For direct feeding, it is safer and more effective to stick with a balanced liquid fertilizer formulated for houseplants.
Why Are the Tips of My Fern Turning Brown?
Brown tips on fern fronds are a common issue with several potential causes. The most frequent culprit is low humidity, as ferns thrive in moist air. Another common reason is inconsistent watering, either too much or too little. Finally, brown tips can be a sign of fertilizer burn caused by applying fertilizer that is too strong or applying it to dry soil. To troubleshoot, ensure the soil stays evenly moist, increase humidity with a humidifier or pebble tray, and make sure you are diluting your fertilizer properly.
Should I Remove Yellow Fronds from My Fern?
Yes, you should remove yellow or brown fronds from your fern. These fronds are no longer photosynthesizing and will not turn green again. Pruning them allows the plant to direct its energy toward producing new, healthy growth instead of trying to sustain dying foliage. Use a clean, sharp pair of scissors or pruning shears to snip off the damaged fronds at their base, close to the main part of the plant. Regular pruning not only improves the plant’s appearance but also encourages better air circulation.
Conclusion
Mastering how to fertilize ferns in pots is a rewarding step toward becoming a more confident plant parent. By choosing the right balanced fertilizer, diluting it properly, and following a consistent schedule during the growing season, you provide your fern with the exact support it needs. Remember to always water before feeding and to stop fertilizing during the winter dormancy period. With these simple practices, you can avoid common pitfalls and ensure your ferns remain a stunning, vibrant feature in your home for years to come.
About Ravuk Barg
B.Sc. Horticulture Science | Certified Master Gardener
Ravuk Barg has spent more than a decade with his hands in the soil and his head full of questions about why some gardens thrive while others struggle. What started as a single raised bed of tomatoes and basil in a modest backyard has grown into a deep, working knowledge of everything from seed germination and soil amendment to companion planting and seasonal pruning.
Over the years, Ravuk has gardened through drought summers, waterlogged springs, and pest invasions that would make most gardeners hang up their trowels for good. Those hard seasons, he’ll tell you, taught him more than any perfect growing year ever could. He writes from that earned experience—covering vegetable growing, ornamental planting, houseplant care, composting, and garden design with equal confidence and curiosity.
Philosophy & Approach
Ravuk’s approach to gardening is rooted in practicality. He favors organic methods not out of dogma, but because they work long-term—resulting in healthier soil, fewer inputs, and stronger plants. He has a particular fondness for heirloom vegetable varieties (the kind with proper flavor), unruly cottage-style flower beds, and the stubborn houseplants that everyone else gave up on.
The Mission: Give readers the honest, experience-backed advice that helps them actually succeed in their gardens—not just the ideal version, but the real one; weeds, failures, and all.
Education & Credentials
-
B.Sc. in Horticulture Science
-
Greenfield Agricultural University
-
Focus: Plant Physiology, Soil Ecology, and Sustainable Crop Production
-
-
Master Gardener Certification
-
Cooperative Extension Service
-
Focus: 200+ hours of hands-on practical training and community garden work
-
Continuing Education
-
Organic Pest Management
-
Native Plant Landscaping
-
Sustainable Crop Production