

As a fig tree owner, you know the joy of harvesting sweet, sun-ripened fruit right from your backyard. But as colder months approach, the thought of losing your precious tree to a harsh winter can be daunting. Many fig varieties, especially those with Mediterranean roots, are not naturally equipped to handle freezing temperatures and biting winds. Protecting them is crucial for their survival and for ensuring a fruitful harvest next year. This guide will provide you with a clear, step-by-step process on how to wrap fig trees for winter, making sure your plant remains healthy and ready to thrive when spring returns.

Why Wrapping Your Fig Tree Is Essential
Fig trees, particularly popular varieties like Brown Turkey or Celeste, can be vulnerable to cold climates. While some are hardy down to 10°F (-12°C), younger trees and less cold-tolerant varieties can suffer significant damage or even die back to the ground when exposed to prolonged freezes. The primary goal of winter wrapping is not to keep the tree warm, but to insulate it from extreme temperature fluctuations, prevent frost damage to the branches, and shield it from drying winter winds that can sap moisture from the bark. A well-wrapped tree is a protected investment, ensuring its branches survive to produce fruit the following season.
9 Step Methods Guide on How to Wrap Fig Trees for Winter
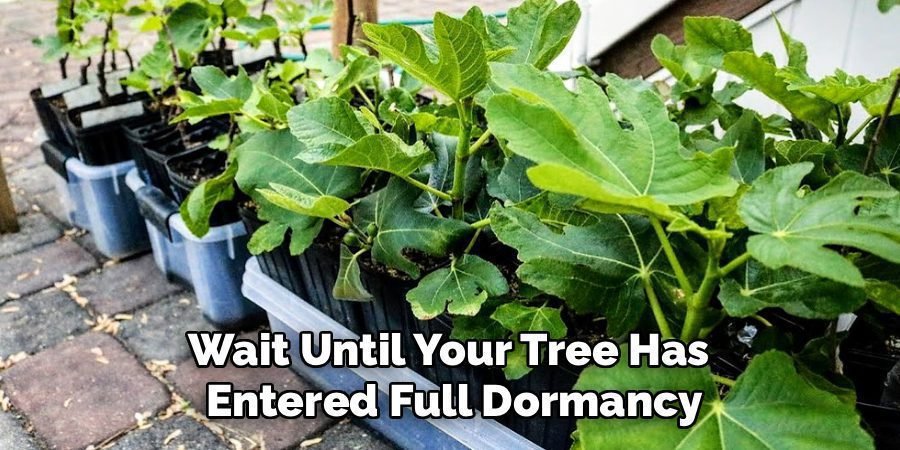
Step 1: Wait for Dormancy
The first and most important step is timing. Wrapping your fig tree too early can trap heat and moisture, potentially leading to rot or encouraging premature growth that will be damaged by the cold. Wait until your tree has entered full dormancy. You will know it’s ready when all the leaves have naturally yellowed and dropped, which typically happens after the first couple of light frosts. This signals that the tree has stopped its active growth and is preparing itself for the winter, making it the perfect time to begin the wrapping process.
Step 2: Prune the Branches
Before you can wrap your tree, you need to make it a manageable size. Pruning helps create a more compact shape that is easier to protect. Using clean, sharp pruning shears, trim back any branches that are dead, diseased, or crossing over one another. You can also reduce the overall height and width of the tree, but avoid aggressive pruning. The goal is to leave healthy, fruit-bearing wood intact. For multi-stemmed bushes, this is a good time to select the strongest 3-5 canes and remove the weaker ones.
Step 3: Tie the Branches Together
Once your fig tree is pruned, the next step is to gather the branches into a tight, upright bundle. This consolidated shape is much easier to insulate effectively. Using garden twine, rope, or even old fabric strips, carefully pull the branches inward and upward, tying them together securely. Start from the bottom and work your way up, adding ties every foot or so to create a neat, pillar-like form. Be gentle during this process to avoid snapping any of the pliable branches you want to protect through the winter.
Step 4: Add a Layer of Mulch at the Base
Protecting the root system is just as important as protecting the branches. The roots are the life-support system of your fig tree, and keeping them insulated from deep ground freezes is critical for survival. Apply a thick layer of organic mulch, about 6 to 12 inches deep, around the base of the tree. Materials like straw, shredded leaves, or wood chips work perfectly. This layer acts as a blanket for the roots, regulating soil temperature and preventing the damaging effects of repeated freezing and thawing cycles.
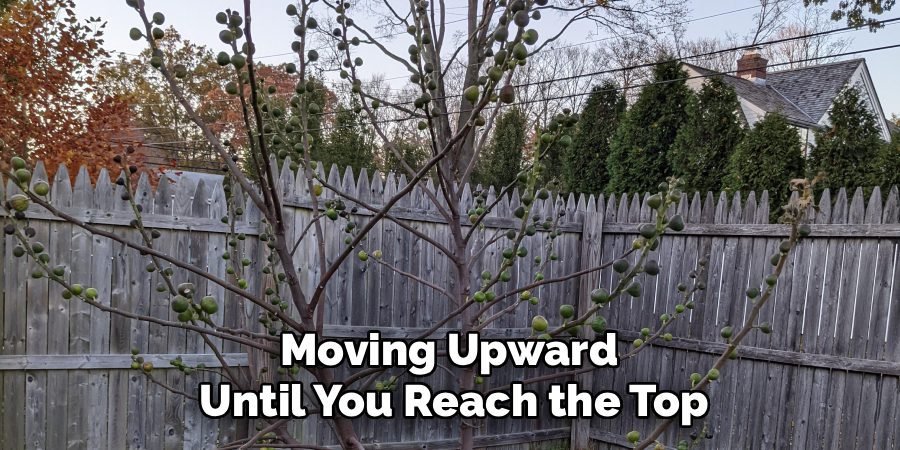
Step 5: Begin with the First Insulating Layer
Now it’s time to start wrapping the branches. The first layer should be a breathable material that can help wick away moisture. Burlap is an excellent choice for this. Starting at the base of the tied-up branches, wrap the burlap around the tree in an overlapping spiral, moving upward until you reach the top. You can also use old blankets or several layers of horticultural fabric. The key is to create a snug but not overly tight layer that provides initial insulation without trapping excess moisture against the bark.
Step 6: How to Wrap Fig Trees for Winter with Insulation
For gardeners in colder zones (USDA Zones 7 and below), an additional layer of insulation is highly recommended. This is a crucial part of how to wrap fig trees for winter successfully. After the initial burlap wrap, add a thicker insulating material. You can use bubble wrap (with the bubbles facing inward to trap air), fiberglass insulation, or even just more layers of burlap or old blankets. The goal is to create dead air space, which is one of the most effective insulators against cold. Wrap this layer securely around the tree.
Step 7: Apply the Final Weatherproof Layer
The final wrap is your tree’s defense against the harsh winter elements like wind, ice, and heavy snow. This outer layer must be waterproof. A heavy-duty plastic tarp or a specialized tree cover works best. Wrap this material over the insulation layers, ensuring it extends all the way to the ground and covers the mulch pile at the base. Secure it firmly with rope or bungee cords so that it won’t be blown off by strong winter winds. This final barrier will keep the insulation dry and effective all winter long.
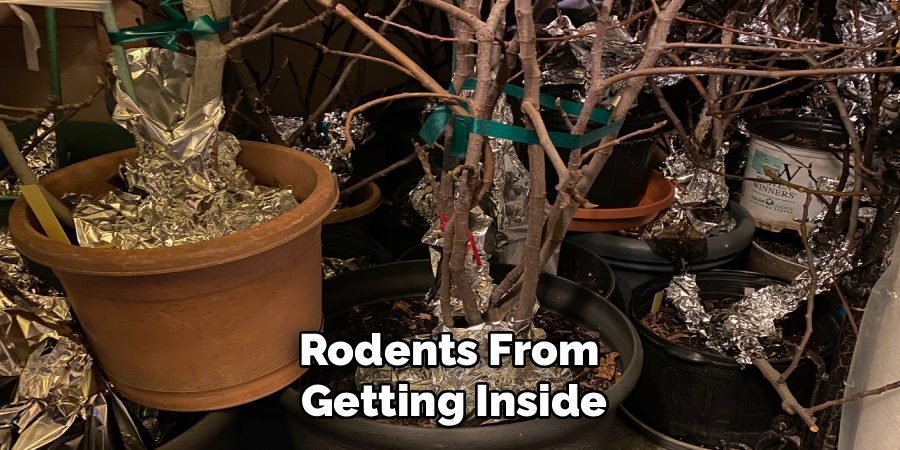
Step 8: Secure the Top and Bottom
To complete the wrapping process, you must secure the top and bottom openings. At the bottom, weigh down the edges of the tarp with bricks, stones, or soil to create a seal that prevents cold air and rodents from getting inside. At the top, gather the wrapping materials together and tie them off, but don’t seal it completely airtight. You can place a bucket or pot upside down on top of the bundle before applying the final tarp to create a “roof” that sheds water and snow while still allowing a small amount of air to circulate.
Step 9: When to Unwrap Your Fig Tree
Knowing when to unwrap your tree in the spring is just as important as knowing when to wrap it. Uncovering it too early can expose tender new buds to a late frost, while waiting too long can trap heat and humidity, promoting fungal diseases. The best time to unwrap is after the last hard frost has passed in your area, usually when nighttime temperatures consistently stay above freezing. Remove the layers gradually over a few days to allow the tree to acclimate to the ambient temperatures.
Frequently Asked Questions (FAQ)
What Is the Lowest Temperature a Fig Tree Can Tolerate?
The cold hardiness of a fig tree depends heavily on its variety and age. Mature, established trees of cold-hardy varieties like ‘Chicago Hardy’ or ‘Brown Turkey’ can often survive temperatures down to 10°F (-12°C). However, younger trees and less hardy varieties are much more sensitive and can sustain damage in temperatures below 20°F (-6°C). Wrapping is recommended in any climate where temperatures regularly drop below this threshold to ensure the survival of the branches that will produce next season’s fruit.
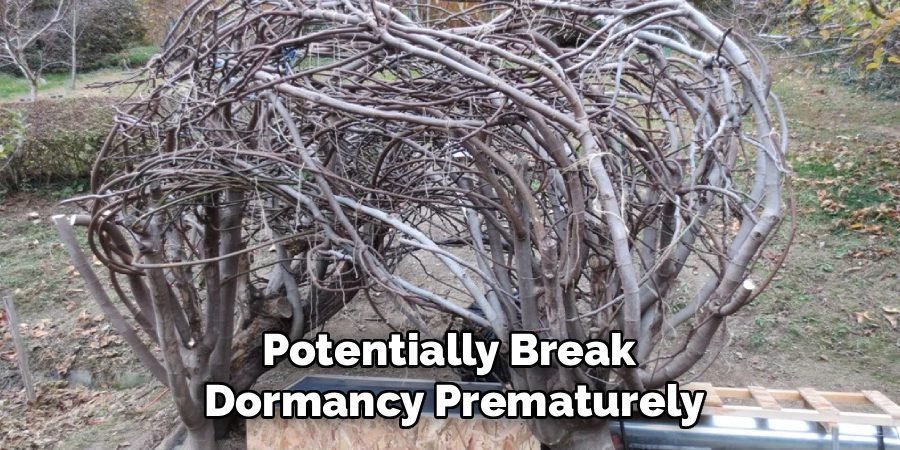
Can I Use Plastic Directly on the Fig Tree?
No, you should never wrap a fig tree with plastic directly against its bark or branches. Plastic is not breathable and will trap moisture against the tree. On a sunny winter day, this can create a greenhouse effect, causing the tree to heat up and potentially break dormancy prematurely. The trapped moisture can also lead to rot and fungal diseases. Always use a breathable material like burlap as the first layer before adding any waterproof materials like a plastic tarp on the outside.
Do I Need to Water My Wrapped Fig Tree During Winter?
Generally, a dormant, wrapped fig tree does not require watering during the winter months, especially if it’s planted in the ground. The winter precipitation in your area should provide enough moisture to keep the soil from completely drying out. The thick layer of mulch you applied at the base will also help retain soil moisture. For potted figs stored in a garage or shed, you may need to check the soil every month or so and provide a small amount of water if it feels bone-dry.
What Are the Best Fig Varieties for Cold Climates?
If you live in a colder region, selecting a cold-hardy fig variety will greatly increase your chances of success. ‘Chicago Hardy’ is perhaps the most famous, known for its ability to die back to the ground in severe winters and still produce fruit on new growth the following summer. Other excellent choices include ‘Celeste’, which is known for its cold tolerance and delicious fruit, and ‘Brown Turkey’, a widely available and reliable producer. These varieties still benefit from winter protection in zones 7 and below.
What Happens if I Don’t Wrap My Fig Tree?
If you live in a climate where temperatures drop significantly below freezing and you choose not to wrap your fig tree, the results can vary. For hardy varieties, the top growth may die back to the ground, but the roots might survive if they are well-mulched. The tree could then regrow from the base in the spring, but you may lose the early (breba) crop of figs. For less hardy varieties or in extremely cold winters, the entire tree, including the root system, could be killed.
Conclusion
Protecting your fig tree from the ravages of winter is a rewarding effort that pays off with a healthy, productive plant year after year. By following these steps, you can confidently shield your tree from freezing temperatures, harsh winds, and damaging ice. From waiting for dormancy to applying layers of insulation and a weatherproof cover, each part of the process plays a role in its survival. Now that you understand how to wrap fig trees for winter, you are well-equipped to ensure your tree not only survives but thrives, ready to reward you with a delicious harvest when the warm weather returns.
About Ravuk Barg
B.Sc. Horticulture Science | Certified Master Gardener
Ravuk Barg has spent more than a decade with his hands in the soil and his head full of questions about why some gardens thrive while others struggle. What started as a single raised bed of tomatoes and basil in a modest backyard has grown into a deep, working knowledge of everything from seed germination and soil amendment to companion planting and seasonal pruning.
Over the years, Ravuk has gardened through drought summers, waterlogged springs, and pest invasions that would make most gardeners hang up their trowels for good. Those hard seasons, he’ll tell you, taught him more than any perfect growing year ever could. He writes from that earned experience—covering vegetable growing, ornamental planting, houseplant care, composting, and garden design with equal confidence and curiosity.
Philosophy & Approach
Ravuk’s approach to gardening is rooted in practicality. He favors organic methods not out of dogma, but because they work long-term—resulting in healthier soil, fewer inputs, and stronger plants. He has a particular fondness for heirloom vegetable varieties (the kind with proper flavor), unruly cottage-style flower beds, and the stubborn houseplants that everyone else gave up on.
The Mission: Give readers the honest, experience-backed advice that helps them actually succeed in their gardens—not just the ideal version, but the real one; weeds, failures, and all.
Education & Credentials
-
B.Sc. in Horticulture Science
-
Greenfield Agricultural University
-
Focus: Plant Physiology, Soil Ecology, and Sustainable Crop Production
-
-
Master Gardener Certification
-
Cooperative Extension Service
-
Focus: 200+ hours of hands-on practical training and community garden work
-
Continuing Education
-
Organic Pest Management
-
Native Plant Landscaping
-
Sustainable Crop Production