

Finding sustainable and cost-effective ways to enrich your garden can feel like a constant quest. Many gardeners overlook a valuable resource that most households have in abundance: shredded paper. Instead of sending old documents and junk mail to the landfill, you can repurpose them to improve your garden’s health and productivity.
Learning how to use shredded paper in the garden is a simple yet effective method for boosting soil quality, conserving moisture, and suppressing weeds. This guide will walk you through the process, transforming your paper waste into a powerful gardening tool that benefits your plants and the environment.
Why Use Shredded Paper in the Garden?
Using shredded paper in your garden offers a surprising number of benefits, making it an excellent practice for eco-conscious and budget-minded gardeners. First and foremost, it’s a fantastic “brown” material for your compost pile. Rich in carbon, shredded paper perfectly balances the nitrogen-rich “green” materials like grass clippings and kitchen scraps. This balance is crucial for creating nutrient-dense compost quickly and efficiently.
Beyond composting, shredded paper serves as an effective mulch. A thick layer spread around your plants helps the soil retain moisture, which means you’ll need to water less frequently. This is especially beneficial during hot, dry seasons. This paper mulch also acts as a natural barrier, suppressing weed growth by blocking the sunlight weeds need to sprout. This reduces the time you spend on the tedious task of weeding. Finally, as the paper decomposes, it adds organic matter to the soil, gradually improving its structure, aeration, and ability to hold water over time. It’s a simple way to recycle and enhance your garden’s ecosystem simultaneously.
7 Step Methods Guide: How to Use Shredded Paper in the Garden
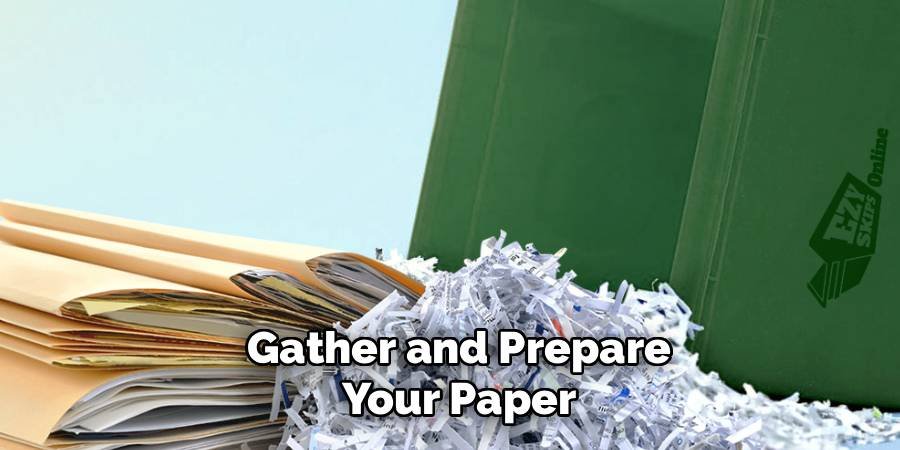
Step 1: Gather and Prepare Your Paper
The first step is to collect the right kind of paper. Focus on matte-finish paper like newspaper, bills, non-glossy junk mail, and standard office paper. Avoid glossy or waxy paper, such as magazines or photo paper, as these materials contain chemicals and clays that break down very slowly and may not be healthy for your soil. Run your collected paper through a cross-cut shredder if possible. The smaller pieces will decompose much faster and are easier to manage in the garden, preventing them from blowing away or forming a solid, impenetrable mat.
Step 2: Create a Balanced Compost Mix
Shredded paper is a carbon-heavy “brown” material, which is essential for a healthy compost pile. To create a balanced mix, you need to layer it with nitrogen-rich “green” materials. Good greens include grass clippings, vegetable scraps from your kitchen, coffee grounds, and old plant trimmings. Aim for a ratio of approximately two parts brown material (like your paper) to one part green material. This balance feeds the microorganisms that break down the organic matter, preventing your compost from becoming slimy or smelly while accelerating the decomposition process.
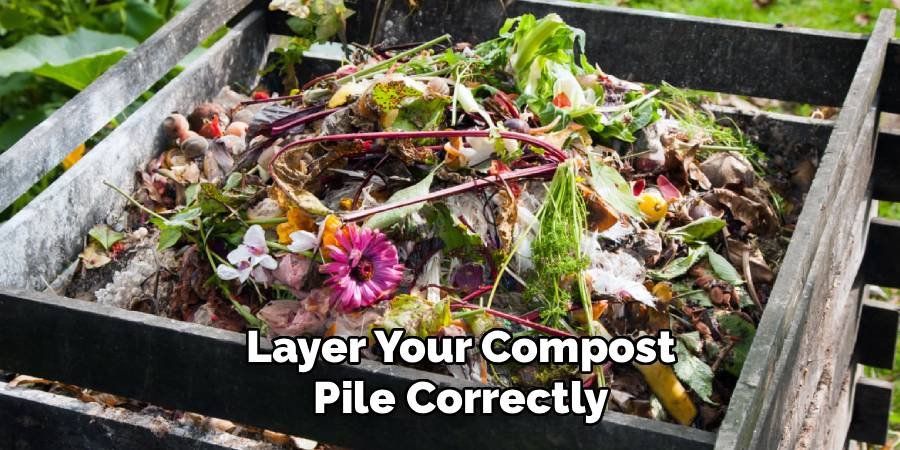
Step 3: Layer Your Compost Pile Correctly
Begin your compost pile with a layer of bulkier brown materials like twigs or wood chips to promote airflow at the base. Next, add a layer of your shredded paper, moistening it lightly with a hose. Don’t soak it, as this can cause it to clump together. Follow this with a layer of your green materials. Continue alternating between moistened brown layers and green layers until you’ve used all your materials. This layering technique ensures that carbon and nitrogen are evenly distributed, creating the ideal environment for decomposition.
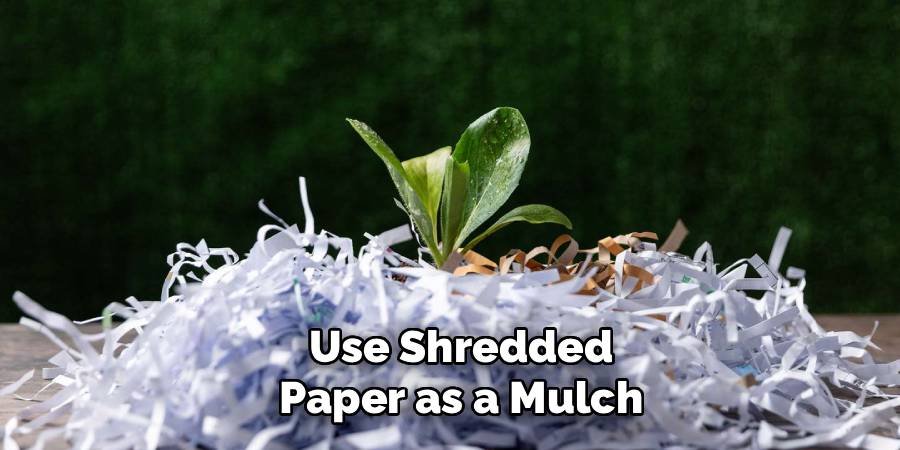
Step 4: Use Shredded Paper as a Mulch
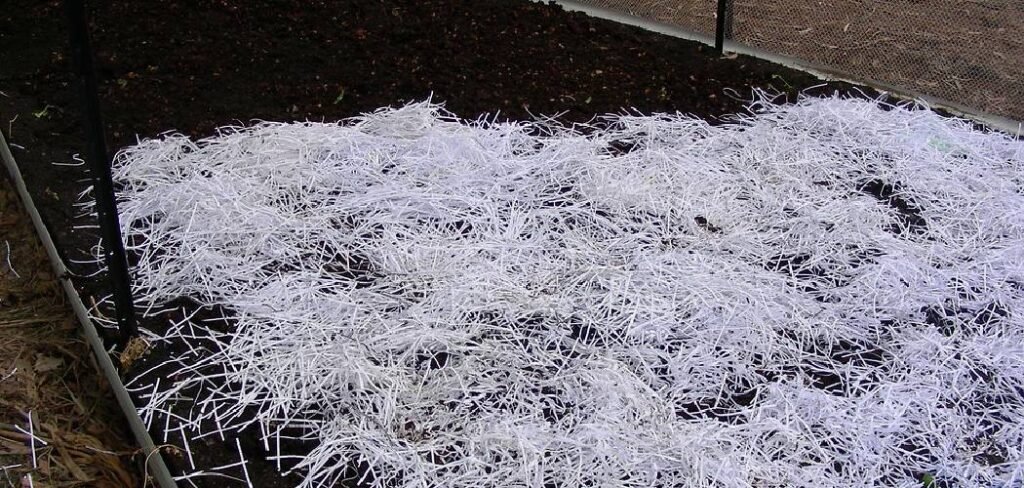
Applying shredded paper directly as a mulch is a simple and effective gardening hack. Spread a two-to-three-inch layer of the shredded paper around the base of your plants, leaving a small gap around the stems to prevent rot. This layer helps insulate the soil, keeping it cooler in the summer and warmer in the winter. It also significantly reduces water evaporation, conserving moisture and reducing your watering duties. To prevent the paper from blowing away, it’s a good idea to wet it down thoroughly after application or cover it with a thin layer of heavier mulch like straw or wood chips.
Step 5: Master the Lasagna Gardening Method
Lasagna gardening, or sheet mulching, is a no-dig method that builds incredibly fertile soil. Start by laying down a layer of cardboard or several sheets of newspaper directly on the ground to smother existing weeds. Then, begin layering organic materials as if you were making a lasagna. Add a thick layer of shredded paper (a brown layer), followed by a layer of kitchen scraps or grass clippings (a green layer). Continue alternating between brown and green materials until you have a bed that is 18 to 24 inches deep. The materials will decompose over time, creating a rich, ready-to-plant garden bed.
Step 6: Improve Soil Structure and Aeration
Over time, adding shredded paper to your soil improves its structure. As the paper decomposes, it creates organic matter that helps bind soil particles together, which is particularly beneficial for sandy soils that struggle to retain water. For heavy clay soils, the decomposing paper fibers create small air pockets, improving drainage and aeration. This allows plant roots to breathe and grow more freely, leading to stronger, healthier plants. Incorporating finished compost made with shredded paper is the best way to achieve this long-term soil improvement.
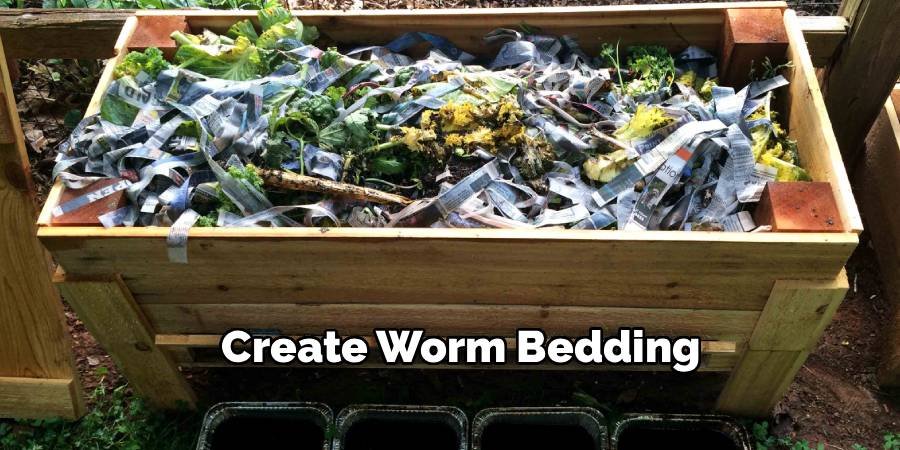
Step 7: Create Worm Bedding
If you practice vermicomposting (composting with worms), shredded paper makes an excellent bedding material. Red wigglers thrive in a moist, carbon-rich environment. To prepare the bedding, soak the shredded paper in water for a few hours, then squeeze out the excess moisture until it feels like a damp sponge. Fluff the paper and fill your worm bin about three-quarters full. The worms will eat the bedding along with your food scraps, turning it all into nutrient-rich worm castings, which are a fantastic natural fertilizer for your garden. This is a key aspect of how to use shredded paper in the garden for maximum nutrient cycling.
Monitor and Maintain Your Paper Applications
Whether you’re composting or mulching, it’s important to monitor the shredded paper. If you’re using it as mulch, check that it isn’t forming an impenetrable mat that blocks water and air. If it does, simply use a garden fork to fluff it up. In a compost pile, ensure the paper stays damp but not waterlogged. If the pile seems too dry, add water. If it’s too wet and slimy, add more dry shredded paper to absorb the excess moisture and restore the carbon-nitrogen balance. Regular turning of the compost pile will also help aerate it and speed up decomposition.
Frequently Asked Questions
Is It Safe To Use Any Type Of Shredded Paper In The Garden?
Not all paper is safe for your garden. You should primarily use non-glossy paper like newspaper (soy-based ink is best), paper bags, and office paper. Avoid using glossy magazine pages, thermal paper like receipts, or any paper with heavy, colorful dyes. These can contain plastics, heavy metals, and other chemicals that are harmful to soil microorganisms and may be absorbed by your plants. Stick to simple, uncoated paper to keep your garden organic and healthy.
Will Shredded Paper Attract Pests To My Garden?
Shredded paper itself is not a food source for most common garden pests. However, if used improperly, it can create a habitat for some critters. A very thick, dry layer of paper mulch might provide shelter for slugs, snails, or rodents. To avoid this, keep the mulch layer to about two to three inches thick and ensure it stays slightly damp. Covering the paper with a thin layer of compost or wood chips can also deter pests from making a home in it.
How Long Does It Take For Shredded Paper To Decompose?
The decomposition time for shredded paper depends on several factors. In a well-managed, moist, and warm compost pile, shredded paper can break down in as little as three months. When used as mulch, it will decompose more slowly, typically over the course of a single growing season. The smaller the paper is shredded, the faster it will break down. Keeping the paper moist and in contact with the soil will accelerate the process by encouraging microbial activity.
Can I Mix Shredded Paper Directly Into My Garden Soil?
It is generally not recommended to mix fresh shredded paper directly into your garden soil. Paper is very high in carbon, and when it’s buried in the soil, the microorganisms that decompose it will consume a lot of nitrogen from the soil to do their job. This process, known as nitrogen depletion, can temporarily starve your plants of this essential nutrient. It is much better to compost the paper first or use it as a surface mulch.
What About The Inks On The Paper? Are They Safe?
Most newspapers today use soy-based inks, which are non-toxic and perfectly safe for the garden. The black ink on most office paper and bills is also generally carbon-based and harmless. However, you should be cautious with brightly colored inks and glossy prints, as they can sometimes contain heavy metals or other undesirable chemicals. If you are uncertain about the ink, it’s best to either compost the paper first, which helps break down many compounds, or avoid using it in your vegetable garden.
Conclusion
Embracing shredded paper as a garden resource is a brilliant way to practice sustainability while actively improving your soil’s health. From creating nutrient-rich compost to providing a protective layer of mulch, paper waste proves to be a versatile and valuable asset. It helps conserve water, suppress weeds, and build better soil structure over time. By following these steps, you can confidently turn your discarded documents into a gardening game-changer. Don’t be afraid to experiment and discover how to use shredded paper in the garden in a way that works best for you and your plants.
About Ravuk Barg
B.Sc. Horticulture Science | Certified Master Gardener
Ravuk Barg has spent more than a decade with his hands in the soil and his head full of questions about why some gardens thrive while others struggle. What started as a single raised bed of tomatoes and basil in a modest backyard has grown into a deep, working knowledge of everything from seed germination and soil amendment to companion planting and seasonal pruning.
Over the years, Ravuk has gardened through drought summers, waterlogged springs, and pest invasions that would make most gardeners hang up their trowels for good. Those hard seasons, he’ll tell you, taught him more than any perfect growing year ever could. He writes from that earned experience—covering vegetable growing, ornamental planting, houseplant care, composting, and garden design with equal confidence and curiosity.
Philosophy & Approach
Ravuk’s approach to gardening is rooted in practicality. He favors organic methods not out of dogma, but because they work long-term—resulting in healthier soil, fewer inputs, and stronger plants. He has a particular fondness for heirloom vegetable varieties (the kind with proper flavor), unruly cottage-style flower beds, and the stubborn houseplants that everyone else gave up on.
The Mission: Give readers the honest, experience-backed advice that helps them actually succeed in their gardens—not just the ideal version, but the real one; weeds, failures, and all.
Education & Credentials
-
B.Sc. in Horticulture Science
-
Greenfield Agricultural University
-
Focus: Plant Physiology, Soil Ecology, and Sustainable Crop Production
-
-
Master Gardener Certification
-
Cooperative Extension Service
-
Focus: 200+ hours of hands-on practical training and community garden work
-
Continuing Education
-
Organic Pest Management
-
Native Plant Landscaping
-
Sustainable Crop Production