

Welcome to the wonderful world of gardening! If you’ve ever admired a vibrant flower bed and wished you could create your own, you’re in the right place. Growing flowers from seed is an incredibly rewarding process that connects you to nature and fills your outdoor space with color and life. This guide is designed for beginners, providing a straightforward path to success.
We’ll walk you through everything from choosing the right seeds to caring for your new blooms. Learning how to make garden flowers is easier than you might think, and this journey will give you the confidence to cultivate a beautiful garden you can be proud of. Get ready to transform your yard into a personal paradise, one seed at a time.
The Magic of Making Flowers from Seed
Creating a garden from scratch might seem like a complex task, but it’s really about understanding the life cycle of a plant. When we talk about “making” garden flowers, we’re referring to the satisfying process of propagating them from seeds. This method is not only cost-effective but also gives you access to a much wider variety of flowers than you would find as pre-grown plants at a nursery. By starting from seed, you get to witness the entire journey, from a tiny, dormant speck to a glorious, blooming flower. This guide will show you how to master this process, giving you the skills to create endless beauty year after year.
8 Step Method Guide on How to Make Garden Flowers
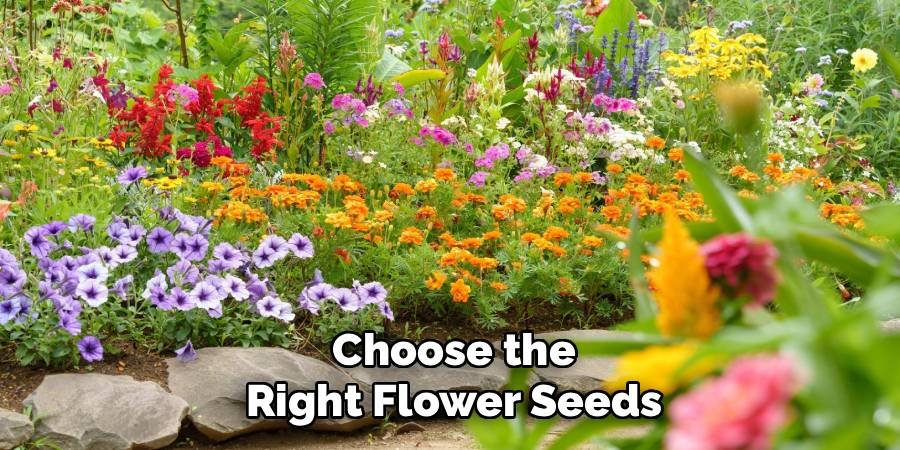
Step 1: Choose the Right Flower Seeds
Your journey begins with selecting the right seeds for your garden’s specific conditions. Consider your climate, soil type, and the amount of sunlight your garden receives. Annuals like marigolds and zinnias are great for beginners as they grow quickly and flower profusely in a single season. Perennials, such as coneflowers and lavender, will return year after year, establishing a more permanent garden structure. Read the seed packets carefully; they provide essential information about sun requirements, planting depth, and spacing. Choosing seeds that are well-suited to your environment is the foundational step for a thriving flower garden.
Step 2: Prepare Your Soil for Planting
Healthy soil is the bedrock of a healthy garden. Flowers need nutrient-rich, well-draining soil to establish strong roots. Start by clearing the designated area of any weeds, grass, or rocks. Then, use a garden fork or tiller to loosen the soil to a depth of about 8-12 inches. This aeration helps roots penetrate deeper and access water more easily. To enrich the soil, mix in a few inches of organic compost or well-rotted manure. This improves soil structure, adds vital nutrients, and enhances moisture retention, creating the perfect environment for your seeds to germinate and flourish.
Step 3: Sow Your Seeds at the Correct Time
Timing is everything in gardening. Sowing seeds too early can expose them to frost, while planting too late can mean a shorter blooming period. The seed packet is your best guide, as it will specify the ideal time to plant, which is often after the last frost date for your region. Some seeds, particularly those of certain perennials, benefit from a period of cold stratification to break dormancy. This can be done by sowing them outdoors in the fall or refrigerating them before a spring planting. For a head start, you can sow seeds indoors 6-8 weeks before the last frost and transplant the seedlings later.
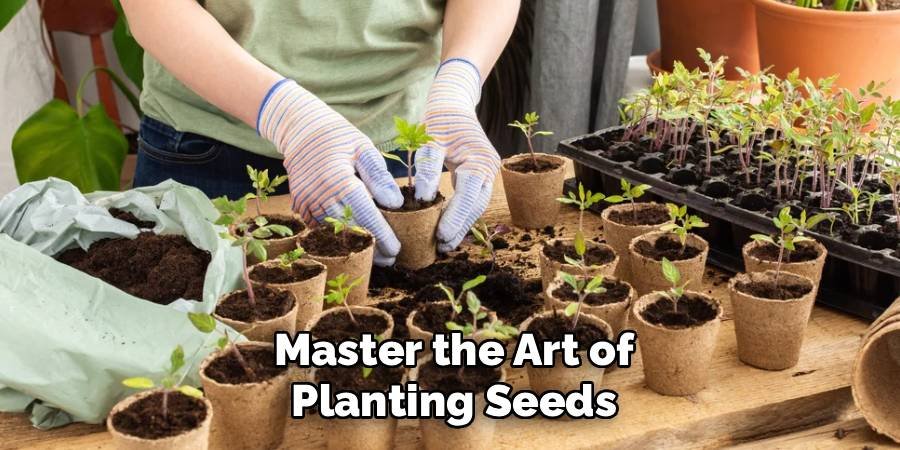
Step 4: Master the Art of Planting Seeds
Once your soil is ready and the time is right, you can begin sowing. A common mistake is planting seeds too deep. A good rule of thumb is to plant a seed at a depth of about twice its diameter. For very fine seeds, simply scattering them on the surface and lightly pressing them into the soil is sufficient, as they need light to germinate. For larger seeds, use your finger or a small tool to create a shallow hole. Space them according to the packet’s instructions to prevent overcrowding, which can lead to competition for resources and poor air circulation.
Step 5: Provide Consistent Water and Sunlight
After sowing, your seeds need two things above all else: water and sunlight. Water the area gently but thoroughly using a fine spray to avoid dislodging the seeds. The soil should be kept consistently moist, like a wrung-out sponge, but not waterlogged, as this can cause the seeds to rot. Most flower seeds require full sun, meaning at least six hours of direct sunlight per day, to germinate and grow strong. Once seedlings emerge, continue to monitor their water needs, especially during hot, dry weather. Consistent care during this early stage is critical for their survival and future growth.
Step 6: How to Make Garden Flowers Stronger by Thinning Seedlings
As your seeds sprout, you will likely find they are growing too close together. Thinning is the process of selectively removing some seedlings to give the remaining ones enough space to thrive. While it can feel counterintuitive to pull out healthy-looking plants, this step is essential for the long-term health of your garden. Overcrowded plants compete for light, water, and nutrients, resulting in weaker, spindly growth and fewer flowers. Check your seed packet for the recommended final spacing and choose the strongest, most vigorous seedlings to keep, carefully removing the others.
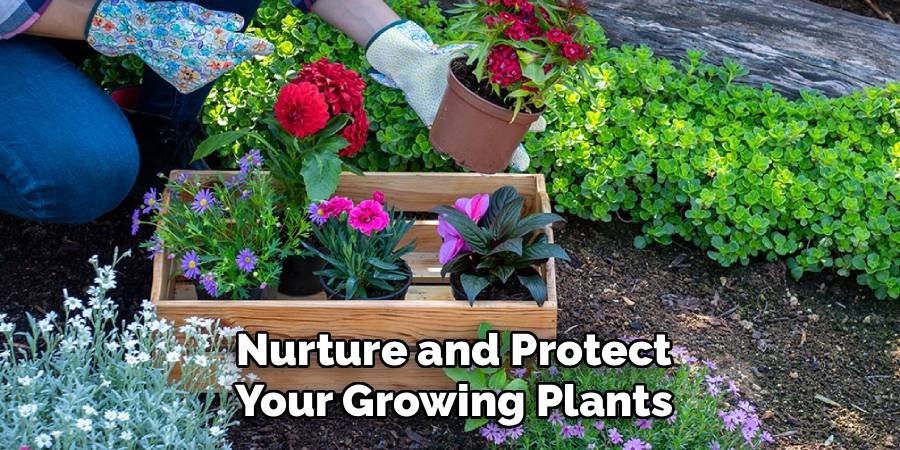
Step 7: Nurture and Protect Your Growing Plants
As your flowers grow, they will need ongoing care. Keep the garden bed free of weeds, as they compete for resources and can harbor pests. A layer of organic mulch, like shredded bark or straw, can help suppress weeds, retain soil moisture, and regulate soil temperature. Watch for common garden pests such as aphids or slugs. Often, a strong spray of water is enough to dislodge them, but insecticidal soap can be used for more persistent problems. Providing support, such as stakes or trellises, for tall or vining flowers will prevent them from breaking in the wind or rain.
Step 8: Encourage More Blooms with Deadheading
To keep your garden looking its best and encourage a continuous display of flowers, practice deadheading. This simply means removing spent or faded blooms. When a flower dies, the plant’s energy shifts toward producing seeds. By snipping off the old flower, you redirect that energy back into creating more buds and blooms. This simple task can significantly extend the flowering season for many annual and perennial species. Use clean shears or simply pinch off the spent flower head just above the next set of healthy leaves.
Frequently Asked Questions (FAQ)
What Are The Easiest Flowers For A Beginner To Grow From Seed?
For beginners, it’s best to start with flowers known for their resilience and quick germination. Annuals are a fantastic choice because they complete their life cycle in one season. Some of the easiest and most rewarding options include:
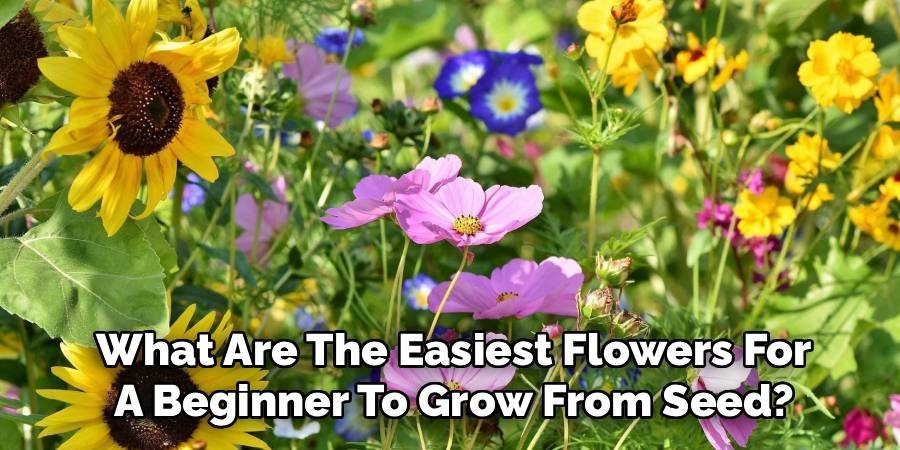
- Sunflowers: They are fast-growing, dramatic, and great for kids.
- Zinnias: These come in a rainbow of colors and bloom profusely all summer long.
- Marigolds: Known for pest-repelling properties, they are incredibly low-maintenance.
- Nasturtiums: Their flowers and leaves are edible, and they thrive even in poor soil.
How Long Does It Take For Flower Seeds To Sprout?
Germination time varies widely depending on the type of flower, soil temperature, and moisture levels. Some seeds, like zinnias and marigolds, can sprout in as little as 5 to 7 days in warm soil. Others, especially certain perennials that require cold stratification, may take several weeks or even months to emerge. Always check the seed packet, as it will provide an estimated germination timeframe. Patience is key; as long as you provide consistent moisture and the right conditions, your seeds will sprout when they are ready.
Can I Grow Flowers In Pots Instead Of The Ground?
Absolutely! Container gardening is an excellent option, especially if you have limited space, poor soil, or just a sunny balcony. Most flowers that grow in the ground can also thrive in pots. Just be sure to choose a container with adequate drainage holes. Use a high-quality potting mix rather than garden soil, as it is lighter and less likely to become compacted. Plants in containers tend to dry out faster, so you will need to water them more frequently, especially during hot weather.
Do I Need To Fertilize My Flowers?
Whether you need to fertilize depends on the quality of your soil. If you amended your soil with plenty of rich compost before planting, you might not need to add any fertilizer. However, if your plants look pale or are growing slowly, a boost of nutrients can help. For annuals and container plants, a balanced, water-soluble fertilizer applied every 2-4 weeks during the growing season can encourage more vigorous blooming. For perennials in the ground, an annual application of compost is often sufficient.
What Is The Difference Between Annual And Perennial Flowers?
The main difference lies in their life cycles. Annuals complete their entire life cycle—from seed to flower to seed—in a single growing season and then die off. Examples include petunias, impatiens, and cosmos. They are perfect for adding instant, season-long color. Perennials, on the other hand, live for three or more years. Their foliage may die back to the ground in winter, but their root systems remain alive and they regrow in the spring. Examples include peonies, daylilies, and hostas. They are the long-term foundation of a garden.
Conclusion
Creating a beautiful garden filled with vibrant blooms is a deeply fulfilling experience that is accessible to everyone. By following these steps, you have a clear roadmap to success. From preparing your soil and choosing the right seeds to nurturing your plants and encouraging more blooms, you now have the knowledge to get started. Don’t be afraid to experiment and learn as you go; every garden is a unique creation. Now that you understand how to make garden flowers, it’s time to get your hands dirty and begin the rewarding process of cultivating your very own floral masterpiece.
About Ravuk Barg
B.Sc. Horticulture Science | Certified Master Gardener
Ravuk Barg has spent more than a decade with his hands in the soil and his head full of questions about why some gardens thrive while others struggle. What started as a single raised bed of tomatoes and basil in a modest backyard has grown into a deep, working knowledge of everything from seed germination and soil amendment to companion planting and seasonal pruning.
Over the years, Ravuk has gardened through drought summers, waterlogged springs, and pest invasions that would make most gardeners hang up their trowels for good. Those hard seasons, he’ll tell you, taught him more than any perfect growing year ever could. He writes from that earned experience—covering vegetable growing, ornamental planting, houseplant care, composting, and garden design with equal confidence and curiosity.
Philosophy & Approach
Ravuk’s approach to gardening is rooted in practicality. He favors organic methods not out of dogma, but because they work long-term—resulting in healthier soil, fewer inputs, and stronger plants. He has a particular fondness for heirloom vegetable varieties (the kind with proper flavor), unruly cottage-style flower beds, and the stubborn houseplants that everyone else gave up on.
The Mission: Give readers the honest, experience-backed advice that helps them actually succeed in their gardens—not just the ideal version, but the real one; weeds, failures, and all.
Education & Credentials
-
B.Sc. in Horticulture Science
-
Greenfield Agricultural University
-
Focus: Plant Physiology, Soil Ecology, and Sustainable Crop Production
-
-
Master Gardener Certification
-
Cooperative Extension Service
-
Focus: 200+ hours of hands-on practical training and community garden work
-
Continuing Education
-
Organic Pest Management
-
Native Plant Landscaping
-
Sustainable Crop Production