

A garden hose is an essential tool for any homeowner with a yard, but its tangled, bulky presence can detract from an otherwise beautiful landscape.An unruly hose lying across a pristine lawn or patio can be an eyesore, creating a tripping hazard and making your outdoor space look cluttered. Fortunately, there are many creative and practical solutions to this common problem.
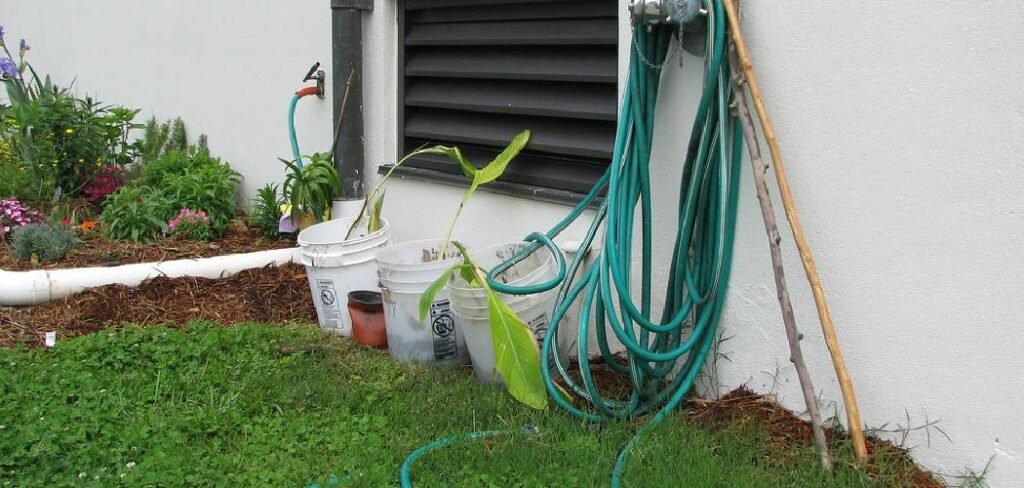
Learning how to hide garden hose effectively can transform your garden’s appearance, making it look neater, more organized, and professionally maintained. This guide will walk you through various methods, from simple storage solutions to clever DIY projects, ensuring your hose is out of sight but always within reach when you need it.
Why Bother Hiding a Garden Hose?
A neatly stored garden hose does more than just improve your yard’s aesthetics; it also protects your investment. When a hose is left out, it’s exposed to direct sunlight, which can cause the material to degrade, crack, and become brittle over time. This UV damage significantly shortens the hose’s lifespan. Additionally, leaving it coiled on the ground can lead to kinks and tangles that restrict water flow and are frustrating to undo. It also presents a serious tripping hazard for family and guests. By properly storing your hose, you not only create a safer, more attractive garden but also ensure your equipment remains in top condition for years to come.
8 Step-by-Step Guide: How to Hide Garden Hose
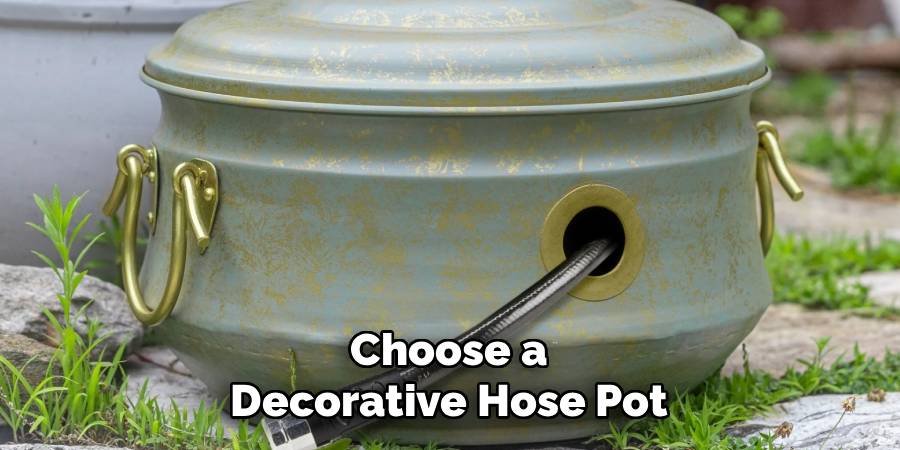
Step 1: Choose a Decorative Hose Pot
One of the simplest and most elegant solutions is a decorative hose pot. These containers come in a wide variety of materials, such as ceramic, metal, or resin, and are designed to look like attractive planters or garden urns. You can find one that perfectly matches your patio furniture or garden’s theme. To use it, simply coil your hose neatly inside after each use. Most pots have a small opening at the base to allow the hose to connect to the spigot, keeping it functional while completely hidden. This method requires no installation and instantly elevates the look of your outdoor space.
Step 2: Install a Wall-Mounted Hose Reel
For a more practical and permanent solution, consider a wall-mounted hose reel. These devices attach directly to the side of your house or shed, providing a designated spot to wind up your hose. They come in manual-crank and automatic retractable models. An automatic reel is particularly convenient, as it retracts the hose with a gentle tug, preventing kinks and tangles. Installing a wall-mounted reel keeps the hose off the ground, protecting it from damage and freeing up valuable floor space on your patio or in your garage. This is a great option for keeping things tidy and organized.
Step-3:-Utilize-a-Concealer-Box-or-Cabinet-for-Hiding-the-Hose
A hose concealer box or cabinet is a fantastic choice if you want to completely enclose the hose. These storage units often resemble small benches, side tables, or decorative boxes, blending seamlessly into your garden decor. They are designed to hold a coiled hose, and many include a built-in reel mechanism for easy winding and unwinding. Some models even offer extra storage space for nozzles and other small gardening tools. Placing a hose cabinet near the spigot provides a discreet and highly functional way to manage your hose while adding a useful piece of furniture to your outdoor area.
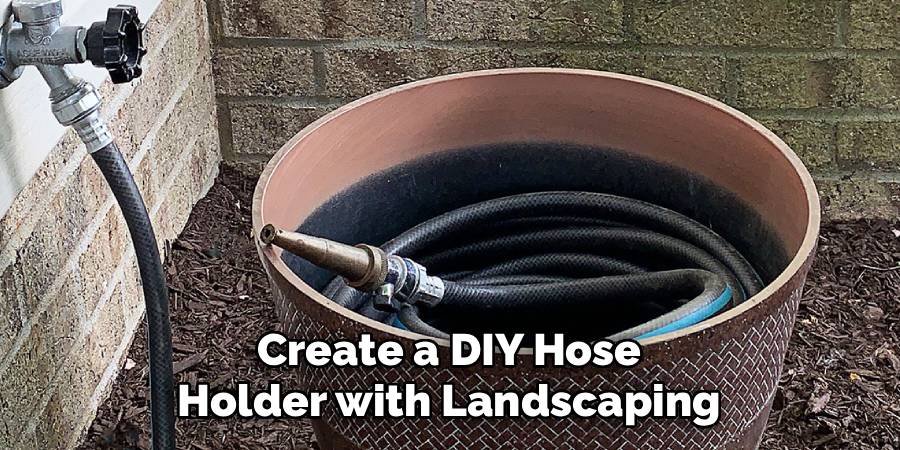
Step 4: Create a DIY Hose Holder with Landscaping
You can get creative and build a solution that is integrated directly into your garden’s landscape. A simple yet effective idea is to construct a small wooden post near your spigot. You can paint or stain it to match your fence or deck and add a decorative hook or holder to wrap the hose around. For an even more natural look, you could build a small retaining wall or raised flower bed around the faucet area, creating a hidden compartment behind it to store the hose. This approach allows you to customize the solution to perfectly match your garden’s aesthetic.
Step 5: Bury the Hose Underground
For the ultimate hidden solution, you can bury your garden hose. This method involves digging a shallow trench from your water source to the areas of your yard where you need water access. You would then run the hose through PVC pipe to protect it from soil and potential damage from digging. By installing hose-connecting faucets or quick-connect ports at various points along the buried line, you can access water anywhere in your yard without ever seeing the main hose. This is a more labor-intensive project but provides an incredibly clean and seamless result.
Step 6: Hide the Hose Behind Shrubs or Tall Plants
A very simple and cost-effective strategy is to use your existing landscaping to your advantage. Strategically plant dense shrubs, ornamental grasses, or tall perennial flowers in front of your water spigot. This natural screen can effectively hide the coiled hose from view. Simply coil the hose tightly behind the foliage after you are done using it. This method works best if you have a green thumb and can select plants that will provide thick, year-round coverage. It’s a perfect example of a practical technique on how to hide garden hose with minimal effort.
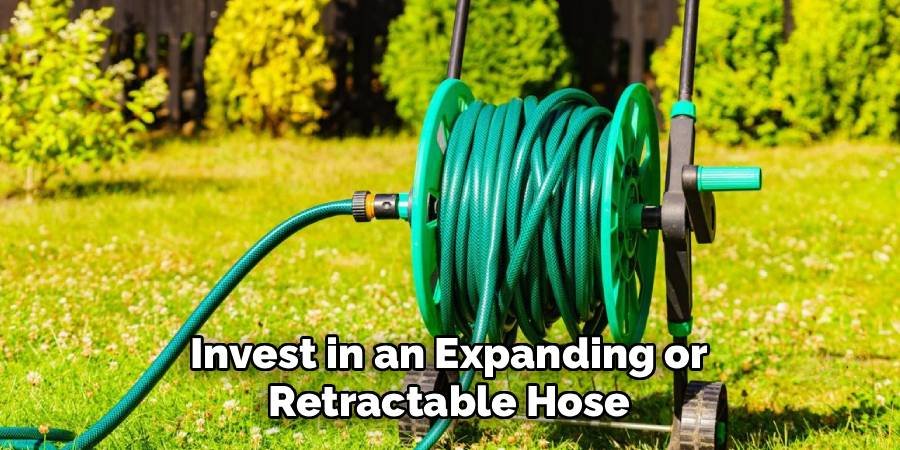
Step 7: Invest in an Expanding or Retractable Hose
Modern hose technology offers another great way to minimize clutter. Expanding hoses are made from a lightweight, flexible material that contracts to a fraction of its size when the water is turned off. They are easy to store in a small pot, bucket, or bag. Similarly, a high-quality retractable hose reel, often housed in a plastic casing, can automatically wind the hose back into its container. Both options eliminate the need for manual coiling and keep the hose compact and out of sight, making them excellent choices for smaller yards or patios.
Step 8: Build a Wooden Hose Storage Bench
If you enjoy DIY projects, consider building a functional storage bench. You can design a simple wooden bench with a hinged lid that opens to reveal a storage compartment large enough to hold your garden hose and other supplies. This multi-purpose solution not only hides your hose but also provides extra seating for your patio or garden. Cut a small hole in the back or side of the bench for the hose to connect to the spigot. This is a practical and attractive project that adds value and utility to your outdoor living space.
Frequently Asked Questions
What Is the Best Material for a Hose Pot?
The best material depends on your climate and style preferences.
- Ceramic and Terracotta: These offer a classic, elegant look but can be heavy and may crack in freezing temperatures if left unprotected.
- Resin and Plastic: These are lightweight, durable, and weather-resistant, making them a practical and affordable choice for any climate. They also come in many styles that mimic stone or metal.
- Metal: Copper, bronze, or powder-coated steel pots are very durable and develop a beautiful patina over time but can be more expensive.
How Do I Prevent a Hose from Kinking Inside a Storage Unit?
To prevent kinking, always coil the hose neatly and evenly, avoiding tight loops. Before storing, make sure all the water is drained out by lifting the hose and walking its length from the spigot to the nozzle end. For hose reels, guide the hose evenly across the drum as you wind it. If you’re using a pot or box, create large, loose coils starting from the spigot connection, which will help it lay flat and unwind smoothly the next time you use it.
Can a Retractable Hose Reel Be Repaired?
Yes, many retractable hose reels can be repaired. Common issues include a worn-out retraction spring, a leaking connection, or a damaged hose. Manufacturers often sell replacement parts, such as springs, O-rings, and leader hoses. The repair process can vary in difficulty. Minor fixes like replacing a seal are usually straightforward, but replacing the main spring mechanism can be more complex and may require special care to handle the tension safely. Always consult the manufacturer’s instructions or look for online tutorials for your specific model.
Is It Safe to Leave a Hose Connected to the Spigot All Year?
It is not recommended to leave a hose connected to the spigot year-round, especially in climates with freezing temperatures. Water trapped inside the hose or spigot can freeze and expand, causing the faucet, pipes, or the hose itself to crack and burst. This can lead to significant water damage. Before the first frost, you should always disconnect, drain, and store your hose indoors, and it’s wise to install a frost-proof sillcock or use an outdoor faucet cover for added protection.
How Far Can I Bury a Garden Hose?
You can bury a hose estrogens for a considerable distance, but you must account for a drop in water pressure. The longer the hose, the more pressure you will lose due to friction. For runs over 100 feet, consider using a wider diameter hose (e.g., 3/4-inch instead of 5/8-inch) to minimize pressure loss. It’s also crucial to bury it inside a protective casing, like a PVC pipe, to prevent damage from shovels or shifting ground. The trench only needs to be about 4-6 inches deep.
Conclusion
A messy garden hose no longer needs to spoil the view of your beautiful yard. With so many options available, from stylish hose pots and convenient wall-mounted reels to creative DIY projects, there is a solution for every homeowner. By taking a little time to implement one of these ideas, you can protect your hose from damage, eliminate a tripping hazard, and reclaim the visual appeal of your garden. We hope this guide has inspired you to find the perfect way how to hide garden hose and create a more organized, attractive, and enjoyable outdoor space.
About Ravuk Barg
B.Sc. Horticulture Science | Certified Master Gardener
Ravuk Barg has spent more than a decade with his hands in the soil and his head full of questions about why some gardens thrive while others struggle. What started as a single raised bed of tomatoes and basil in a modest backyard has grown into a deep, working knowledge of everything from seed germination and soil amendment to companion planting and seasonal pruning.
Over the years, Ravuk has gardened through drought summers, waterlogged springs, and pest invasions that would make most gardeners hang up their trowels for good. Those hard seasons, he’ll tell you, taught him more than any perfect growing year ever could. He writes from that earned experience—covering vegetable growing, ornamental planting, houseplant care, composting, and garden design with equal confidence and curiosity.
Philosophy & Approach
Ravuk’s approach to gardening is rooted in practicality. He favors organic methods not out of dogma, but because they work long-term—resulting in healthier soil, fewer inputs, and stronger plants. He has a particular fondness for heirloom vegetable varieties (the kind with proper flavor), unruly cottage-style flower beds, and the stubborn houseplants that everyone else gave up on.
The Mission: Give readers the honest, experience-backed advice that helps them actually succeed in their gardens—not just the ideal version, but the real one; weeds, failures, and all.
Education & Credentials
-
B.Sc. in Horticulture Science
-
Greenfield Agricultural University
-
Focus: Plant Physiology, Soil Ecology, and Sustainable Crop Production
-
-
Master Gardener Certification
-
Cooperative Extension Service
-
Focus: 200+ hours of hands-on practical training and community garden work
-
Continuing Education
-
Organic Pest Management
-
Native Plant Landscaping
-
Sustainable Crop Production