

A garden hose is an essential tool for any homeowner, but an overly long one can be a real nuisance. It gets tangled, kinks easily, and can be a tripping hazard lying across your lawn or patio. Instead of wrestling with excess length every time you water your plants, you can easily customize it to fit your space perfectly.
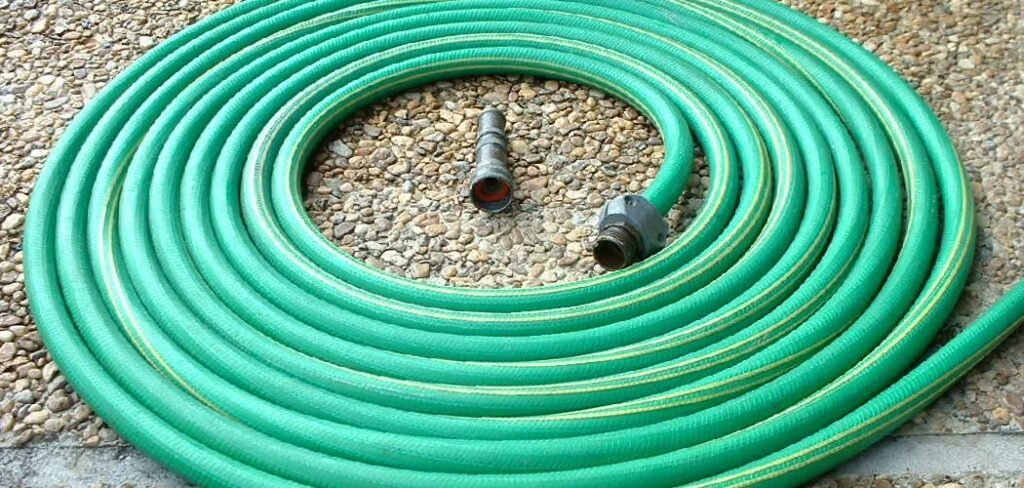
Learning how to shorten a garden hose is a simple and rewarding DIY project that requires just a few common tools and a little bit of time. This guide will walk you through every step, making it easy for even a beginner to achieve a clean, leak-free result. You’ll be surprised at how much a properly sized hose can improve your gardening routine.
Why Shortening a Garden Hose is Useful
You might wonder why anyone would bother cutting a perfectly good hose. The benefits are more practical than you might think. A shorter hose is significantly lighter and easier to manage, reducing the strain of dragging it around the yard. It’s also less prone to kinking, which means you get consistent water pressure without constantly stopping to straighten out twists.
Furthermore, a hose that’s the right length for your yard is easier to store. Whether you use a hose reel, a wall mount, or simply coil it by hand, less length means a neater, more compact result. This not only looks better but also protects the hose from damage caused by improper storage. Finally, by removing excess length, you reduce potential tripping hazards on your lawn, walkways, and patio, making your outdoor space safer for family and guests. Customizing your hose length is a small change that makes a big difference in convenience and safety.
7 Step-by-Step Guide on How to Shorten a Garden Hose
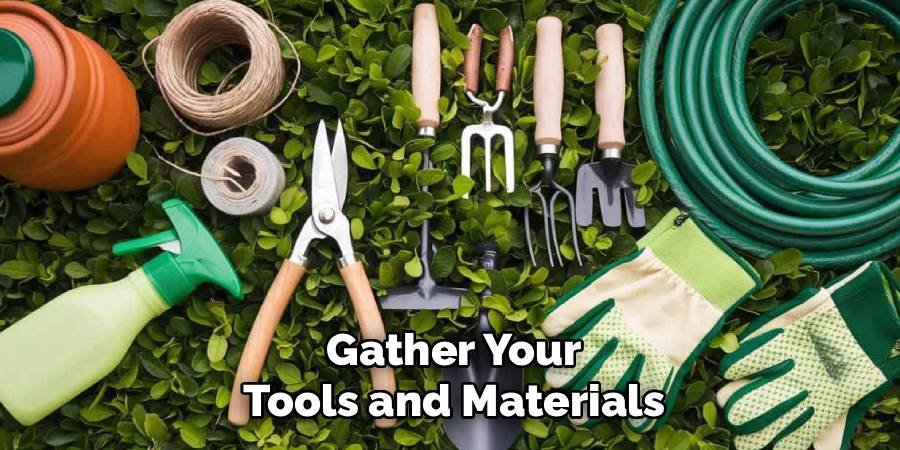
Step 1: Gather Your Tools and Materials
Before you make the first cut, it’s important to gather all the necessary supplies. This will ensure the process goes smoothly without any interruptions. You will need a sharp utility knife or a pair of PVC pipe cutters for a clean cut. You’ll also need a tape measure to determine the correct length. The most crucial component is a hose repair kit, which typically includes a new male or female hose end fitting with a clamp. Make sure the kit matches the diameter of your hose—most standard garden hoses are 1/2-inch, 5/8-inch, or 3/4-inch. Finally, have a screwdriver handy to tighten the clamp on the new fitting.
Step 2: Measure and Mark the Hose
Precision is key to getting this project right. Lay your hose out straight in your yard, from the spigot to the farthest point you need to water. This will give you a clear idea of the ideal length. Add an extra foot or two to your measurement to provide some slack, which prevents the hose from being pulled too tight when in use. Once you have determined the perfect length, use your tape measure to find the exact spot. Mark this point clearly with a permanent marker or a piece of tape so you know exactly where to make your cut.
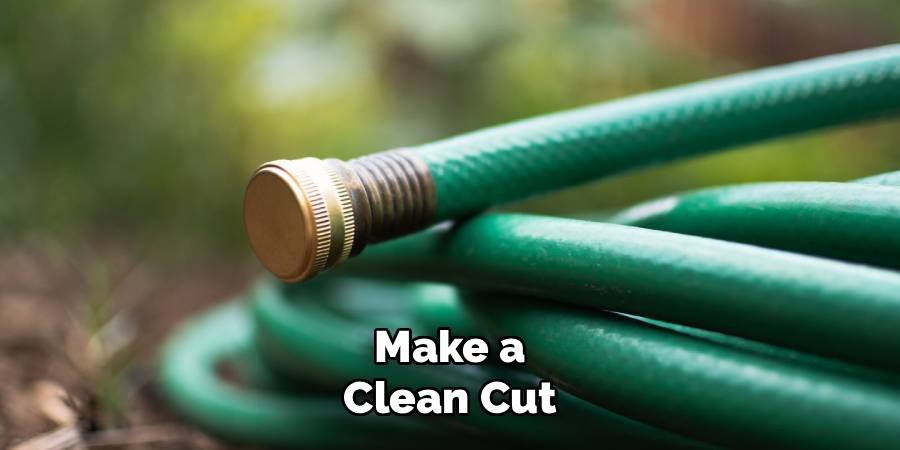
Step 3: Make a Clean Cut
With your hose marked, it’s time to make the cut. The goal here is to create a straight, clean edge, as a jagged or angled cut can prevent the new fitting from sealing properly, leading to leaks. A sharp utility knife is a reliable tool for this job. Place the hose on a stable, flat surface like a piece of scrap wood to protect the ground and provide support. Carefully and firmly press the blade into the hose at your mark, sawing back and forth until you are all the way through. Alternatively, a pair of PVC pipe cutters can make this step even easier, often providing a perfect cut with a single squeeze.
Step 4: Prepare the New Hose End
Now that you have a freshly cut hose, you need to prepare it for the new fitting. Take a moment to inspect the cut end. If there are any ragged edges or stray pieces of rubber or vinyl, carefully trim them away with your utility knife. The end should be as smooth and uniform as possible. A clean surface ensures that the new fitting can slide on easily and create a tight, waterproof seal. This small detail is one of the most important factors in preventing frustrating leaks later on, so don’t rush through it. A little extra care here will save you headaches down the road.
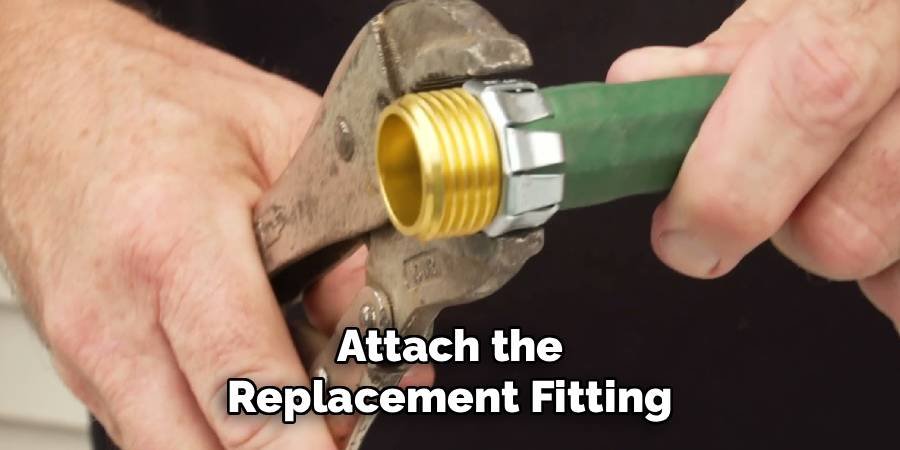
Step 5: Attach the Replacement Fitting
This is where your hose repair kit comes into play. Most kits consist of two main parts: the fitting itself and a clamp. First, slide the clamp over the end of the hose. Next, take the barbed end of the new fitting and push it firmly into the opening of the hose. This may require some force. If you’re having trouble, try warming the end of the hose slightly with a hairdryer or dipping it in warm water for a minute. This will make the material more pliable and easier to work with. Push the fitting in until the hose is snug against its base.
Step 6: Secure the Clamp
With the fitting in place, it’s time to secure it. Slide the clamp you placed on the hose earlier down over the area where the fitting’s barb is inserted. Position the clamp about a quarter of an inch from the end of the hose, ensuring it sits over the ribbed section of the fitting inside. This placement is critical for creating maximum pressure and a watertight seal. Using your screwdriver, tighten the clamp’s screw. Make it snug and firm, but be careful not to overtighten, as this could damage the hose or the clamp itself. The hose should be tightly compressed around the fitting.
Step 7: Test for Leaks
This is the moment of truth. Before you start using your newly shortened hose, you need to check your work for any leaks. Attach the hose to your spigot and turn on the water, starting with low pressure and gradually increasing it to full. Carefully inspect the area around the new fitting. Look for any drips, sprays, or seeps. If you see any water escaping, turn off the spigot and re-examine your connection. The most common cause of a leak is a clamp that isn’t tight enough, so try tightening it a bit more. If that doesn’t solve it, the fitting may not be fully inserted.
Frequently Asked Questions
What Tools Do I Need to Shorten a Garden Hose?
To shorten a garden hose, you will need just a few basic tools. The essentials are:
- A sharp utility knife or PVC pipe cutters for a clean cut.
- A tape measure to determine the new length.
- A hose repair kit that matches your hose’s diameter (usually 1/2″, 5/8″, or 3/4″).
- A screwdriver to tighten the clamp from the repair kit.
Having these items on hand before you begin will make the process quick and straightforward.
Can I Reattach the Original Hose End?
In most cases, you cannot reuse the original factory-installed hose end. These ends are typically attached with a crimped metal ferrule that is permanently fixed at the factory. Attempting to remove it without damaging the fitting or the hose is nearly impossible. It is much easier and more reliable to purchase a new replacement hose end from a hardware store. These repair kits are inexpensive and designed for easy installation with just a clamp and a screwdriver, ensuring a secure, leak-proof connection.
What if My Hose Leaks After I Attach the New Fitting?
If you notice a leak after attaching the new fitting, turn off the water immediately. The most common culprit is a loose clamp. Use your screwdriver to tighten it a bit more, ensuring it’s snug but not so tight that it damages the hose. If it still leaks, the fitting may not be fully seated inside the hose. You might need to loosen the clamp, push the fitting in further, and then re-tighten. An angled or jagged cut can also cause leaks, so ensure the hose end is perfectly flat.
How Do I Know What Size Repair Kit to Buy?
Garden hoses come in a few standard diameters, most commonly 1/2-inch, 5/8-inch, and 3/4-inch. The diameter is often printed on the side of the hose itself. If you can’t find it, you can measure the inside diameter with a tape measure. It is crucial to buy a repair kit that matches your hose’s diameter. Using the wrong size will result in a poor fit and a connection that will almost certainly leak, no matter how tightly you secure the clamp.
Can This Method Be Used on All Types of Hoses?
This method works for most standard vinyl and rubber garden hoses. However, it is not suitable for expandable or “pocket” hoses, as their unique construction with an inner tube and outer fabric sleeve requires a special repair process. Similarly, specialized hoses like soaker hoses or heavy-duty commercial hoses may have different fittings or materials that are not compatible with standard repair kits. Always stick to using this technique on traditional, non-expandable garden hoses for the best results.
Conclusion
A garden hose that is too long can be a constant source of frustration, leading to tangles, kinks, and tripping hazards. By following the simple steps outlined in this guide, you can easily customize its length to perfectly suit your needs. From gathering your tools to testing for leaks, the entire process is straightforward and requires no special skills. Taking the time to learn how to shorten a garden hose not only makes your gardening tasks more efficient but also enhances the safety and tidiness of your outdoor space. It’s a practical DIY project that delivers immediate benefits, leaving you with a tool that’s a pleasure to use.
About Ravuk Barg
B.Sc. Horticulture Science | Certified Master Gardener
Ravuk Barg has spent more than a decade with his hands in the soil and his head full of questions about why some gardens thrive while others struggle. What started as a single raised bed of tomatoes and basil in a modest backyard has grown into a deep, working knowledge of everything from seed germination and soil amendment to companion planting and seasonal pruning.
Over the years, Ravuk has gardened through drought summers, waterlogged springs, and pest invasions that would make most gardeners hang up their trowels for good. Those hard seasons, he’ll tell you, taught him more than any perfect growing year ever could. He writes from that earned experience—covering vegetable growing, ornamental planting, houseplant care, composting, and garden design with equal confidence and curiosity.
Philosophy & Approach
Ravuk’s approach to gardening is rooted in practicality. He favors organic methods not out of dogma, but because they work long-term—resulting in healthier soil, fewer inputs, and stronger plants. He has a particular fondness for heirloom vegetable varieties (the kind with proper flavor), unruly cottage-style flower beds, and the stubborn houseplants that everyone else gave up on.
The Mission: Give readers the honest, experience-backed advice that helps them actually succeed in their gardens—not just the ideal version, but the real one; weeds, failures, and all.
Education & Credentials
-
B.Sc. in Horticulture Science
-
Greenfield Agricultural University
-
Focus: Plant Physiology, Soil Ecology, and Sustainable Crop Production
-
-
Master Gardener Certification
-
Cooperative Extension Service
-
Focus: 200+ hours of hands-on practical training and community garden work
-
Continuing Education
-
Organic Pest Management
-
Native Plant Landscaping
-
Sustainable Crop Production