

A garden hose is an essential tool for any homeowner, but managing a long, tangled hose can be a constant struggle. It becomes a tripping hazard, gets kinked, and can look messy lying across your lawn or patio. This is where a hose reel comes in, providing a simple and effective solution for storing your hose neatly and securely.
A properly installed reel not only extends the life of your hose by protecting it from sun damage and kinks but also makes watering your garden a much more pleasant task. This guide will walk you through the process of how to set up a hose reel, turning a frustrating chore into a simple and rewarding project.
Why a Tidy Garden Starts with Your Hose Reel
Keeping your garden organized is about more than just aesthetics; it’s about efficiency and safety. A tangled hose is a common source of frustration, leading to wasted time and potential damage to your plants as you drag it across flowerbeds. More importantly, a loose hose is a significant tripping hazard for family and guests. By installing a hose reel, you create a designated spot for your hose, keeping it off the ground and out of the way. This simple organizational tool prevents kinks that restrict water flow, protects the hose from wear and tear, and makes your outdoor space safer and more enjoyable.
7 Step-by-Step on Guide on How to Set Up a Hose Reel
Step 1: Unpack and Inspect All Components
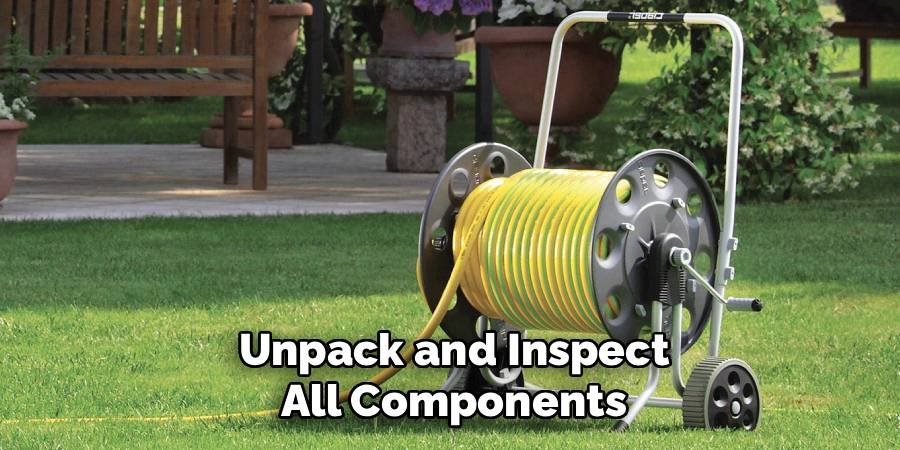
Before you begin, open the box and lay out all the parts included with your hose reel. Most kits come with the reel itself, a handle, a leader hose (a short hose that connects the reel to the spigot), and mounting hardware like screws and wall anchors. Carefully check the manufacturer’s parts list to ensure everything is present. Inspect each component for any signs of damage that may have occurred during shipping. This initial check prevents you from getting halfway through the installation only to discover a missing or broken piece, saving you time and frustration.
Step 2: Choose the Ideal Location for Your Reel
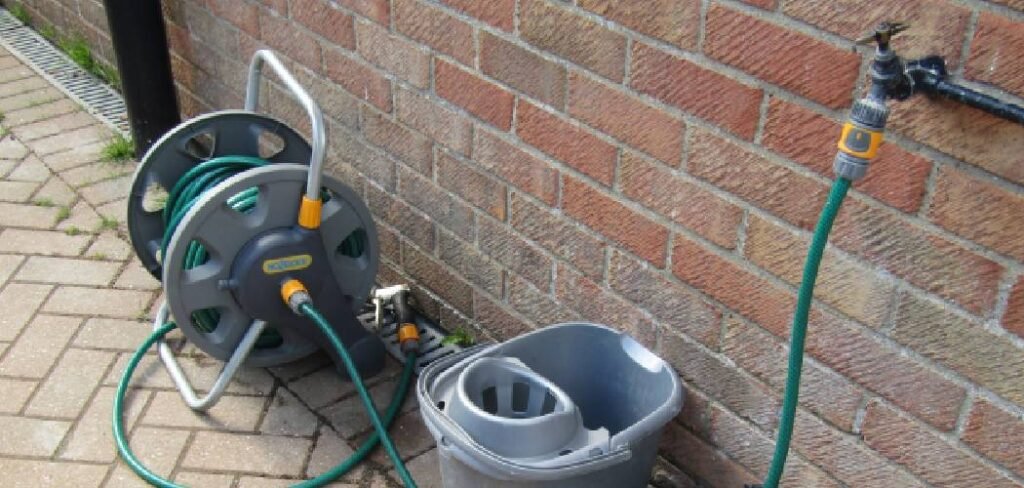
Selecting the right spot for your hose reel is crucial for its functionality. The location should be close to your water spigot (faucet) to easily connect the leader hose. Consider the reach of your main garden hose; the reel should be positioned so the hose can comfortably access all areas of your yard that need watering without being stretched to its absolute limit. For wall-mounted reels, choose a sturdy surface like brick, concrete, or a solid wood stud in your wall. Avoid installing it on vinyl siding or drywall alone, as these materials may not support the weight.
Step 3: Assemble the Hose Reel Unit
With all parts accounted for, you can now assemble the main unit. Most hose reels require minimal assembly, which typically involves attaching the crank handle and sometimes the hose guide. Follow the manufacturer’s instructions closely. The handle usually screws or snaps into place on the side of the reel drum. If your model includes a hose guide mechanism, ensure it is properly aligned and secured. This is a quick but important step to ensure the reel functions smoothly when you wind and unwind the hose later on. Take a moment to test the crank and make sure the drum rotates freely.
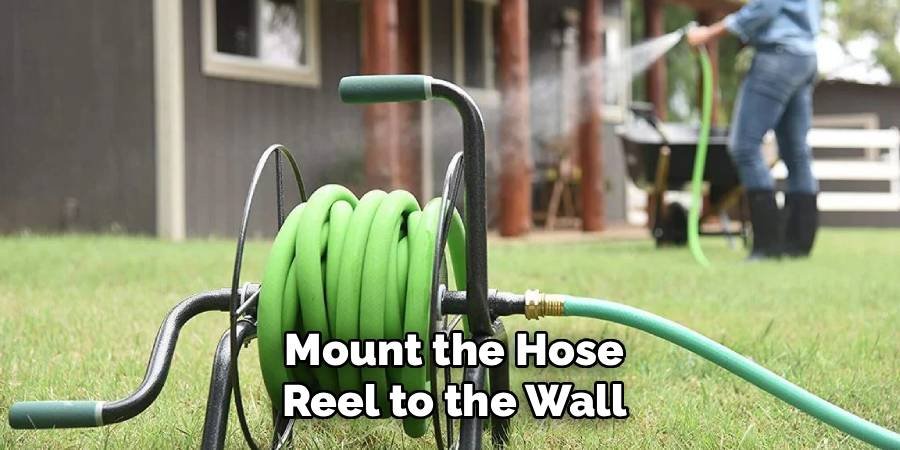
Step 4: Mount the Hose Reel to the Wall
This step applies to wall-mounted reels. Using a pencil, mark the drilling spots on the wall through the mounting holes on the reel’s frame. A level can help ensure the reel is perfectly straight. Drill pilot holes at the marked locations using a drill bit appropriate for the wall material and the size of your mounting screws. If you are drilling into brick or masonry, you will need to insert the provided wall anchors into the holes first. Position the reel over the holes and secure it tightly with the screws, making sure it feels sturdy and firmly attached to the wall.
Step 5: Attach the Leader Hose
The leader hose is the bridge between your water spigot and the hose reel. One end of this short hose connects to the water inlet on the side of the reel. Make sure to use any included rubber washers to create a tight, leak-proof seal, and hand-tighten the coupling firmly. Attach the other end of the leader hose to your main water spigot. Again, ensure the connection is secure to prevent any drips or leaks when you turn on the water. This connection is essential for the entire system to work correctly.
Step 6: How to Set Up a Hose Reel by Connecting the Main Hose
Now it’s time to connect your main garden hose. Before attaching it, completely unwind the hose and lay it out straight to remove any kinks or twists. This makes it much easier to wind onto the reel for the first time. Connect the female end of your garden hose to the water outlet fitting located inside the reel’s drum. Most reels have a brass or plastic fitting that swivels. Hand-tighten this connection securely, using a rubber washer to prevent leaks. A firm connection here is key to avoiding frustrating drips inside the reel drum.
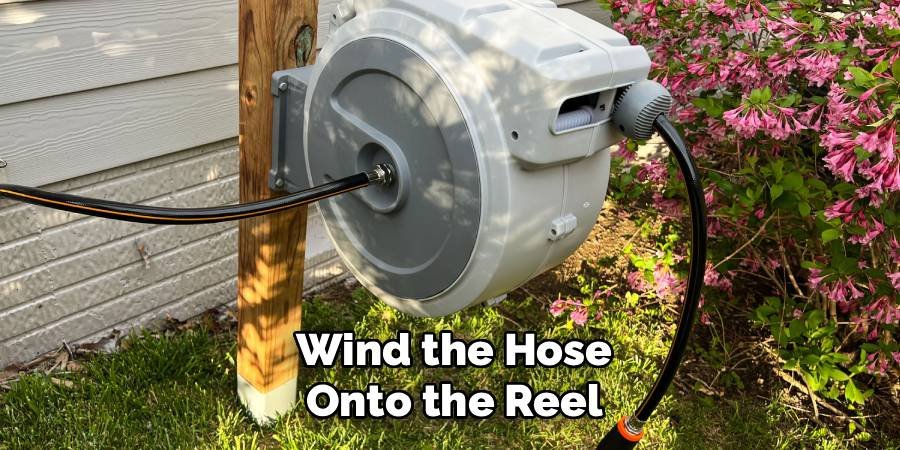
Step 7: Wind the Hose onto the Reel
With the hose attached, you can begin winding it onto the drum. Turn the crank handle slowly and evenly. Use your other hand to guide the hose, ensuring it wraps in neat, even layers across the full width of the drum. This prevents the hose from bunching up on one side, which can cause jams and make it difficult to unwind later. A smooth, even wind is the secret to a tangle-free experience every time you use your hose. Take your time during this initial winding to set a good foundation for future use.
Test for Leaks and Functionality
The final step is to test your setup. Turn on the water at the spigot slowly. Carefully inspect all connection points for any leaks: where the leader hose connects to the spigot, where the leader hose connects to the reel, and where your main garden hose connects inside the drum. If you see any drips, turn off the water and tighten the connections. Once you confirm there are no leaks, pull out a length of the hose and test it with a spray nozzle. Check that the water flows freely and that the reel unwinds and rewinds smoothly.
Frequently Asked Questions
Can I Mount a Hose Reel on Vinyl Siding?
It is generally not recommended to mount a hose reel directly onto vinyl siding. The siding itself is not strong enough to support the weight of the reel and a water-filled hose. To do this safely, you must locate the wood studs behind the siding.
You can use a stud finder to locate them and then use long screws that pass through the siding and securely anchor into the studs. This ensures the weight is supported by the house’s frame, not the fragile siding.
What Is the Difference Between a Leader Hose and a Garden Hose?
A leader hose is a short, durable hose (typically 3-6 feet long) designed specifically to connect a hose reel to a water spigot. Its purpose is to bridge this small gap without requiring you to use your main, longer garden hose. A garden hose is the primary, longer hose you use for watering. Using a leader hose protects your main hose from the constant strain and potential kinking that can occur at the spigot connection.

How Do I Prevent My Hose Reel from Leaking?
Leaks almost always occur at connection points. To prevent them, follow these tips:
- Use Washers: Always place a rubber or silicone washer inside each female coupling before tightening.
- Check Threads: Ensure the threads on the spigot and hose fittings are not stripped or damaged.
- Hand-Tighten First: Tighten all connections by hand first to avoid cross-threading. Then, give it a final quarter-turn with pliers if needed, but be careful not to overtighten and crack the plastic fittings.
- Use Plumber’s Tape: For persistent leaks, wrap the male threads with plumber’s tape before connecting.
Can All Types of Hoses Be Used with a Hose Reel?
Most standard garden hoses (vinyl, rubber, or hybrid) work well with a hose reel. However, expandable or “pocket” hoses are generally not suitable. These hoses shrink when not filled with water, which can cause them to become tangled or caught in the reel mechanism. Kink-resistant and heavy-duty hoses are excellent choices for reels because they wind more easily and are less likely to get damaged during winding. Always check the reel’s capacity to ensure it can accommodate the length and diameter of your hose.
How Do I Winterize My Hose Reel?
Properly winterizing your hose and reel is crucial to prevent damage from freezing temperatures. First, disconnect the leader hose from the spigot. Completely drain all water from the main hose by unwinding it and laying it on a downward slope. Once empty, rewind it onto the reel. If your reel is portable, store it in a garage or shed. For wall-mounted reels, you can cover them with a waterproof hose reel cover to protect them from snow and ice.
Conclusion
A well-organized garden is a joy to maintain, and a hose reel is a simple yet powerful tool to achieve that. By following these steps, you can eliminate tangled messes, protect your hose from damage, and make your watering routine more efficient and enjoyable. You now have the knowledge and confidence to tackle this project and appreciate the benefits of a tidy outdoor space. Taking the time for how to set up a hose reel properly is a small investment that pays off every time you step outside to care for your yard.
About Ravuk Barg
B.Sc. Horticulture Science | Certified Master Gardener
Ravuk Barg has spent more than a decade with his hands in the soil and his head full of questions about why some gardens thrive while others struggle. What started as a single raised bed of tomatoes and basil in a modest backyard has grown into a deep, working knowledge of everything from seed germination and soil amendment to companion planting and seasonal pruning.
Over the years, Ravuk has gardened through drought summers, waterlogged springs, and pest invasions that would make most gardeners hang up their trowels for good. Those hard seasons, he’ll tell you, taught him more than any perfect growing year ever could. He writes from that earned experience—covering vegetable growing, ornamental planting, houseplant care, composting, and garden design with equal confidence and curiosity.
Philosophy & Approach
Ravuk’s approach to gardening is rooted in practicality. He favors organic methods not out of dogma, but because they work long-term—resulting in healthier soil, fewer inputs, and stronger plants. He has a particular fondness for heirloom vegetable varieties (the kind with proper flavor), unruly cottage-style flower beds, and the stubborn houseplants that everyone else gave up on.
The Mission: Give readers the honest, experience-backed advice that helps them actually succeed in their gardens—not just the ideal version, but the real one; weeds, failures, and all.
Education & Credentials
-
B.Sc. in Horticulture Science
-
Greenfield Agricultural University
-
Focus: Plant Physiology, Soil Ecology, and Sustainable Crop Production
-
-
Master Gardener Certification
-
Cooperative Extension Service
-
Focus: 200+ hours of hands-on practical training and community garden work
-
Continuing Education
-
Organic Pest Management
-
Native Plant Landscaping
-
Sustainable Crop Production