

Efficient watering is key to a thriving garden, but traditional sprinklers can be wasteful, losing precious water to evaporation and runoff. A soaker hose delivers water directly to the soil at the base of your plants, ensuring deep root hydration and minimizing waste. While you can buy them, learning how to make a soaker hose from PVC pipe is a rewarding and cost-effective project for any home gardener. This DIY approach allows you to create a custom irrigation system perfectly tailored to the layout of your garden beds, whether you have long vegetable rows or uniquely shaped flower patches.
With just a few common tools and materials from your local hardware store, you can build a durable and effective watering solution that will serve your garden for years to come. This guide will walk you through every step of the process, making it easy for even a beginner to get started.
Why Make a PVC Soaker Hose?
Creating your own soaker hose system from PVC offers significant advantages over store-bought alternatives. The primary benefit is customization. You can design a system that precisely fits the dimensions and layout of your garden, ensuring every plant receives the water it needs without waste. PVC is also incredibly durable and long-lasting, resistant to UV degradation and physical damage that can plague conventional rubber or vinyl hoses.
This means your initial effort will pay off for many seasons. Furthermore, the project is budget-friendly; PVC pipes and fittings are inexpensive and widely available. This DIY irrigation system promotes water conservation by delivering a slow, steady drip directly to the root zone, reducing evaporation and preventing fungal diseases that can arise from wet foliage. It’s a practical, sustainable, and empowering project for any gardener.
7 Step-by-Step Guide on How to Make a Soaker Hose from PVC Pipe
Step 1: Plan Your Garden Layout
Before you buy any materials, take the time to map out your garden beds. Use a measuring tape to determine the length of each row or the perimeter of each area you want to water. Sketch a simple diagram of your garden and note the measurements. This plan is crucial for calculating how much PVC pipe and how many fittings you will need. Consider the location of your water source, as you will need to connect your system to a spigot. Planning ahead ensures you purchase the correct amount of supplies, avoiding extra trips to the hardware store and making the assembly process much smoother.

Step 2: Gather Your Tools and Materials
With your plan in hand, it’s time to gather everything you need. You will require ½-inch or ¾-inch Schedule 40 PVC pipe, which is sturdy and readily available. For fittings, you’ll need PVC end caps, elbow joints for corners, and T-fittings if you plan to branch your lines. A female hose adapter is essential for connecting the system to your garden hose. The necessary tools include a PVC pipe cutter or a handsaw for clean cuts, a power drill with a small drill bit (1/16-inch is a good starting point), and PVC primer and cement for creating watertight seals on your fittings. Don’t forget sandpaper or a deburring tool to smooth the cut edges of the pipe.
Step 3: Measure and Cut the PVC Pipe
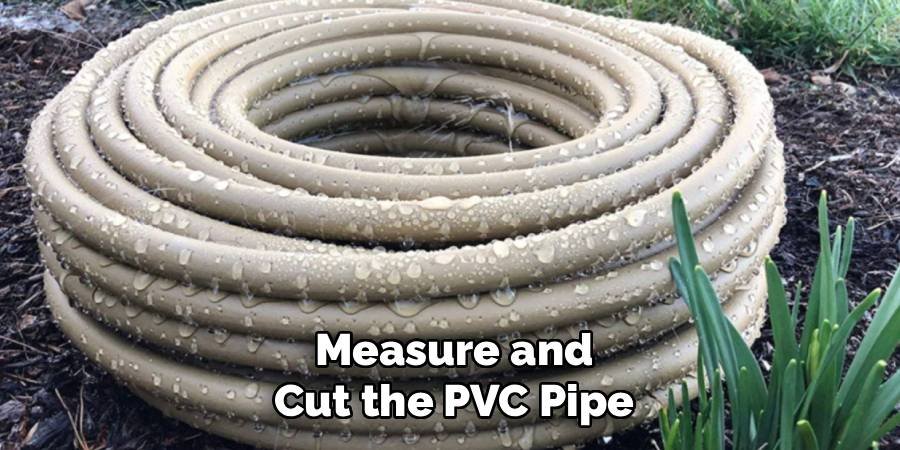
Referencing the garden plan you created, measure and mark the PVC pipe for cutting. Use a permanent marker to ensure your marks are visible. A PVC pipe cutter is the ideal tool for this job, as it provides a quick, clean, and straight cut. If you don’t have one, a standard handsaw or hacksaw will also work well. After cutting each piece to the required length, it’s important to prepare the ends for joining. Use a piece of sandpaper or a deburring tool to smooth any rough edges on both the inside and outside of the pipe. This step is vital for ensuring a secure and leak-proof fit when you connect the pieces with fittings.
Step 4: Drill the Emitter Holes
Now you will turn the solid PVC pipe into a soaker hose. Lay the cut pipe sections on a stable surface. Using a power drill equipped with a 1/16-inch drill bit, begin drilling small holes along the length of the pipe. The spacing of these holes determines how water is distributed. For clay or loamy soils, spacing the holes every 6 to 12 inches is generally effective. For sandy soil that drains quickly, you may want to drill them closer together, perhaps every 4 to 6 inches. Angle the drill bit slightly so the holes face downward or to the sides, which directs water into the soil and not up into the air.
Step 5: How to Make a Soaker Hose from PVC Pipe by Assembling the Pieces
Begin the dry-fit assembly of your system. Lay out the cut pipes and fittings in your garden according to your diagram to ensure everything fits correctly before you permanently join them. Connect the lengths of pipe with elbow fittings for corners and T-fittings for any branching lines. This trial run allows you to make any necessary adjustments to the lengths or angles without wasting materials. Seeing the layout in place helps you visualize the final irrigation system and confirm that it reaches all the plants you intend to water. Once you are satisfied with the dry fit, you are ready for the final assembly.

Step 6: Apply PVC Primer and Cement
To create permanent, watertight seals, you will use PVC primer and cement. Work in a well-ventilated area, preferably outdoors. Start by applying the purple PVC primer to the outside of the pipe end and the inside of the fitting you are connecting. The primer cleans and softens the plastic, preparing it for a strong chemical weld. Immediately follow up with a thin, even layer of PVC cement over the primed areas. Be sure to coat both surfaces completely. This part of the process shows you how to make a soaker hose from PVC pipe that is durable and leak-free at the connection points.
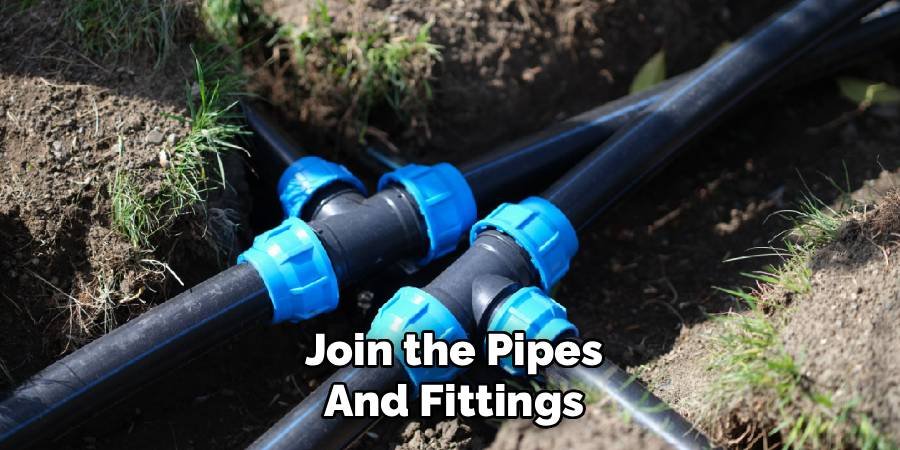
Step 7: Join the Pipes and Fittings
Once the cement is applied, immediately push the pipe firmly into the fitting with a slight twisting motion. Hold the two pieces together for about 30 seconds to allow the cement to set and create a strong bond. The twisting action helps spread the cement evenly and ensures a secure connection. Wipe away any excess cement that squeezes out of the joint with a clean cloth. Continue this process for all connections, working methodically through your planned layout. Allow the assembled system to cure for the time recommended by the cement manufacturer, which is typically several hours, before running any water through it.
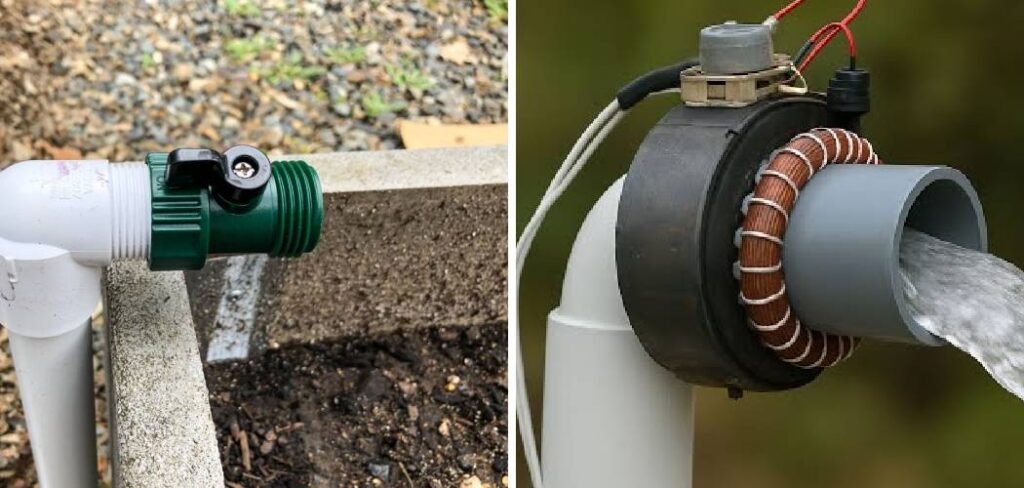
Attach the Hose Adapter and End Caps
The final assembly steps involve sealing the system. Attach the female hose adapter to the starting end of your PVC pipe system using the same primer and cement technique. This fitting will allow you to easily connect your garden hose to the PVC soaker system. At the opposite end of each pipe run, apply primer and cement to attach the PVC end caps. These caps seal the system, building up slight pressure that forces water out through the small holes you drilled. Double-check that all connections are secure and all ends are properly capped before moving on to testing.
Frequently Asked Questions (FAQ)
What Is the Best Size PVC Pipe for a Soaker Hose?
The best size depends on the scale of your garden. For most home gardens with runs under 100 feet, ½-inch Schedule 40 PVC pipe is ideal. It is lightweight, easy to work with, and provides adequate water flow. For larger gardens or longer runs, ¾-inch PVC pipe is a better choice as it can carry more water volume over a greater distance with less pressure drop, ensuring even watering from the beginning to the end of the line.
How Far Apart Should I Drill the Holes?
The ideal spacing for the holes depends on your soil type. A good starting point for most soil types is to drill 1/16-inch holes every 8 to 12 inches.
- For heavy clay soil: Space holes 12-18 inches apart, as water spreads out more.
- For loamy soil: Space holes 6-12 inches apart.
- For sandy soil: Space holes 4-6 inches apart, as water drains downward quickly.
You can always add more holes later if you find certain areas are too dry.
Can I Bury My PVC Soaker Hose?
Yes, you can bury your PVC soaker hose a few inches beneath the soil or cover it with mulch. Burying the system can be aesthetically pleasing, protect the PVC from long-term sun exposure, and further reduce water loss from evaporation. However, be aware that buried lines can be more difficult to inspect for clogs or damage. If you choose to bury it, make sure you know its location to avoid accidentally damaging it with a shovel or tiller.
How Do I Prevent the Holes from Clogging?
Clogging can be an issue, especially if you have hard water or debris in your water line. To prevent clogs, it’s highly recommended to install a simple mesh filter, like a hose washer screen, at the connection point between your garden hose and the PVC system. You can also install an inline water filter for better protection. Periodically, you can flush the system by removing the end caps and running water through at a high pressure for a few minutes to clear out any accumulated sediment.
How Much Water Pressure Should I Use?
A PVC soaker hose system is designed to operate at low pressure. High pressure will cause the water to spray out of the holes rather than slowly drip, defeating the purpose of a soaker. Start by turning your spigot on just a quarter of the way and observe the flow. You are looking for a gentle weeping or slow drip from each hole. You might need to install a pressure regulator, which is an inexpensive device that attaches to your spigot, to ensure the pressure stays consistently low.
Conclusion
Building your own irrigation system is an accessible and highly satisfying project that puts you in complete control of your garden’s watering needs. By following these steps, you have learned how to make a soaker hose from PVC pipe that is customized to your unique garden layout, conserves water, and promotes healthier plants. This durable, low-cost solution will serve you for many seasons, saving you time, money, and one of our most valuable resources—water. Now that you have the knowledge, it’s time to gather your materials, head out to the garden, and create a custom watering system that will help your plants thrive like never before.
About Ravuk Barg
B.Sc. Horticulture Science | Certified Master Gardener
Ravuk Barg has spent more than a decade with his hands in the soil and his head full of questions about why some gardens thrive while others struggle. What started as a single raised bed of tomatoes and basil in a modest backyard has grown into a deep, working knowledge of everything from seed germination and soil amendment to companion planting and seasonal pruning.
Over the years, Ravuk has gardened through drought summers, waterlogged springs, and pest invasions that would make most gardeners hang up their trowels for good. Those hard seasons, he’ll tell you, taught him more than any perfect growing year ever could. He writes from that earned experience—covering vegetable growing, ornamental planting, houseplant care, composting, and garden design with equal confidence and curiosity.
Philosophy & Approach
Ravuk’s approach to gardening is rooted in practicality. He favors organic methods not out of dogma, but because they work long-term—resulting in healthier soil, fewer inputs, and stronger plants. He has a particular fondness for heirloom vegetable varieties (the kind with proper flavor), unruly cottage-style flower beds, and the stubborn houseplants that everyone else gave up on.
The Mission: Give readers the honest, experience-backed advice that helps them actually succeed in their gardens—not just the ideal version, but the real one; weeds, failures, and all.
Education & Credentials
-
B.Sc. in Horticulture Science
-
Greenfield Agricultural University
-
Focus: Plant Physiology, Soil Ecology, and Sustainable Crop Production
-
-
Master Gardener Certification
-
Cooperative Extension Service
-
Focus: 200+ hours of hands-on practical training and community garden work
-
Continuing Education
-
Organic Pest Management
-
Native Plant Landscaping
-
Sustainable Crop Production