

Creating professional-looking hardscape features in your yard requires precision and skill, especially when you need custom-sized materials. Learning how to cut landscaping bricks opens up endless possibilities for your outdoor projects, from building curved pathways to fitting bricks around obstacles.
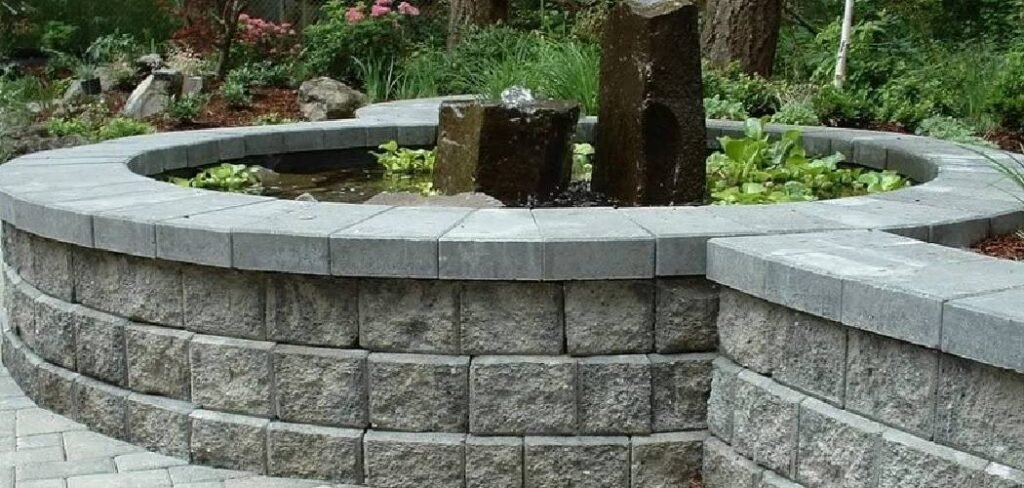
Whether you’re a weekend warrior tackling your first patio or an experienced gardener adding decorative borders, cutting bricks properly ensures clean lines and professional results. This essential skill transforms ordinary landscaping projects into stunning focal points that add value to your property.
The process might seem intimidating at first, but with the right tools and techniques, anyone can achieve clean, precise cuts. Safety remains paramount throughout the process, so proper preparation and protective equipment are non-negotiable.
Why You Need to Cut Landscaping Bricks
Professional landscaping rarely involves perfectly straight lines or standard measurements. Your outdoor space likely has unique angles, curves, and obstacles that require custom-fitted materials.
Cutting bricks allows you to create seamless transitions around trees, garden beds, and existing structures. This precision eliminates unsightly gaps that can collect debris and detract from your project’s overall appearance.
Store-bought bricks come in standard sizes that rarely match your exact project requirements. Custom cutting ensures every piece fits perfectly, creating a polished look that appears professionally installed rather than cobbled together.
The ability to cut your own materials also saves money by reducing waste and eliminating the need to hire contractors for simple modifications.
8 Step-by-Step Guide: How to Cut Landscaping Bricks
Step 1: Gather Your Tools and Safety Equipment
Start by assembling all necessary equipment before beginning any cutting work. Essential tools include a masonry saw or angle grinder with a diamond blade, measuring tape, pencil or chalk for marking, and a straight edge or ruler for precise lines.
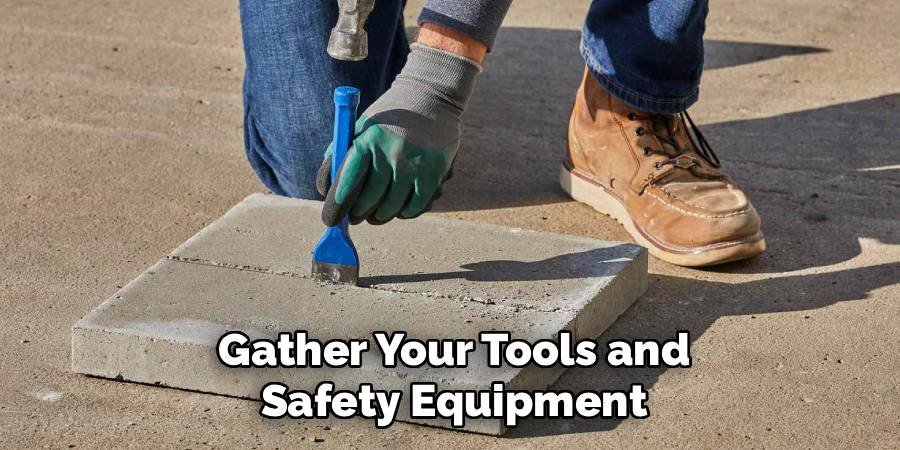
Safety equipment is absolutely crucial and should never be skipped. Invest in quality safety goggles that wrap around your face, a dust mask rated for fine particles, work gloves with good grip, and sturdy closed-toe shoes. Long pants and a long-sleeved shirt protect your skin from flying debris.
Set up your workspace in a well-ventilated area, preferably outdoors, as cutting generates significant dust. A stable work surface like sawhorses with a plywood top provides the support needed for accurate cuts.
Step 2: Measure and Mark Your Cutting Lines
Accurate measurements prevent costly mistakes and wasted materials. Use a measuring tape to determine the exact length needed for each brick, accounting for mortar joints if applicable to your specific landscaping project.
Mark your cutting line clearly using a pencil or chalk, ensuring the line is visible from your cutting position. For angled cuts, use a speed square or protractor to achieve the correct angle. Double-check all measurements before proceeding to the cutting phase.
Draw the cutting line completely around the brick if you’re making a full cut, as this provides a guide for maintaining straight lines throughout the cutting process.
Step 3: Secure the Brick in Position
Proper brick positioning ensures both safety and accuracy during cutting. Place the brick on a stable surface with the cutting line positioned over the edge of your work surface, allowing the saw blade to pass through without hitting the table.
Use clamps or a vise to secure the brick firmly in place, preventing movement that could cause injury or result in uneven cuts. The brick should be stable enough that you can cut with both hands on the saw without worrying about the material shifting.
For multiple identical cuts, consider creating a simple jig or fence system that allows you to position each brick consistently for uniform results across all pieces.
Step 4: Choose the Right Blade for Your Saw
Diamond blades designed specifically for masonry work provide the cleanest cuts and longest tool life. Segmented diamond blades work well for dry cutting and handle the abrasive nature of landscaping bricks effectively.
Continuous rim diamond blades produce smoother cuts but generate more heat, making them better suited for wet cutting applications. Turbo diamond blades offer a compromise between cutting speed and finish quality.
Ensure your blade diameter matches your saw’s specifications and that the arbor hole fits properly. A blade that’s too large or improperly fitted creates dangerous working conditions and poor cutting results.
Step 5: Start with Shallow Scoring Cuts
Begin cutting by making a shallow scoring pass along your marked line, penetrating only about one-quarter inch into the brick surface. This initial cut establishes a groove that guides subsequent passes and prevents the blade from wandering.
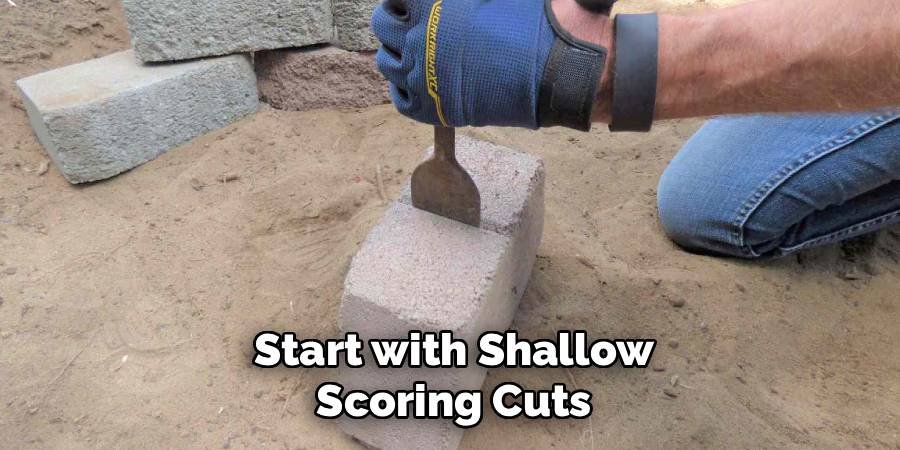
Keep the saw moving at a steady pace to avoid overheating the blade or creating burn marks on the brick surface. Apply consistent downward pressure without forcing the blade, letting the diamond segments do the cutting work.
This scoring technique works particularly well with harder landscaping bricks that might chip or crack if you attempt to cut through in a single aggressive pass.
Step 6: Make Progressive Deeper Cuts
After establishing your score line, make additional passes with progressively deeper cuts until you break through the brick completely. Each pass should deepen the cut by approximately one-quarter to one-half inch, depending on your blade size and brick hardness.
Maintain the same steady cutting speed and consistent pressure throughout each pass. Rushing this process often results in blade binding, overheating, or chipped edges that require additional finishing work.
For thicker landscaping bricks, this progressive approach prevents blade stress and produces cleaner cuts with minimal chipping along the cut edges.
Step 7: Manage Dust and Debris
Cutting generates substantial amounts of fine dust that poses health risks and reduces visibility of your cutting line. Position a fan to blow dust away from your work area, but avoid directing airflow toward yourself or neighbors.
Consider using a wet cutting technique if your saw supports it, as water dramatically reduces dust production while keeping the blade cool. Alternatively, have a helper use a shop vacuum near the cutting area to capture dust as it’s generated.
Take regular breaks to allow dust to settle and clean your safety goggles. Poor visibility increases the risk of accidents and reduces cutting accuracy significantly.
Step 8: Check Your Cut Quality
After completing each cut, examine the edge quality and overall accuracy of your work. Clean cuts should have minimal chipping and follow your marked line closely without significant deviations.
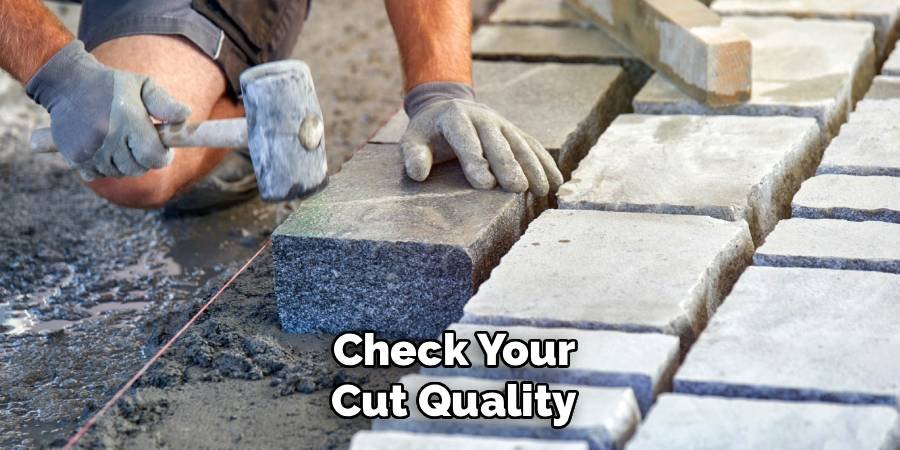
Minor imperfections can often be cleaned up with a masonry file or grinding stone, but major errors may require recuts or replacement bricks. Address quality issues immediately rather than hoping they’ll be less noticeable once installed.
Test-fit cut pieces in your landscaping project before proceeding to cut additional bricks, ensuring your measurements and angles are correct for the specific application.
Maintaining Your Tools
Sharp, well-maintained tools produce better results and work more safely than neglected equipment. Clean diamond blades after each use to prevent material buildup that reduces cutting efficiency and increases heat generation.
Inspect blades regularly for cracks, missing segments, or excessive wear that could lead to dangerous failures during operation. Replace worn blades before they become unsafe rather than trying to squeeze additional use from damaged equipment.
Store cutting tools in a dry environment to prevent rust and corrosion. A light coating of machine oil on metal surfaces provides additional protection during extended storage periods.
Common Mistakes to Avoid
Rushing through measurements leads to wasted materials and frustrating rework. Take time to measure twice and cut once, verifying all dimensions before making irreversible cuts.
Using inappropriate blades for your material type results in poor cut quality and premature blade wear. Match your blade specifications to your specific brick type and cutting requirements for optimal results.

Neglecting safety equipment creates unnecessary risks that can result in serious injury. Never compromise on protective gear, even for quick cuts that seem simple or routine.
Frequently Asked Questions ( FAQ )
What type of saw works best for cutting landscaping bricks?
An angle grinder with a diamond masonry blade offers the best combination of portability, power, and precision for most landscaping brick cutting applications.
Can I cut bricks without creating excessive dust?
Yes, using wet cutting techniques or a vacuum attachment significantly reduces dust production while improving cut quality and extending blade life.
How do I prevent chipping when cutting decorative bricks?
Score the cutting line first with shallow passes, use a sharp diamond blade, and support the brick properly to minimize vibration during cutting.
What’s the maximum thickness I can cut with a standard angle grinder?
Most 4.5-inch angle grinders can cut through bricks up to 2 inches thick, while larger 7-inch grinders handle bricks up to 3 inches thick.
How often should I replace my diamond blade?
Replace diamond blades when cutting becomes noticeably slower, the blade shows visible damage, or after cutting approximately 100-200 linear feet of brick material.
Conclusion
Mastering how to cut landscaping bricks transforms your outdoor projects from amateur attempts into professional-quality installations. The techniques outlined in this guide provide the foundation for precise, safe cutting that enhances any hardscape project.
Remember that practice improves both your technique and confidence with these tools. Start with less visible areas of your project to develop your skills before tackling prominent cuts that will be immediately noticeable.
The investment in proper tools and safety equipment pays dividends through improved results and reduced risk of injury. Quality equipment lasts for years and handles multiple projects with consistent performance.
Take pride in developing this valuable skill that opens up creative possibilities for your outdoor spaces. With patience and attention to detail, you’ll create landscape features that rival professional installations while building confidence for future DIY projects.
Your landscaping projects will showcase the precision and care that only comes from properly executed custom cuts, creating lasting beauty that enhances your property’s value and your own sense of accomplishment.
About Ravuk Barg
B.Sc. Horticulture Science | Certified Master Gardener
Ravuk Barg has spent more than a decade with his hands in the soil and his head full of questions about why some gardens thrive while others struggle. What started as a single raised bed of tomatoes and basil in a modest backyard has grown into a deep, working knowledge of everything from seed germination and soil amendment to companion planting and seasonal pruning.
Over the years, Ravuk has gardened through drought summers, waterlogged springs, and pest invasions that would make most gardeners hang up their trowels for good. Those hard seasons, he’ll tell you, taught him more than any perfect growing year ever could. He writes from that earned experience—covering vegetable growing, ornamental planting, houseplant care, composting, and garden design with equal confidence and curiosity.
Philosophy & Approach
Ravuk’s approach to gardening is rooted in practicality. He favors organic methods not out of dogma, but because they work long-term—resulting in healthier soil, fewer inputs, and stronger plants. He has a particular fondness for heirloom vegetable varieties (the kind with proper flavor), unruly cottage-style flower beds, and the stubborn houseplants that everyone else gave up on.
The Mission: Give readers the honest, experience-backed advice that helps them actually succeed in their gardens—not just the ideal version, but the real one; weeds, failures, and all.
Education & Credentials
-
B.Sc. in Horticulture Science
-
Greenfield Agricultural University
-
Focus: Plant Physiology, Soil Ecology, and Sustainable Crop Production
-
-
Master Gardener Certification
-
Cooperative Extension Service
-
Focus: 200+ hours of hands-on practical training and community garden work
-
Continuing Education
-
Organic Pest Management
-
Native Plant Landscaping
-
Sustainable Crop Production