

Embarking on a new landscaping project is an exciting venture. Whether you envision a lush garden, a neat lawn, or intricate flower beds, the success of your design hinges on what lies beneath the surface. The process of how to prepare ground for landscaping is the most critical first step, creating a healthy foundation that will support plant life for years to come.
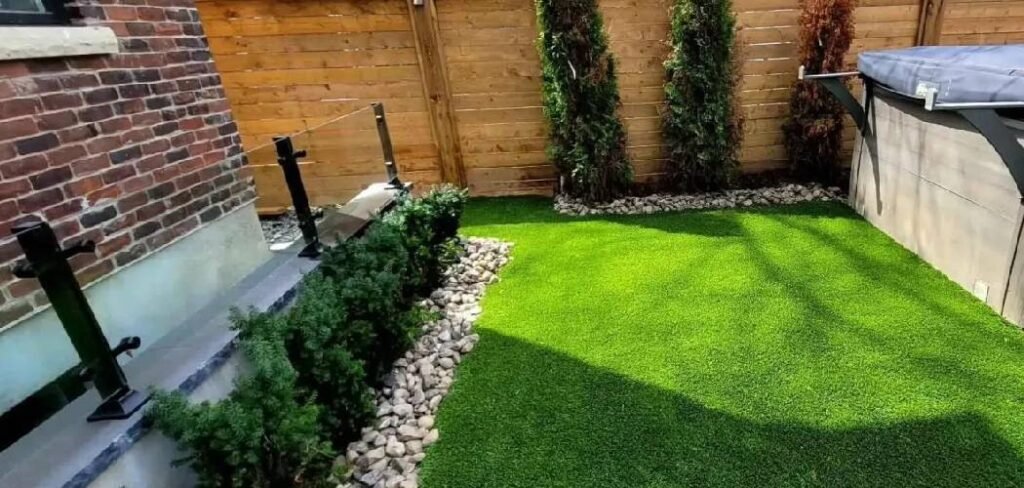
Proper preparation ensures that your soil has the right texture, nutrients, and drainage needed for roots to thrive. Taking the time to do this correctly prevents future headaches and sets your new outdoor space up for long-term beauty and vitality. This guide will walk you through everything you need to know.
Why Proper Ground Preparation is Essential
Investing time in preparing your soil is an investment in the future of your garden. A well-prepared foundation promotes strong root development, allowing plants to access water and nutrients more efficiently. This leads to healthier, more resilient plants that are better equipped to withstand drought and disease. Furthermore, proper ground preparation improves soil structure and drainage, preventing common issues like waterlogged roots and soil compaction. This groundwork makes future maintenance easier, as your plants will be stronger and less prone to problems, saving you time and effort down the line.
10-Step Guide: How to Prepare Ground for Landscaping
Here is a detailed guide to get your project started on the right foot. Following these steps ensures your new landscape will have the best possible foundation for growth.
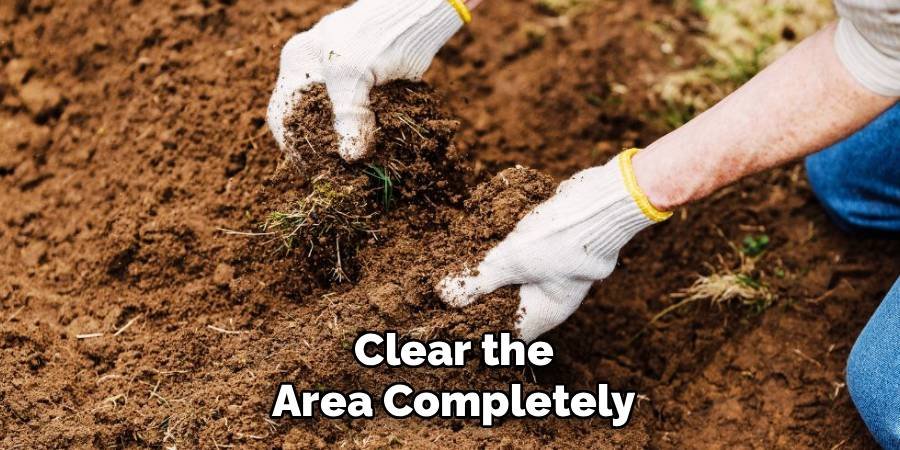
Step 1: Clear the Area Completely
The first task is to create a blank canvas. This means removing all existing vegetation, including weeds, old grass, and any unwanted plants. For smaller areas, this can be done manually with a spade or hoe. For larger projects, consider renting a sod cutter to make the job easier. It’s also essential to clear away any rocks, roots, and debris. A clean and clear site is crucial for the subsequent steps, ensuring that nothing interferes with the soil tilling and amendment process.
Step 2: Test Your Soil
Before you add anything to the ground, you need to understand what you’re working with. A soil test will reveal the pH level and nutrient composition of your soil. You can purchase a DIY soil testing kit or send a sample to a local cooperative extension service for a more detailed analysis. The results will tell you if your soil is acidic, alkaline, or neutral and identify any nutrient deficiencies. This information is invaluable, as it guides your decisions on which soil amendments are needed to create the perfect growing environment.
Step 3: Till the Soil
Tilling, or turning over the soil, is vital for breaking up compacted earth and improving soil aeration. This process allows water, oxygen, and nutrients to penetrate deeper, encouraging robust root growth. Use a rototiller for large areas or a garden fork for smaller beds. You should aim to till to a depth of at least 6 to 8 inches. This step loosens the soil, makes it easier to mix in amendments, and gives plant roots the space they need to establish themselves.
Step 4: Add Organic Matter
Now it’s time to enrich your soil. Adding organic matter, such as compost, aged manure, or peat moss, is the single best thing you can do for your garden’s foundation. These materials improve soil structure, enhance drainage in heavy clay soils, and increase water retention in sandy soils. Spread a 2- to 4-inch layer of your chosen organic material over the tilled area. This step boosts the nutrient content, providing a long-lasting food source for your plants and beneficial microorganisms.
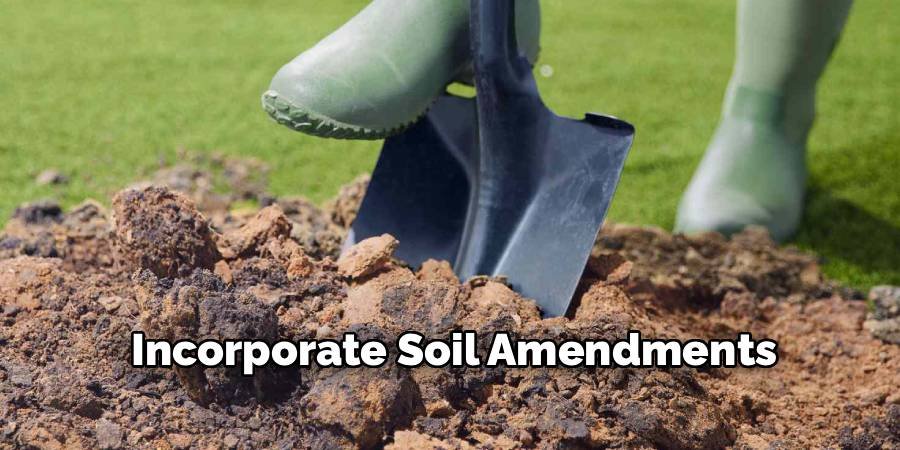
Step 5: Incorporate Soil Amendments
Based on your soil test results, you may need to add specific amendments to balance the pH or correct nutrient deficiencies. For example, lime can be added to raise the pH of acidic soil, while sulfur can be used to lower the pH of alkaline soil. Fertilizers can address specific nutrient gaps. Mix these amendments thoroughly into the top 6 inches of soil along with the organic matter. This ensures they are evenly distributed, creating a consistent and hospitable environment for your new plants.
Step 6: Level and Grade the Area
Proper grading is essential for managing water flow and preventing drainage issues. The ground should slope gently away from your home’s foundation to direct rainwater away from the structure. Use a landscaping rake to smooth the surface and create the desired grade. Check the level frequently using a long board and a level. This step prevents water from pooling in low spots, which can lead to root rot and other moisture-related problems for your plants.
Step 7: Remove Air Pockets
After tilling and adding amendments, the soil will be light and fluffy, but it will also contain air pockets. These need to be removed to prevent the ground from settling unevenly later on. You can gently compact the soil by walking over the entire area or by using a lawn roller that is partially filled with water. The goal is to create a firm but not overly compacted surface. This ensures a stable foundation for planting and prevents dips from forming in your lawn or garden beds over time.
Step 8: Final Raking
Once the soil has settled, perform a final raking to create a smooth, finished surface. Use a hard-tined garden rake to break up any remaining clumps of dirt and remove any small stones or debris that have surfaced. The objective is to create a fine, crumbly texture that is ideal for seed germination or planting. This final touch ensures your planting surface is perfectly even and ready for the next stage of your landscaping project.
Step 9: Add a Starter Fertilizer
Just before you plant, it’s beneficial to apply a starter fertilizer. This type of fertilizer is formulated to promote strong root development, which is crucial for helping new plants get established. Look for a product that is high in phosphorus, the nutrient most responsible for root growth. Spread the fertilizer evenly according to the package directions and lightly rake it into the top inch of soil. This gives your new sod, seeds, or plants an immediate nutrient boost.

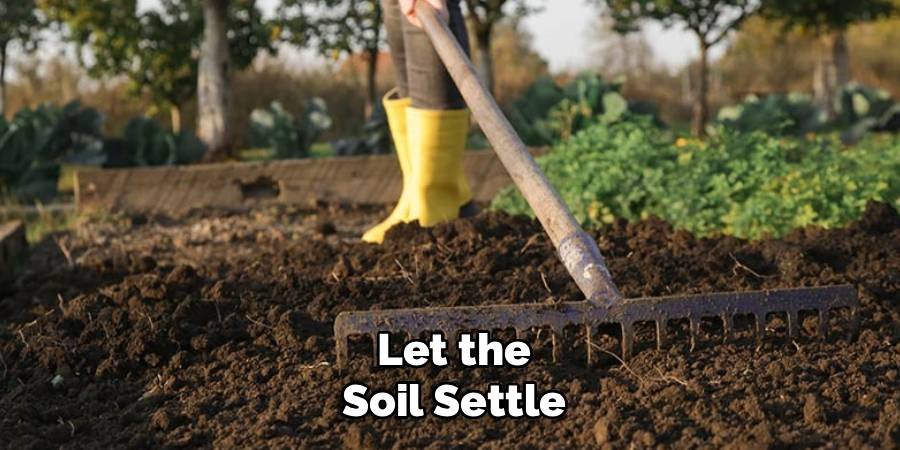
Step 10: Let the Soil Settle
After all your hard work, it’s wise to give the prepared ground a little time to rest. Let the area sit for at least a week, if possible. This allows the soil to settle naturally. If it rains during this period, it will help reveal any low spots that need more soil. This waiting period ensures that the foundation is stable before you introduce your plants, giving your landscape the best chance for a successful start.
Maintaining Your Prepared Ground
Once your landscape is installed, ongoing care will protect your initial investment. Regularly add a thin layer of compost or mulch to the soil surface. This helps retain moisture, suppress weeds, and continually enrich the soil with organic matter as it breaks down. Be mindful of soil compaction in high-traffic areas and consider aerating your lawn annually. Proper watering techniques that encourage deep root growth will also help maintain the healthy soil structure you worked so hard to create.
Common Mistakes to Avoid
One of the biggest errors is skipping the soil test. Without it, you are just guessing what your soil needs, which can lead to wasted money on the wrong amendments. Another common mistake is not tilling deep enough. Shallow tilling restricts root growth and doesn’t adequately relieve compaction. Finally, improper grading can cause serious drainage problems, leading to water damage to your home’s foundation or drowned plants. Avoiding these pitfalls is key to a successful landscaping project.
FAQ Frequently Asked Questions
How deep should I prepare the soil for landscaping?
You should prepare the soil to a depth of at least 6 to 8 inches. This provides ample room for the roots of most plants to establish.
What is the best time of year to prepare ground for landscaping?
Fall and spring are the ideal seasons. The soil is not frozen or overly dry, making it easier to work with and allowing time for it to settle.
Can I prepare the ground without a rototiller?
Yes, for smaller areas like garden beds, you can effectively prepare the soil using a garden fork and a spade to turn and loosen the earth.
How do I know if my soil has poor drainage?
Dig a one-foot-deep hole and fill it with water. If the water has not drained away within 12 hours, you likely have a drainage problem.
Is it necessary to remove all the old grass?
Yes, it is crucial. Leaving old grass or weeds behind means they will compete with your new plants for water, nutrients, and sunlight as they grow back.
Conclusion
The comprehensive process of how to prepare ground for landscaping is undeniably the most important factor in creating a beautiful and sustainable outdoor space. By carefully clearing the area, understanding your soil’s needs through testing, and methodically adding the right amendments, you build a foundation that fosters vigorous plant growth. Following these steps ensures improved soil structure, proper drainage, and a nutrient-rich environment where your new garden or lawn can flourish. While it requires effort upfront, this meticulous preparation will pay off for years to come with a healthy, vibrant, and low-maintenance landscape. Your garden will thank you for it.
About Ravuk Barg
B.Sc. Horticulture Science | Certified Master Gardener
Ravuk Barg has spent more than a decade with his hands in the soil and his head full of questions about why some gardens thrive while others struggle. What started as a single raised bed of tomatoes and basil in a modest backyard has grown into a deep, working knowledge of everything from seed germination and soil amendment to companion planting and seasonal pruning.
Over the years, Ravuk has gardened through drought summers, waterlogged springs, and pest invasions that would make most gardeners hang up their trowels for good. Those hard seasons, he’ll tell you, taught him more than any perfect growing year ever could. He writes from that earned experience—covering vegetable growing, ornamental planting, houseplant care, composting, and garden design with equal confidence and curiosity.
Philosophy & Approach
Ravuk’s approach to gardening is rooted in practicality. He favors organic methods not out of dogma, but because they work long-term—resulting in healthier soil, fewer inputs, and stronger plants. He has a particular fondness for heirloom vegetable varieties (the kind with proper flavor), unruly cottage-style flower beds, and the stubborn houseplants that everyone else gave up on.
The Mission: Give readers the honest, experience-backed advice that helps them actually succeed in their gardens—not just the ideal version, but the real one; weeds, failures, and all.
Education & Credentials
-
B.Sc. in Horticulture Science
-
Greenfield Agricultural University
-
Focus: Plant Physiology, Soil Ecology, and Sustainable Crop Production
-
-
Master Gardener Certification
-
Cooperative Extension Service
-
Focus: 200+ hours of hands-on practical training and community garden work
-
Continuing Education
-
Organic Pest Management
-
Native Plant Landscaping
-
Sustainable Crop Production