

A tired, outdated yard can drag down your home’s curb appeal and your own enjoyment of outdoor spaces. Learning how to update landscaping doesn’t require a complete overhaul or professional expertise—just some planning and the right approach.
Your landscape is the first thing visitors notice about your home. Whether you’re dealing with overgrown shrubs, patchy grass, or simply a design that feels stuck in the past, small changes can create dramatic improvements.
This comprehensive guide walks you through practical steps to refresh your outdoor space. From assessing your current landscape to selecting new plants and features, you’ll discover how to create a beautiful, functional yard that reflects your style and increases your property value.
Why You Need to Update Your Landscaping
Outdated landscaping affects more than just appearances. Overgrown plants can block natural light from entering your home and create maintenance headaches. Poor drainage from neglected grading can damage your foundation over time.
Fresh landscaping increases your home’s value significantly. Real estate experts estimate that well-designed outdoor spaces can boost property values by 15-20%. Beyond financial benefits, updated landscaping reduces maintenance time and creates spaces you’ll actually want to use.
Modern landscape design also incorporates water-wise plants and sustainable practices. This means lower utility bills and less time spent on upkeep—giving you more time to enjoy your beautiful outdoor retreat.
10 Step-by-Step Guide: How to Update Landscaping
Step 1: Assess Your Current Landscape
Walk around your property with a critical eye, noting what works and what doesn’t. Take photos from different angles to help you visualize changes later. Look for plants that have outgrown their spaces, dead or diseased vegetation, and areas where grass struggles to grow.
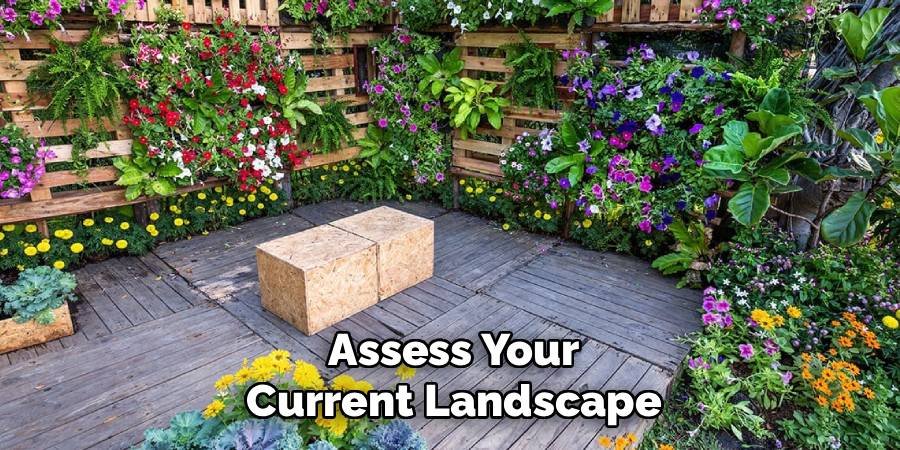
Pay attention to how sunlight moves across your yard throughout the day. Notice where water pools after rain and identify any drainage issues. This assessment forms the foundation for all your upcoming decisions, so take your time and make detailed notes about each area’s strengths and weaknesses.
Step 2: Set Your Budget and Priorities
Determine how much you can realistically spend on your landscape update. Break down costs into categories: plants, materials, tools, and potential professional services. Focus on high-impact changes that deliver the most visual improvement for your investment.
Create a priority list ranking projects from most to least important. Front yard improvements typically offer the best return on investment, while backyard updates enhance your daily enjoyment. Consider tackling projects in phases if your budget is limited—this approach lets you spread costs over time while still making steady progress.
Step 3: Create a Simple Design Plan
Sketch your property layout on paper or use free online design tools. Mark existing features you want to keep, like mature trees or hardscaping elements. Plan new plant locations based on their mature size, not their current nursery size.
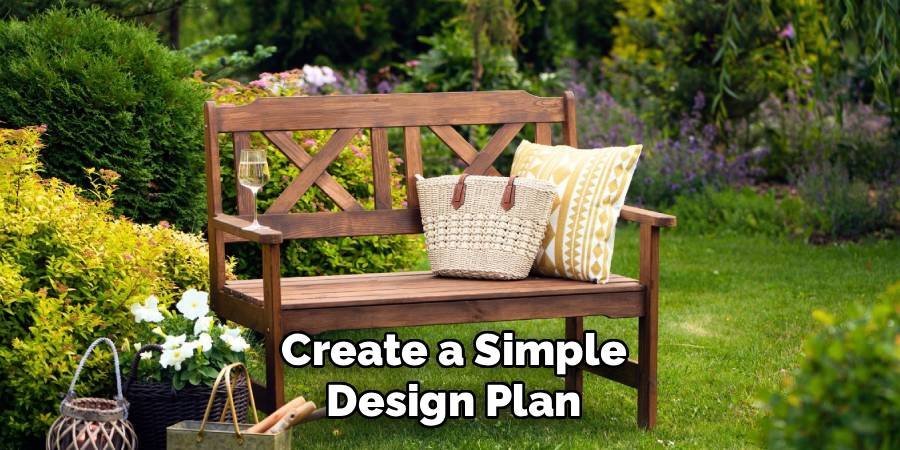
Think about functionality alongside aesthetics. Do you need privacy screening, play areas for children, or entertainment spaces? Your design should reflect how you actually use your outdoor space. Keep maintenance requirements in mind—choose designs that match your available time and energy for upkeep.
Step 4: Remove Unwanted Elements
Start with obvious problems like dead plants, overgrown shrubs, and invasive weeds. Rent a dumpster if you’re tackling major cleanup projects. This step often reveals hidden potential in your landscape and creates a clean slate for improvements.
Be strategic about what you remove. Healthy, well-placed plants can often be pruned and shaped rather than replaced entirely. Consider transplanting valuable plants to better locations instead of discarding them. This phase might feel destructive, but it’s essential for creating space for your vision.
Step 5: Improve Soil Conditions
Test your soil’s pH and nutrient levels using an inexpensive kit from your local garden center. Most plants thrive in slightly acidic to neutral soil (pH 6.0-7.0). Add organic compost to improve soil structure, drainage, and fertility regardless of your soil type.
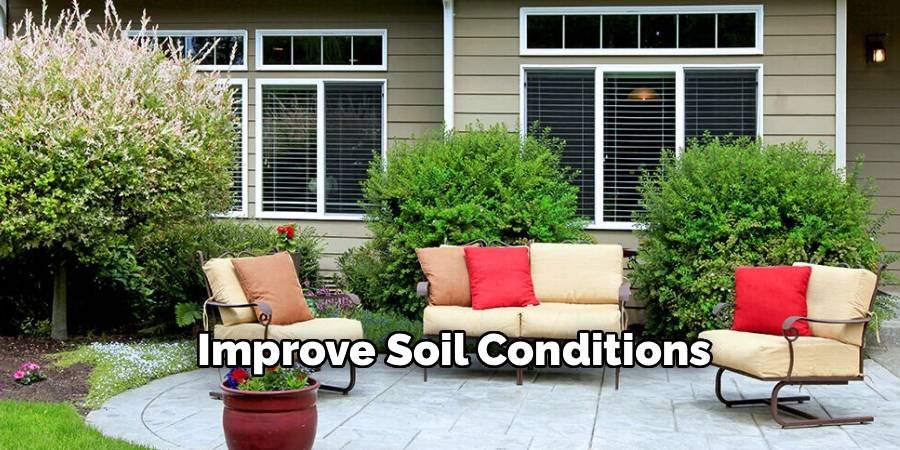
Address any grading issues that cause water to pool or run toward your foundation. Add topsoil to low areas and create gentle slopes that direct water away from structures. Good soil preparation might seem boring, but it’s the secret to thriving plants and long-term landscape success.
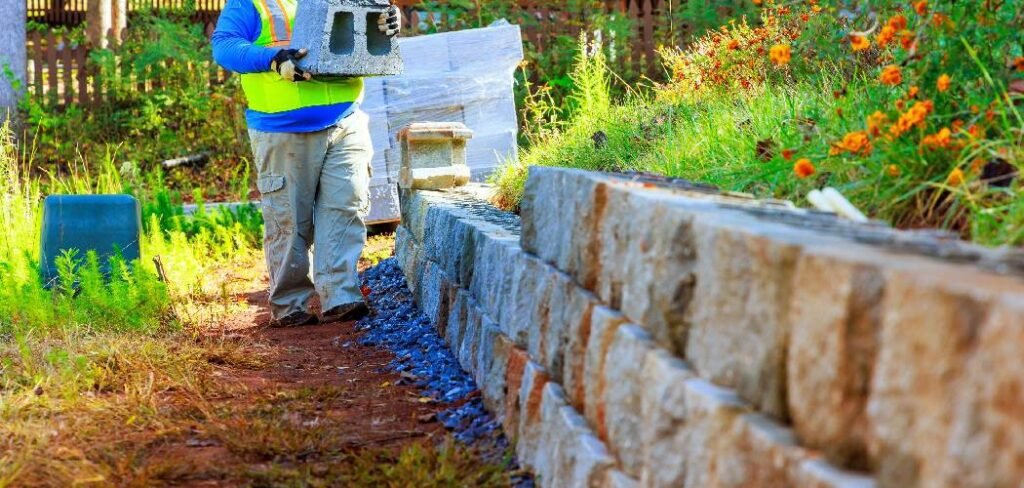
Step 6: Install Hardscaping Elements
Add permanent features like walkways, retaining walls, or decorative borders before planting. These elements provide structure and reduce future maintenance by clearly defining planting areas. Choose materials that complement your home’s architecture and existing features.
Consider practical additions like outdoor lighting or irrigation systems during this phase. It’s much easier to install these systems before planting than to retrofit them later. Even simple additions like decorative edging can create clean, professional-looking plant beds that enhance your overall design.
Step 7: Select and Plant New Vegetation
Choose plants suited to your specific growing conditions—sun exposure, soil type, and climate zone. Native plants typically require less water and maintenance while supporting local wildlife. Group plants with similar water and light needs together for easier care.
Plant trees and shrubs first, as they form the backbone of your landscape design. Add perennial flowers and ground covers next, leaving annual flowers for last. Follow proper planting techniques: dig holes twice as wide as root balls but no deeper, and water thoroughly after planting.
Step 8: Add Mulch and Finishing Touches
Apply 2-3 inches of organic mulch around plants to retain moisture, suppress weeds, and create a polished appearance. Keep mulch several inches away from plant stems to prevent pest and disease problems. Choose mulch colors that complement your home and plant selections.
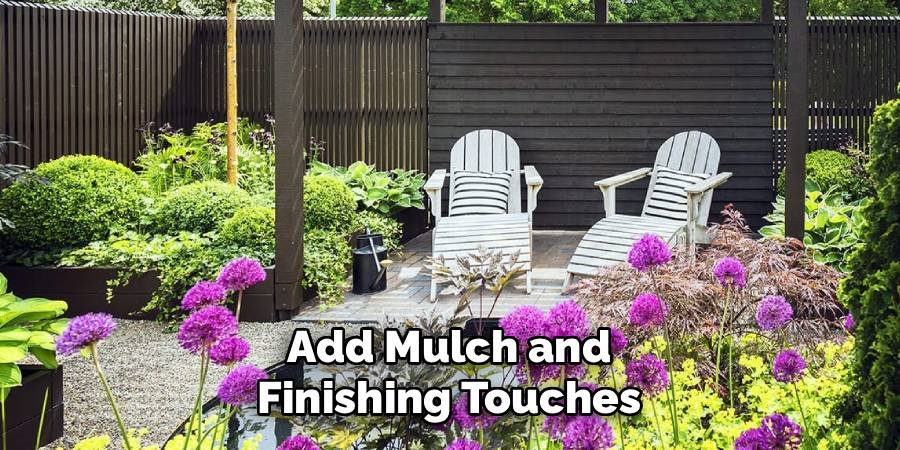
Install any decorative elements like garden art, containers, or outdoor furniture. These finishing touches personalize your space and create focal points that draw the eye. Don’t overcrowd—sometimes less is more when it comes to decorative elements.
Step 9: Establish Watering and Maintenance Routines
Newly planted landscapes need consistent moisture to establish strong root systems. Water deeply but less frequently to encourage deep root growth. Most plants need about an inch of water per week from rain or irrigation combined.
Create a maintenance schedule that includes regular tasks like deadheading flowers, pruning shrubs, and checking for pest problems. Staying on top of small maintenance tasks prevents bigger problems later and keeps your landscape looking its best year-round.
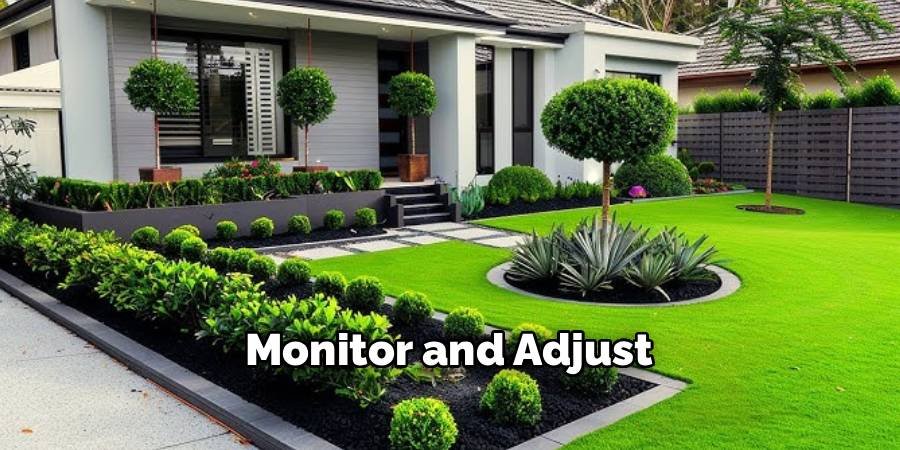
Step 10: Monitor and Adjust
Watch how your plants perform through their first full growing season. Some may need more water, different fertilizer, or relocation to better growing conditions. This observation period helps you fine-tune your landscape for long-term success.
Take notes about what works well and what doesn’t. Successful landscaping often involves some trial and error, especially as plants mature and your needs change. Stay flexible and be willing to make adjustments—your landscape will continue evolving over time.
Maintaining Your Updated Landscape
Consistent maintenance keeps your refreshed landscape looking its best. Establish weekly routines during growing season: check soil moisture, remove weeds, and deadhead spent flowers. These small tasks prevent larger problems from developing.
Seasonal maintenance tasks vary by region but typically include spring cleanup, summer watering management, fall leaf removal, and winter protection for tender plants. Create a calendar noting when to fertilize, prune different plant types, and perform other key tasks.
Common Mistakes to Avoid
The biggest mistake homeowners make is choosing plants based on their current size rather than mature dimensions. That cute little shrub might grow 8 feet tall and wide, overwhelming nearby plants and blocking windows.
Another frequent error is ignoring growing conditions. Shade plants won’t thrive in full sun, and water-loving plants will struggle in dry locations. Match plants to their preferred conditions rather than forcing them to adapt to unsuitable spots.
FAQ Frequently Asked Questions
How Much Should I Budget for a Landscape Update?
Budget 5-10% of your home’s value for major landscape renovations, or $3,000-15,000 for most residential projects. Smaller updates can cost $500-2,000. DIY work significantly reduces costs compared to hiring professionals.
What’s the Best Time of Year To Update Landscaping?
Spring and fall offer ideal conditions for most landscape projects. Spring allows plants to establish before summer heat, while fall planting lets roots develop before winter dormancy. Avoid extreme weather periods.
How Long Before My New Landscape Looks Mature?
Most landscapes show significant improvement within one growing season. Trees and shrubs need 2-3 years to look established, while perennials fill in during their second year. Patience pays off with healthier, more beautiful results.
Can I Update My Landscape in Phases?
Absolutely. Phased updates spread costs over time and let you learn from early projects. Start with high-impact areas like front entries, then tackle additional sections as budget and time allow.
Should I Hire Professionals or Do It Myself?
DIY updates save money and let you work at your own pace. Hire professionals for major grading, large tree work, or complex hardscaping. Most homeowners can handle plant selection, planting, and basic maintenance tasks successfully.
Conclusion
Learning how to update landscaping transforms both your property’s appearance and your enjoyment of outdoor spaces. The step-by-step approach outlined here breaks down what might seem like an overwhelming project into manageable tasks that deliver impressive results.
Your updated landscape will provide years of beauty and increased property value. Remember that successful landscaping is a gradual process—plants need time to establish and grow into their full potential.
Start with small changes if a complete overhaul feels daunting. Even simple improvements like fresh mulch, strategic pruning, and a few well-placed plants can dramatically refresh your outdoor space.
The investment in landscape updates pays dividends in curb appeal, property value, and personal satisfaction. Your garden (and your neighbors!) will thank you for creating a more beautiful, functional outdoor environment that enhances your home and lifestyle.
About Ravuk Barg
B.Sc. Horticulture Science | Certified Master Gardener
Ravuk Barg has spent more than a decade with his hands in the soil and his head full of questions about why some gardens thrive while others struggle. What started as a single raised bed of tomatoes and basil in a modest backyard has grown into a deep, working knowledge of everything from seed germination and soil amendment to companion planting and seasonal pruning.
Over the years, Ravuk has gardened through drought summers, waterlogged springs, and pest invasions that would make most gardeners hang up their trowels for good. Those hard seasons, he’ll tell you, taught him more than any perfect growing year ever could. He writes from that earned experience—covering vegetable growing, ornamental planting, houseplant care, composting, and garden design with equal confidence and curiosity.
Philosophy & Approach
Ravuk’s approach to gardening is rooted in practicality. He favors organic methods not out of dogma, but because they work long-term—resulting in healthier soil, fewer inputs, and stronger plants. He has a particular fondness for heirloom vegetable varieties (the kind with proper flavor), unruly cottage-style flower beds, and the stubborn houseplants that everyone else gave up on.
The Mission: Give readers the honest, experience-backed advice that helps them actually succeed in their gardens—not just the ideal version, but the real one; weeds, failures, and all.
Education & Credentials
-
B.Sc. in Horticulture Science
-
Greenfield Agricultural University
-
Focus: Plant Physiology, Soil Ecology, and Sustainable Crop Production
-
-
Master Gardener Certification
-
Cooperative Extension Service
-
Focus: 200+ hours of hands-on practical training and community garden work
-
Continuing Education
-
Organic Pest Management
-
Native Plant Landscaping
-
Sustainable Crop Production