

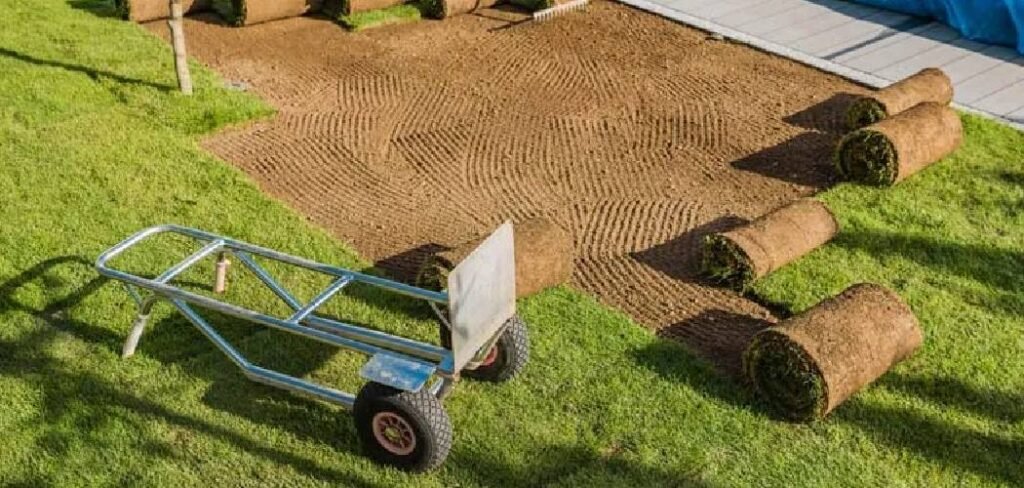
Learning how to spread topsoil effectively transforms any garden from ordinary to extraordinary. Whether you’re starting a new lawn, refreshing flower beds, or preparing vegetable gardens, proper topsoil application creates the foundation for thriving plants.
Quality topsoil provides essential nutrients, improves drainage, and creates the perfect growing environment. Yet many gardeners struggle with uneven distribution, wrong timing, or poor soil preparation.
This comprehensive guide walks you through every step of the topsoil spreading process. You’ll discover professional techniques for achieving uniform coverage, avoiding common pitfalls, and maximizing your investment in quality soil.
From calculating quantities to final grading, these proven methods ensure your garden gets the nutrient-rich foundation it deserves. Your plants will reward you with stronger growth, better root development, and improved resistance to drought and disease.
Why You Need to Spread Topsoil Properly
Proper topsoil distribution directly impacts plant health and garden success. Even application ensures consistent moisture retention across your entire growing area.
Uneven spreading creates drainage problems, with water pooling in thick areas and running off thin spots. This leads to root rot in some plants while others suffer from drought stress.
Correct spreading techniques also prevent soil compaction issues. Walking on freshly spread topsoil without proper preparation damages soil structure and reduces oxygen availability to plant roots.
Professional spreading saves money by maximizing soil efficiency. Proper coverage means you won’t need costly reapplications or struggle with patchy growth patterns that require expensive remedies.
8 Step-by-Step Guide on How to Spread Topsoil
Step 1: Calculate Your Topsoil Requirements
Accurate measurement prevents costly overordering or frustrating shortages during your project. Start by measuring your garden area’s length and width in feet, then multiply these numbers together for total square footage. For most applications, you’ll need 2-3 inches of topsoil depth. Convert this to feet by dividing by 12. Multiply square footage by depth in feet to get cubic feet needed.
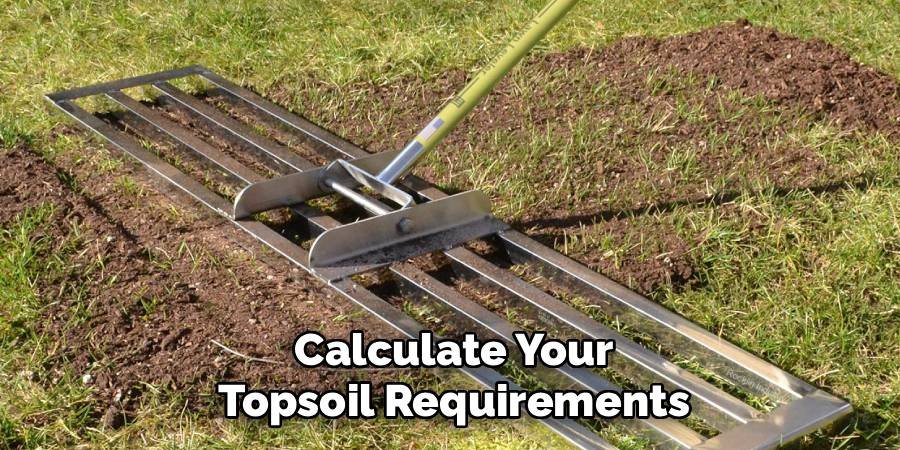
Most suppliers sell topsoil by cubic yards, so divide cubic feet by 27 for your final order quantity. Add 10-15% extra to account for settling and ensure complete coverage. Consider your soil’s current condition when calculating depth. Compacted or poor-quality existing soil may require deeper topsoil application for optimal plant health and growth.
Step 2: Choose Quality Topsoil
Premium topsoil contains balanced organic matter, proper pH levels, and good drainage characteristics. Look for soil with 20-30% organic content for best results. Avoid topsoil with excessive clay content, which creates drainage problems and compaction issues. Similarly, overly sandy topsoil drains too quickly and doesn’t retain nutrients effectively.
Test your chosen topsoil’s pH level, aiming for 6.0-7.0 for most plants. Acidic or alkaline topsoil may require amendments before spreading to create optimal growing conditions. Quality suppliers provide soil analysis reports showing organic content, pH levels, and nutrient composition. This information helps you make informed decisions and plan any necessary amendments.
Step 3: Prepare Your Garden Area
Remove existing weeds, debris, and dead plant material from your garden beds. These materials can create uneven surfaces and interfere with proper topsoil adhesion.
Grade your existing soil to create proper drainage patterns. Water should flow away from structures and toward designated drainage areas or natural slopes.
Compact any soft spots or depressions in your base soil. These areas will settle differently under topsoil weight, creating uneven surfaces that affect plant growth.
Mark underground utilities, sprinkler lines, and garden borders before beginning work. This prevents damage to existing infrastructure and ensures accurate topsoil placement boundaries.
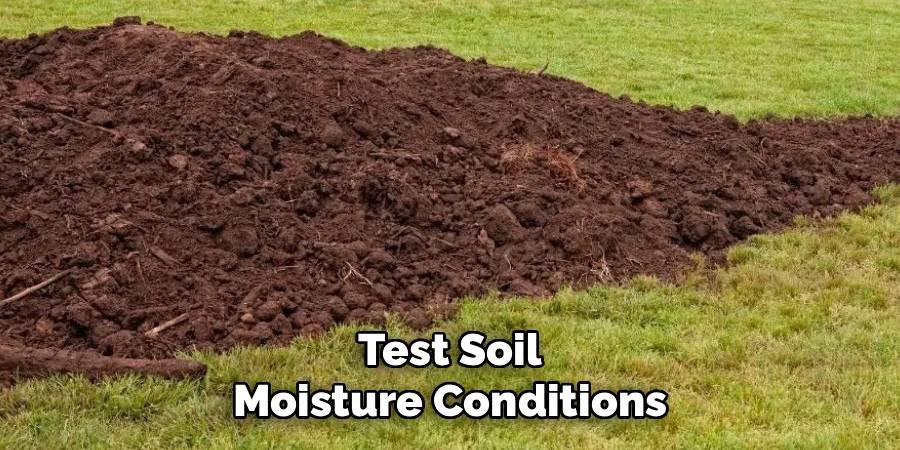
Step 4: Test Soil Moisture Conditions
Ideal spreading conditions require soil that’s moist but not soggy. Test by squeezing a handful of existing soil – it should hold together briefly then crumble apart.
Avoid spreading topsoil on frozen or waterlogged ground. These conditions prevent proper integration between new topsoil and existing soil layers.
Wait 24-48 hours after heavy rainfall before spreading topsoil. Excess moisture creates compaction problems and makes spreading equipment difficult to maneuver effectively.
If soil is too dry, water lightly 1-2 days before spreading. This promotes better bonding between soil layers and reduces dust during application.
Step 5: Plan Your Spreading Pattern
Start spreading from the furthest point and work toward your exit to avoid walking on freshly spread topsoil. This prevents compaction and maintains even surface texture.
Divide large areas into manageable sections for consistent application depth. Use stakes and string to mark sections, ensuring straight lines and uniform coverage patterns.
Consider access points for delivery trucks and wheelbarrows. Plan routes that minimize damage to existing landscaping and provide efficient workflow throughout your project.
Account for slopes and drainage patterns in your spreading plan. Slightly thicker application on slopes compensates for natural settling and water movement over time.
Step 6: Begin Spreading Topsoil
Dump topsoil in small piles throughout your work area rather than one large pile. This distribution method makes spreading more efficient and reduces transportation time.
Use a rake or spreader to distribute soil evenly, maintaining consistent 2-3 inch depth across the entire area. Work systematically to avoid missing spots or double-covering areas.
Spread topsoil when temperatures are moderate, avoiding extreme heat or cold. Hot weather dries soil quickly, while cold weather can freeze moisture and make spreading difficult.
Check depth frequently using a ruler or marked stick. Consistent measurement ensures uniform plant growing conditions and prevents waste or shortage problems.
Step 7: Level and Grade the Surface
Use a garden rake to create smooth, even surfaces across your topsoil application. Remove high spots and fill low areas for consistent depth throughout.
Pay special attention to edges and borders where uneven application commonly occurs. Blend topsoil smoothly with existing soil levels to prevent water runoff problems.
Create gentle slopes away from structures and toward drainage areas. Proper grading prevents water accumulation and foundation problems while promoting healthy plant growth.
Walk the entire area to identify soft spots or depressions that need additional soil. Address these issues before final grading to ensure long-term stability.
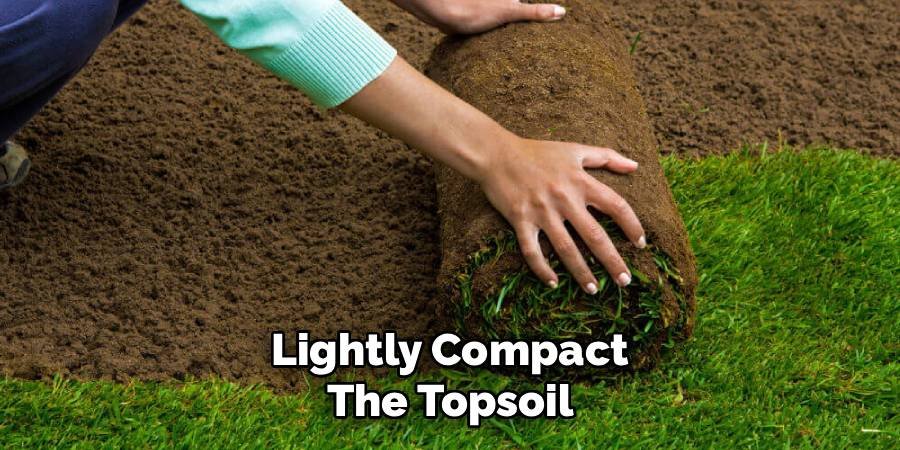
Step 8: Lightly Compact the Topsoil
Gentle compaction settles topsoil and eliminates air pockets without damaging soil structure. Walk across the area with normal footsteps, avoiding heavy trampling.
Use a lightweight roller or hand tamper for larger areas, applying just enough pressure to settle the soil. Excessive compaction reduces oxygen availability and restricts root growth.
Water lightly after initial compaction to help soil particles settle naturally. This process reveals any remaining high or low spots that need adjustment.
Allow 24-48 hours for natural settling before making final grade adjustments. Some settling is normal and expected with fresh topsoil applications.
Maintaining Your Newly Spread Topsoil
Fresh topsoil requires gentle care during the first few weeks as it settles and integrates with existing soil. Avoid heavy foot traffic that can create compaction and uneven surfaces.
Monitor moisture levels carefully, watering lightly when the surface begins to dry. Deep watering isn’t necessary until plants are established and root systems develop.
Watch for erosion signs after rainfall, especially on slopes or poorly graded areas. Address drainage problems immediately to prevent soil loss and surface irregularities.
Allow 2-4 weeks for complete settling before planting or seeding. This waiting period ensures stable soil conditions and prevents plant damage from shifting soil levels.
Common Mistakes to Avoid
Never spread topsoil on wet or frozen ground, which creates compaction problems and prevents proper soil integration. Wait for optimal moisture conditions even if it delays your project timeline.
Avoid walking on freshly spread topsoil, which damages soil structure and creates uneven surfaces. Plan your work pattern to minimize foot traffic on completed areas.
Don’t skip soil testing or assume all topsoil is suitable for your plants. Different plants require specific pH levels and nutrient profiles for optimal growth and health.

Resist the temptation to spread topsoil too thickly, thinking more is better. Excessive depth can suffocate existing grass roots and create drainage problems that harm plant health.
FAQ Frequently Asked Questions
How Much Topsoil Do I Need for My Garden?
Calculate square footage, multiply by desired depth in feet, then divide by 27 for cubic yards. Add 10-15% extra for settling and complete coverage.
What’s the Best Time of Year to Spread Topsoil?
Spring and fall offer ideal conditions with moderate temperatures and adequate moisture. Avoid summer heat and winter freezing for best results.
Can I Spread Topsoil Over Existing Grass?
Thin applications (1/2 inch) work for overseeding, but thicker applications will suffocate grass. Remove existing turf for deeper topsoil applications.
How Long Should I Wait Before Planting in New Topsoil?
Allow 2-4 weeks for settling and integration with existing soil. This waiting period ensures stable growing conditions for new plants.
Should I Add Amendments to Topsoil Before Spreading?
Test soil pH and nutrient levels first. Add lime, sulfur, or organic matter as needed based on your plants’ requirements and soil test results.
Conclusion
Mastering how to spread topsoil properly creates the foundation for a thriving, beautiful garden that rewards your efforts for years to come. Following these systematic steps ensures even coverage, proper drainage, and optimal growing conditions for all your plants.
Remember that patience and attention to detail make the difference between mediocre and exceptional results. Take time to prepare properly, measure accurately, and maintain consistent depth throughout your application.
Quality topsoil represents a significant investment in your garden’s future success. Proper spreading techniques maximize that investment by creating uniform growing conditions that promote healthy root development and vigorous plant growth.
Your garden will flourish with the nutrient-rich foundation you’ve carefully prepared. From stronger root systems to improved drought resistance, properly spread topsoil provides benefits that last for many growing seasons.
Start your topsoil spreading project with confidence, knowing these proven techniques will deliver professional-quality results that enhance your landscape’s beauty and productivity.
About Ravuk Barg
B.Sc. Horticulture Science | Certified Master Gardener
Ravuk Barg has spent more than a decade with his hands in the soil and his head full of questions about why some gardens thrive while others struggle. What started as a single raised bed of tomatoes and basil in a modest backyard has grown into a deep, working knowledge of everything from seed germination and soil amendment to companion planting and seasonal pruning.
Over the years, Ravuk has gardened through drought summers, waterlogged springs, and pest invasions that would make most gardeners hang up their trowels for good. Those hard seasons, he’ll tell you, taught him more than any perfect growing year ever could. He writes from that earned experience—covering vegetable growing, ornamental planting, houseplant care, composting, and garden design with equal confidence and curiosity.
Philosophy & Approach
Ravuk’s approach to gardening is rooted in practicality. He favors organic methods not out of dogma, but because they work long-term—resulting in healthier soil, fewer inputs, and stronger plants. He has a particular fondness for heirloom vegetable varieties (the kind with proper flavor), unruly cottage-style flower beds, and the stubborn houseplants that everyone else gave up on.
The Mission: Give readers the honest, experience-backed advice that helps them actually succeed in their gardens—not just the ideal version, but the real one; weeds, failures, and all.
Education & Credentials
-
B.Sc. in Horticulture Science
-
Greenfield Agricultural University
-
Focus: Plant Physiology, Soil Ecology, and Sustainable Crop Production
-
-
Master Gardener Certification
-
Cooperative Extension Service
-
Focus: 200+ hours of hands-on practical training and community garden work
-
Continuing Education
-
Organic Pest Management
-
Native Plant Landscaping
-
Sustainable Crop Production