

Dealing with clay soil can feel like wrestling with concrete when you’re trying to grow a lush, healthy lawn. If you’ve ever wondered how to improve clay soil lawn conditions, you’re not alone in this common gardening challenge. Clay soil presents unique obstacles with its dense, compacted structure that restricts water drainage and root growth.
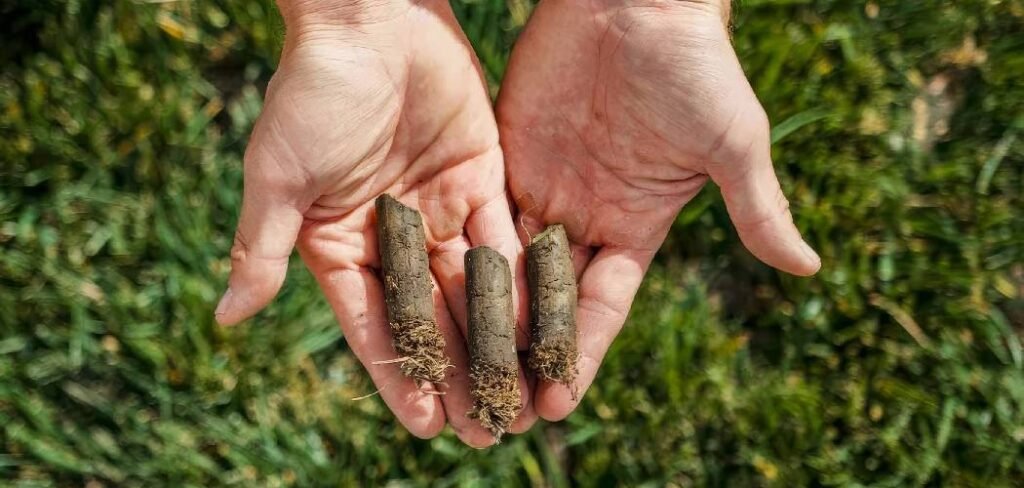
The key lies in understanding that clay soil improvement isn’t about quick fixes—it’s about creating a sustainable ecosystem that works with nature. One of the most effective approaches involves introducing organic matter through various methods, including vermicomposting. This natural process uses red wiggler worms to break down kitchen scraps into nutrient-rich worm castings, creating black gold that transforms clay soil structure. Worms work tirelessly to decompose organic waste, producing castings that improve soil aeration, drainage, and fertility—exactly what clay soil needs to support healthy grass growth.
8 Step-by-Step Guide: How to Improve Clay Soil Lawn
Step 1: Test Your Clay Soil Composition and pH Levels
Before implementing any improvement strategy, you need to understand your clay soil’s specific characteristics. Purchase a soil testing kit from your local garden center or send samples to a professional laboratory for comprehensive analysis. The results will reveal pH levels, nutrient deficiencies, and organic matter content.
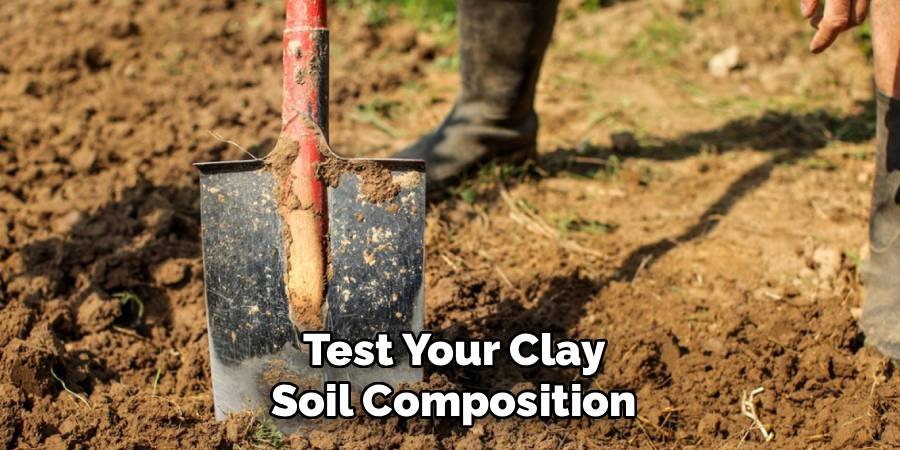
Clay soil typically has a pH between 6.0 and 7.5, but variations can significantly impact grass health. Most lawn grasses thrive in slightly acidic to neutral soil (6.0-7.0 pH). Testing also identifies which nutrients your soil lacks, helping you make informed decisions about amendments. Document your findings in a gardening journal to track improvements over time. This baseline information becomes invaluable as you monitor progress throughout your soil improvement journey.
Step 2: Improve Drainage with Strategic Aeration
Clay soil’s compact nature severely restricts water movement and air circulation to grass roots. Core aeration involves removing small plugs of soil to create channels for water, air, and nutrients to penetrate deeper layers. Rent a core aerator or hire professionals for large areas, timing this process during your grass’s peak growing season.
Make multiple passes over problem areas where water pools after rain. The removed soil plugs should remain on the surface to decompose naturally, gradually improving soil structure. For smaller areas, use a manual aerating tool or even a garden fork to pierce the soil. Aeration works best when soil moisture levels are moderate—not too wet or completely dry. This process immediately reduces compaction while creating spaces for root expansion and improved water infiltration.
Step 3: Add Organic Matter Through Composting and Amendments
Organic matter serves as clay soil’s best friend, improving structure, drainage, and nutrient availability. Create a compost pile using kitchen scraps, yard waste, and brown materials like dried leaves. Well-aged compost breaks up clay particles while adding beneficial microorganisms that support grass health.
Apply a two-inch layer of compost across your lawn area, working it gently into the top few inches of soil. Alternatively, use well-rotted manure, leaf mold, or commercial organic soil amendments. These materials gradually decompose, creating air pockets and improving soil friability. The organic matter also feeds earthworms and beneficial bacteria, creating a living soil ecosystem. Avoid fresh manure, which can burn grass roots and introduce harmful pathogens. Consistency matters more than quantity—regular, smaller applications work better than occasional heavy treatments.
Step 4: Establish a Vermicomposting System for Continuous Soil Enhancement
Setting up a worm bin provides a steady supply of nutrient-rich worm castings that dramatically improve clay soil structure. Purchase red wiggler worms from reputable suppliers and house them in a ventilated container with drainage holes. Layer shredded newspaper, cardboard, and coconut coir as bedding materials.
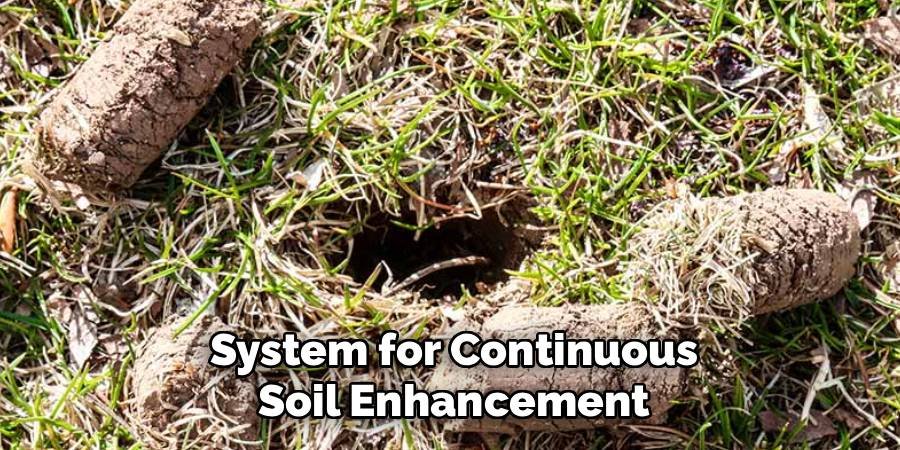
Feed your worms kitchen scraps like vegetable peels, coffee grounds, and fruit waste, avoiding meat, dairy, and oily foods. The worms will process this organic matter into casting—nature’s perfect soil amendment. Harvest worm castings every 3-4 months, mixing them directly into your clay soil. Vermicomposting creates a sustainable cycle where household waste becomes valuable soil improvement material. The resulting worm castings contain beneficial microbes, enzymes, and nutrients that clay soil desperately needs for supporting healthy grass growth.
Step 5: Apply Gypsum for Clay Soil Structure Improvement
Gypsum (calcium sulfate) works chemically to improve clay soil structure without altering pH levels significantly. Unlike lime, gypsum doesn’t make soil more alkaline, making it ideal for established lawns. Apply gypsum at rates specified on product labels, typically 20-40 pounds per 1,000 square feet.
The calcium in gypsum helps clay particles clump together, creating larger soil aggregates that improve drainage and root penetration. This process, called flocculation, happens gradually over several months. Water the area thoroughly after application to help gypsum penetrate the soil profile. Gypsum works best when combined with organic matter additions, creating synergistic effects that transform dense clay into more workable soil. Reapply annually or bi-annually depending on soil test results and visible improvements in drainage and grass health.
Step 6: Select Appropriate Grass Varieties for Clay Soil Conditions
Not all grass types tolerate clay soil equally well. Choose varieties specifically adapted to heavy, poorly-draining conditions. Tall fescue, perennial ryegrass, and certain buffalo grass cultivars perform exceptionally well in clay soil environments.
These grasses develop robust root systems capable of penetrating compacted soil while tolerating periodic waterlogging. Tall fescue, in particular, creates deep taproots that naturally break up clay layers over time. When overseeding or establishing new lawn areas, select grass seed blends designed for clay soil conditions. Proper variety selection reduces maintenance requirements while ensuring long-term lawn success. Consider your climate zone, sun exposure, and intended lawn use when making final selections. Native grass options often provide the best long-term results with minimal inputs.
Step 7: Implement Proper Watering Techniques for Clay Soil
Clay soil’s unique characteristics require modified watering approaches compared to sandy or loamy soils. Water penetrates slowly but retains moisture longer, meaning less frequent but longer watering sessions work best. Apply water at rates slow enough to prevent runoff, allowing gradual penetration into the soil profile.
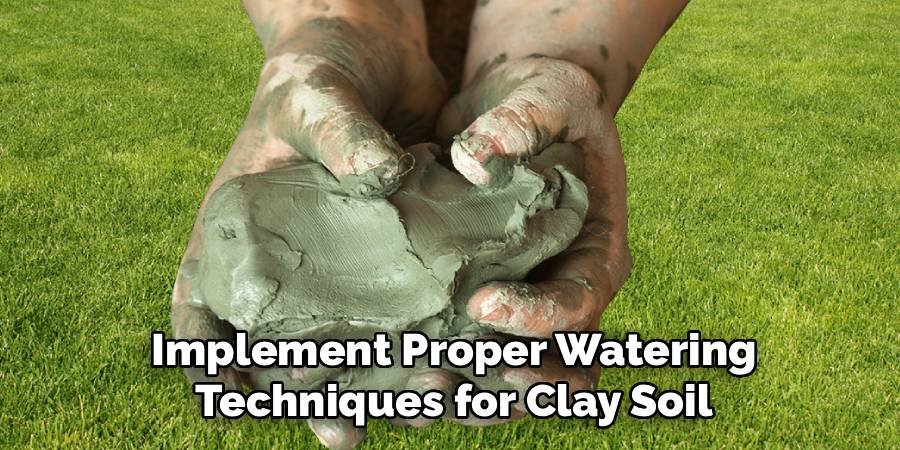
Use sprinkler systems with multiple, shorter cycles rather than single, long applications. For example, run sprinklers for 10 minutes, then wait 30 minutes before repeating the cycle. This approach prevents surface runoff while ensuring deep root zone moisture. Monitor soil moisture levels by inserting a screwdriver or soil probe—it should penetrate easily when adequate moisture exists. Avoid watering during peak heat hours when evaporation rates are highest. Early morning applications give grass time to dry before evening, reducing disease pressure.
Step 8: Maintain Long-term Soil Health Through Regular Amendments
Clay soil improvement requires ongoing commitment rather than one-time fixes. Develop a regular schedule for adding organic matter, typically twice yearly during spring and fall. Continue feeding your vermicomposting system to ensure steady worm casting production for soil amendments.
Monitor soil compaction levels and perform aeration as needed, usually annually for high-traffic areas. Conduct soil tests every 2-3 years to track pH changes and nutrient levels, adjusting amendment programs accordingly. Keep detailed records of applications, weather patterns, and grass performance to identify successful strategies. Regular overseeding with clay-tolerant grass varieties helps maintain dense lawn coverage while gradually improving soil biology through root activity and organic matter deposition from grass clippings.
FAQ
How long does it take to see improvements in clay soil lawn conditions?
Initial improvements typically appear within 3-6 months of implementing organic matter amendments and aeration practices. Significant structural changes requiring 1-2 years of consistent applications. Patience and persistence are essential for achieving long-term clay soil transformation and establishing healthy grass growth patterns.
Can I use sand to improve clay soil drainage?
Adding sand to clay soil creates concrete-like conditions and should be avoided. Pure sand mixed with clay forms an extremely hard, impermeable surface. Instead, focus on organic matter additions, gypsum applications, and proper aeration techniques to achieve sustainable drainage improvements without creating worse soil conditions.
What’s the best time of year to start clay soil improvement projects?
Spring and fall offer optimal conditions for clay soil improvement activities. Moderate temperatures and natural rainfall patterns support organic matter decomposition and grass establishment. Avoid working clay soil when it’s overly wet or completely dry, as this can worsen compaction problems and damage soil structure.
How often should I aerate clay soil lawns?
Clay soil lawns benefit from annual aeration, with high-traffic areas potentially requiring twice-yearly treatments. Spring aeration supports root development during active growing seasons, while fall aeration prepares soil for winter moisture absorption. Monitor soil compaction levels and adjust frequency based on lawn conditions and usage patterns.
Do worm castings really make a significant difference in clay soil?
Worm castings provide exceptional benefits for clay soil improvement through enhanced structure, drainage, and nutrient availability. The castings contain beneficial microorganisms and natural binding agents that help clay particles form better aggregates. Regular applications of worm castings create measurable improvements in soil quality and grass health over time.
Conclusion
Learning how to improve clay soil lawn conditions transforms what initially seems like an impossible gardening challenge into an achievable goal through patience and proper techniques. The eight-step approach outlined above provides a comprehensive framework for converting dense, poorly-draining clay into healthy, living soil that supports lush grass growth.
Success requires understanding that clay soil improvement happens gradually through consistent applications of organic matter, strategic aeration, and appropriate grass variety selection. Vermicomposting offers a sustainable method for producing nutrient-rich amendments while reducing household waste. The combination of gypsum applications, proper watering techniques, and regular maintenance creates lasting improvements that benefit your lawn for years to come.
Remember that each property’s soil conditions are unique, requiring some experimentation to determine the most effective combination of techniques. Keep detailed records of your applications and results to refine your approach over time. The investment in soil health pays dividends through reduced maintenance requirements, improved drought tolerance, and enhanced grass appearance. Your garden (and worms!) will thank you for creating this thriving ecosystem that supports both plant health and environmental sustainability through natural soil improvement methods.
About Ravuk Barg
B.Sc. Horticulture Science | Certified Master Gardener
Ravuk Barg has spent more than a decade with his hands in the soil and his head full of questions about why some gardens thrive while others struggle. What started as a single raised bed of tomatoes and basil in a modest backyard has grown into a deep, working knowledge of everything from seed germination and soil amendment to companion planting and seasonal pruning.
Over the years, Ravuk has gardened through drought summers, waterlogged springs, and pest invasions that would make most gardeners hang up their trowels for good. Those hard seasons, he’ll tell you, taught him more than any perfect growing year ever could. He writes from that earned experience—covering vegetable growing, ornamental planting, houseplant care, composting, and garden design with equal confidence and curiosity.
Philosophy & Approach
Ravuk’s approach to gardening is rooted in practicality. He favors organic methods not out of dogma, but because they work long-term—resulting in healthier soil, fewer inputs, and stronger plants. He has a particular fondness for heirloom vegetable varieties (the kind with proper flavor), unruly cottage-style flower beds, and the stubborn houseplants that everyone else gave up on.
The Mission: Give readers the honest, experience-backed advice that helps them actually succeed in their gardens—not just the ideal version, but the real one; weeds, failures, and all.
Education & Credentials
-
B.Sc. in Horticulture Science
-
Greenfield Agricultural University
-
Focus: Plant Physiology, Soil Ecology, and Sustainable Crop Production
-
-
Master Gardener Certification
-
Cooperative Extension Service
-
Focus: 200+ hours of hands-on practical training and community garden work
-
Continuing Education
-
Organic Pest Management
-
Native Plant Landscaping
-
Sustainable Crop Production