

Creating your own garden amendments can be a rewarding experience, giving you greater control over what goes into your soil. For environmentally conscious gardeners, finding sustainable alternatives to traditional materials like peat moss is a top priority. This is where a revolutionary, upcycled product comes in.
If you’ve been wondering about this innovative soil amendment, you’re in the right place. This guide will walk you through the process of how to make pittmoss, offering a sustainable, high-performing option for your garden beds and containers. It’s a fantastic way to improve water retention and aeration in your soil using recycled materials.
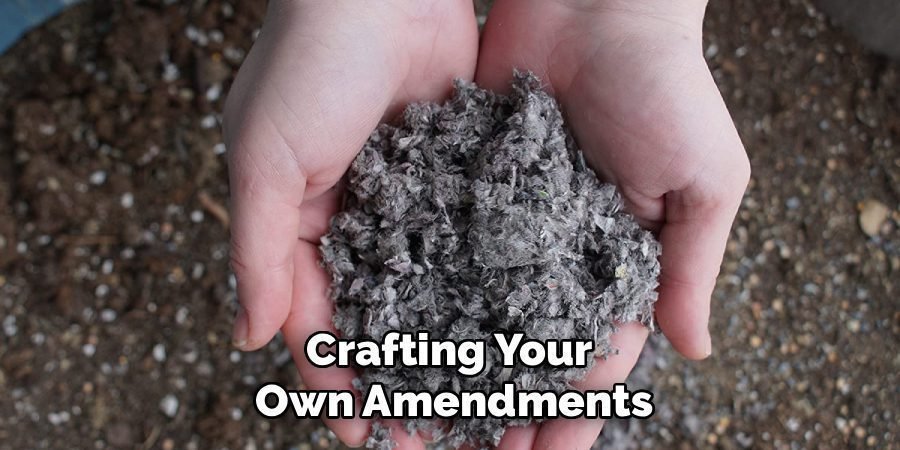
Why Make Your Own Garden Amendments?
Taking a hands-on approach to your garden’s soil health offers numerous benefits. Crafting your own amendments, like a DIY version inspired by PittMoss, allows you to customize the mix to meet the specific needs of your plants. It’s also a powerful step toward greater sustainability. By repurposing common household waste like paper and cardboard, you divert materials from landfills and reduce your reliance on commercially harvested resources. This process not only saves money but also deepens your connection to your garden, turning everyday items into “black gold” for your plants.
8 Step-by-Step Guide: How to Make PittMoss at Home
Step 1: Gather Your Paper Materials
Your first task is to collect a sufficient amount of cellulose-based materials. This includes old newspapers, plain cardboard (without glossy coatings or excessive ink), office paper, and paper egg cartons. Avoid using magazines or any paper with a waxy or plastic finish, as these materials will not break down properly and may introduce unwanted chemicals into your mix. The goal is to accumulate a good volume of clean, uncoated paper products that will form the fibrous base of your homemade amendment.
Step 2: Shred the Paper and Cardboard
Once you have your materials, you need to break them down into smaller, more manageable pieces. A cross-cut paper shredder is ideal for this step, as it will create a uniform consistency that is perfect for absorbing water. If you don’t have a shredder, you can tear the paper and cardboard by hand into small strips or squares. The smaller the pieces, the faster they will decompose and the more effective they will be at creating the right structure for your soil mix.
Step 3: Soak the Shredded Material
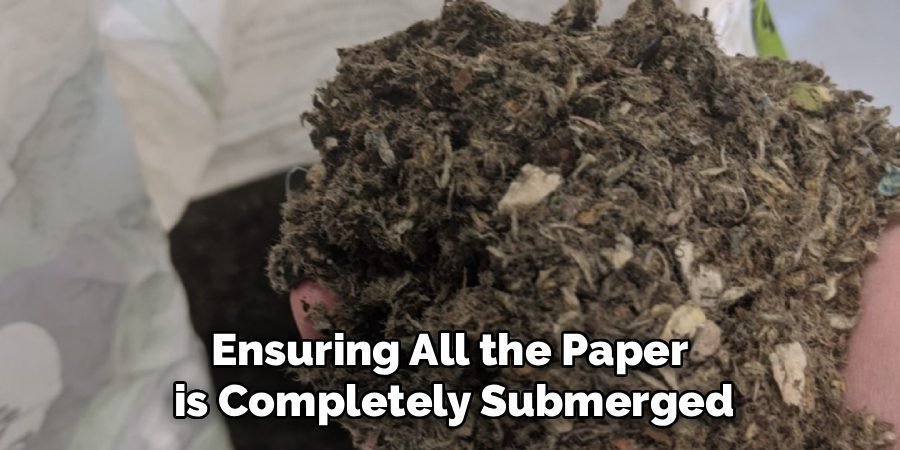
Place all your shredded paper and cardboard into a large, waterproof container, like a 5-gallon bucket or a large plastic tote. Fill the container with water, ensuring all the paper is completely submerged. You may need to use a weight, like a brick or a heavy rock, to keep the paper from floating to the surface. Allow the material to soak for at least 24 to 48 hours. This step is crucial for softening the cellulose fibers and preparing them for the pulping process.
Step 4: Create a Paper Pulp
After soaking, the paper will be soft and mushy. Now it’s time to turn it into a pulp. An immersion blender or a paint-mixing attachment for a power drill works exceptionally well for this task. Blend the soaked paper and water mixture until it forms a thick, oatmeal-like slurry. Be patient, as this can take some time. The objective is to break down all the individual paper pieces into a homogenous pulp, which will serve as the foundation of your homemade soil conditioner.
Step 5: Strain the Excess Water
Your pulp is likely very wet, and you need to remove the excess moisture. Pour the slurry into a mesh strainer, a colander lined with cheesecloth, or an old pillowcase. Gently press down on the pulp to squeeze out as much water as possible. You are aiming for a consistency that is damp and spongy, similar to a wrung-out sponge. It should hold its shape when squeezed but not drip excessive water. This step is important for achieving the right moisture level for decomposition.
Step 6: Introduce Organic Additives
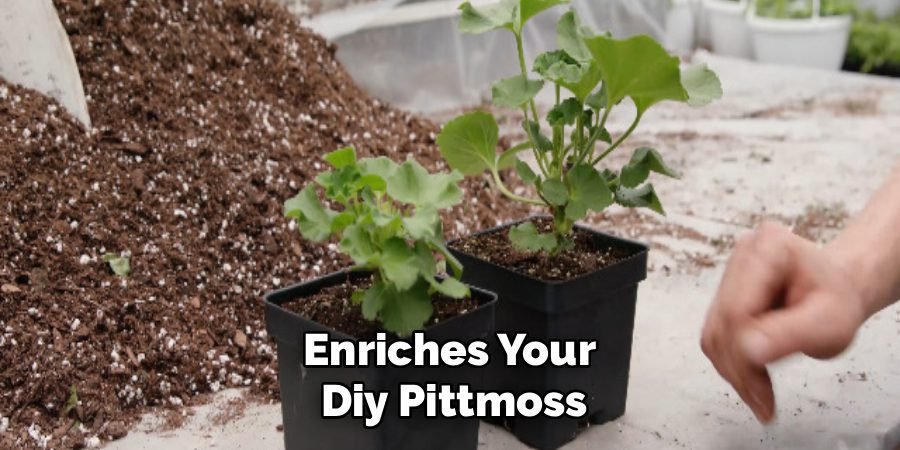
To enhance the nutritional value and structure of your mix, it’s time to add other organic components. Good options include compost, coffee grounds, and finely shredded leaves. These additives introduce beneficial microbes that will help the paper pulp decompose and will provide essential nutrients for your plants. A good starting ratio is about three parts paper pulp to one part organic additives. Mix these components thoroughly to ensure they are evenly distributed throughout the pulp. This enriches your DIY PittMoss.
Step 7: Begin the Curing Process
Transfer the mixed material into a compost bin or create a pile in a shady, out-of-the-way corner of your yard. The curing process, or “composting,” allows the materials to break down and integrate. It is essential to keep the pile moist but not waterlogged. If it seems too dry, sprinkle it with a bit of water. If it’s too wet, mix in more dry materials like shredded leaves or cardboard to absorb the excess moisture. This stage is where the magic happens.
Step 8: Turn and Aerate the Mixture
To encourage even and rapid decomposition, you should turn the pile every one to two weeks with a pitchfork or shovel. This action introduces oxygen, which is vital for the aerobic microbes responsible for breaking down the organic matter. Regular turning also helps distribute moisture and prevents the pile from becoming compacted and anaerobic, which can lead to foul odors. Consistent aeration is a key part of learning how to make pittmoss effectively, ensuring you end up with a high-quality, earthy-smelling product.
Monitor for Completion
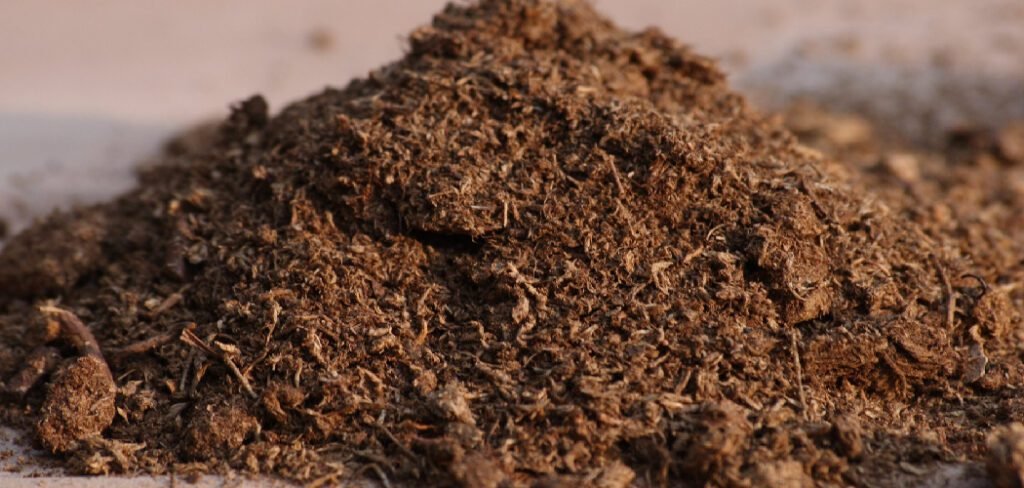
Your homemade soil amendment will be ready to use when it has transformed into a dark, crumbly, and earthy-smelling material. The original paper and organic additives should no longer be recognizable. This process can take anywhere from a few months to a year, depending on the composition of your pile, moisture levels, and how often you turn it. Patience is key. Once it’s ready, you will have a rich, water-retentive amendment perfect for your garden.
Frequently Asked Questions (FAQ)
Is This Homemade Version the Same as Commercial PittMoss?
No, this DIY version is an imitation inspired by the principles of commercial PittMoss, not an exact replica. The patented manufacturing process for PittMoss involves specific technologies to create its unique fiber structure. This homemade method repurposes paper to create a similar fibrous, peat-like substitute. While it provides excellent water retention and aeration, it won’t be identical to the commercial product. It is, however, a fantastic and sustainable alternative you can make at home.
What Are the Best Plants to Use This Mixture With?
This homemade soil amendment is versatile and beneficial for a wide range of plants. It is especially useful for:
- Container gardens and potted plants, as it helps retain moisture and reduce watering frequency.
- Seed starting mixes, where its fine texture and water-holding capacity create an ideal environment for germination.
- Vegetable beds, particularly for thirsty plants like tomatoes and cucumbers.
- Acid-loving plants, as the pH is generally neutral to slightly acidic, similar to peat moss.
Can I Add Other Materials to the Mix?
Absolutely. Customizing your mix is one of the biggest advantages of making it yourself. You can add materials like coir (coconut fiber) for extra aeration, perlite to lighten the soil, or worm castings for a boost of nutrients and beneficial microbes. Some gardeners also add a small amount of garden soil to introduce native microorganisms, which can help accelerate the decomposition process. Experiment to find the perfect blend for your specific gardening needs and available materials.
How Does This Compare to Peat Moss?
This homemade amendment serves a similar function to peat moss but has some key differences. Both improve soil structure and water retention. However, this DIY version is made from renewable, recycled materials, making it a more sustainable choice than peat moss, which is harvested from sensitive bog ecosystems. Your homemade mix will also likely contain more nutrients, especially if you add compost or other organic matter, whereas peat moss is relatively sterile and nutrient-poor.
How Do I Store the Finished Product?
Once your amendment is fully cured, you can store it for future use. The best way to store it is in a container that allows for some air circulation, such as a loosely covered bin, a burlap sack, or a plastic tub with a few holes drilled in the lid. Keeping it in a cool, dry place like a garage or shed will help maintain its quality. Proper storage ensures you have a ready supply of high-quality, homemade soil conditioner whenever you need it.
Conclusion
Creating your own garden soil amendment from recycled paper is a gratifying project that benefits both your plants and the planet. By following these steps, you can transform simple household waste into a valuable resource that improves soil health, conserves water, and reduces your environmental footprint. While it requires patience, the process is straightforward and rewarding. Now that you have a clear understanding of how to make pittmoss, you are ready to start your own batch and give your garden the sustainable boost it deserves.
About Ravuk Barg
B.Sc. Horticulture Science | Certified Master Gardener
Ravuk Barg has spent more than a decade with his hands in the soil and his head full of questions about why some gardens thrive while others struggle. What started as a single raised bed of tomatoes and basil in a modest backyard has grown into a deep, working knowledge of everything from seed germination and soil amendment to companion planting and seasonal pruning.
Over the years, Ravuk has gardened through drought summers, waterlogged springs, and pest invasions that would make most gardeners hang up their trowels for good. Those hard seasons, he’ll tell you, taught him more than any perfect growing year ever could. He writes from that earned experience—covering vegetable growing, ornamental planting, houseplant care, composting, and garden design with equal confidence and curiosity.
Philosophy & Approach
Ravuk’s approach to gardening is rooted in practicality. He favors organic methods not out of dogma, but because they work long-term—resulting in healthier soil, fewer inputs, and stronger plants. He has a particular fondness for heirloom vegetable varieties (the kind with proper flavor), unruly cottage-style flower beds, and the stubborn houseplants that everyone else gave up on.
The Mission: Give readers the honest, experience-backed advice that helps them actually succeed in their gardens—not just the ideal version, but the real one; weeds, failures, and all.
Education & Credentials
-
B.Sc. in Horticulture Science
-
Greenfield Agricultural University
-
Focus: Plant Physiology, Soil Ecology, and Sustainable Crop Production
-
-
Master Gardener Certification
-
Cooperative Extension Service
-
Focus: 200+ hours of hands-on practical training and community garden work
-
Continuing Education
-
Organic Pest Management
-
Native Plant Landscaping
-
Sustainable Crop Production