

If you’ve ever spread a fresh layer of bark mulch only to watch it scatter across the lawn after the first rainstorm, you already understand the frustration. Mulch looks great when it’s first laid down, but wind, foot traffic, and surface runoff can undo hours of work surprisingly fast.
That’s where mulch glue comes in — a simple adhesive binder that locks ground cover in place without harming your plants or soil. Learning how to make mulch glue gives you a practical, affordable way to keep your landscaping tidy through heavy rain, steep slopes, and high-traffic areas. This guide walks you through every step of the process, from gathering materials to applying your finished product correctly.
Why Learning to Make Mulch Glue Matters
Keeping mulch in place is one of those challenges that sounds minor until you’re raking scattered wood chips back into a bed for the third time in a week. For campers and outdoor beginners, this problem shows up in all kinds of settings — around fire rings, along footpaths, on sloped garden terraces, or near tent platforms where erosion control matters.
A homemade mulch binder gives you control over what goes into the product and how much you spend. Commercial tackifiers can be effective, but they’re also expensive and not always easy to find in rural areas. When you know how to mix and apply your own landscaping glue, you can tackle erosion and displacement problems wherever you are. That kind of self-reliance is exactly what outdoor beginners benefit from most.
Tools and Materials You’ll Need
You don’t need specialized equipment to get started. The core ingredient is plain white PVA glue — the same craft glue found in most hardware and dollar stores — which acts as your primary mulch adhesive. You’ll also need water for dilution, a clean bucket for mixing, and a measuring cup to get your ratios consistent. A pump sprayer is the most efficient application tool, giving you even coverage across large beds without over-saturating any single spot.
A stirring stick or old paint mixer keeps your solution blended while you work. For protective gear, a pair of waterproof gloves keeps the mixture off your hands during application. As an optional convenience item, a fine-mesh strainer helps remove any undissolved clumps before pouring the solution into your sprayer, which prevents clogging and saves you from stopping mid-job to clear the nozzle.
Step-by-Step Guide on How to Make Mulch Glue
Step 1 – Choose the Right Base Adhesive
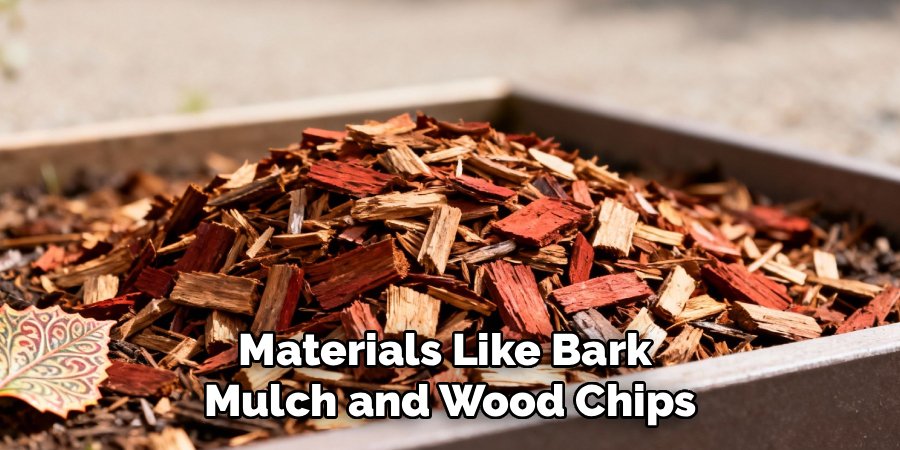
The quality of your mulch glue starts with the adhesive you select. Standard white PVA glue works well for most residential applications — it’s non-toxic, water-soluble before curing, and bonds effectively with organic materials like bark mulch and wood chips.
For areas with heavier rainfall or steeper slopes, look for an exterior-grade PVA or a product labeled as a landscaping binder or soil tackifier. These formulations offer stronger moisture resistance once they dry. Avoid craft glues labeled “washable” since those are designed to dissolve in water, which defeats the entire purpose. Read the label and confirm your glue is rated for outdoor or general construction use before you begin mixing.
Step 2 – Measure Your Dilution Ratio Accurately
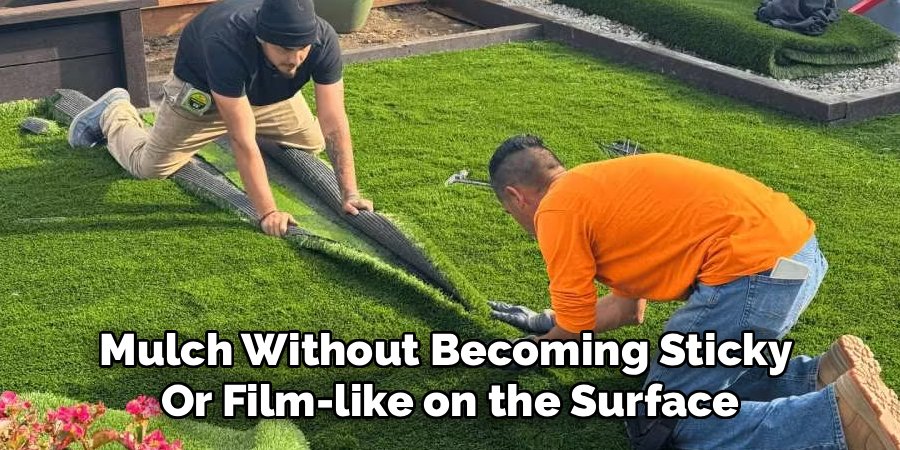
Getting the concentration right is what separates an effective mulch binder from a watery solution that washes away on first contact. For standard applications on flat beds, mix one part PVA glue with four parts water. This gives you a workable consistency that sprays evenly and penetrates the top layer of mulch without becoming sticky or film-like on the surface.
For slopes or areas prone to heavy runoff, use a stronger mix of one part glue to three parts water. Use your measuring cup every time rather than estimating by eye. Even a slightly off ratio changes how the binder cures and how well it holds your ground cover in place over time.
Step 3 – Combine the Ingredients in Your Mixing Bucket
Pour the water into your bucket first, then add the PVA glue. Adding glue to water rather than the other way around helps it blend more smoothly without creating a thick layer that sits on the bottom. Stir the mixture slowly and steadily for about two to three minutes until the solution looks uniform and slightly milky.
You shouldn’t see streaks of undiluted glue running through it. The consistency should feel similar to thin skim milk — fluid enough to move through a sprayer nozzle but substantial enough to coat individual wood chips or bark pieces. If you plan to use a fine-mesh strainer, pour the finished mix through it now before loading your pump sprayer.
Step 4 – Prepare Your Mulch Bed Before Application
Before you apply anything, take a few minutes to prepare the surface. Rake the mulch layer smooth and fill in any thin or patchy spots, aiming for a consistent depth of two to three inches. Remove large debris like sticks, seedpods, or clumps that could block even spray coverage.
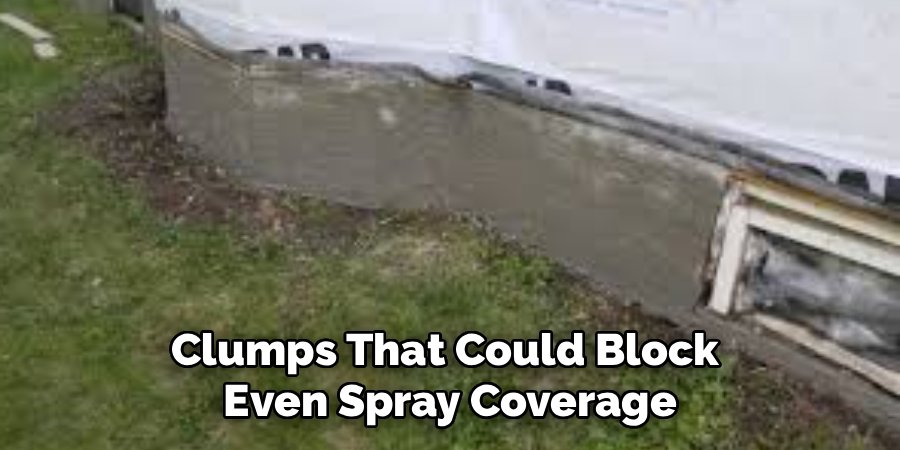
If the mulch is very dry and dusty, lightly pre-wet the surface with plain water and let it settle for five to ten minutes. A slightly damp surface helps the adhesive penetrate rather than bead on top. This step also reduces how much of your solution disappears into air pockets between pieces, which means better adhesion with less product overall.
Step 5 – Apply the Mulch Glue With a Pump Sprayer
Load your mixed solution into the pump sprayer and adjust the nozzle to a wide fan pattern. Hold the sprayer wand about twelve to eighteen inches above the mulch surface and move it in slow, overlapping passes. You want the mulch to look evenly misted, not soaked.
Part of learning how to make mulch glue is understanding that less is often more — over-application creates a hard, crusty surface that repels water and prevents it from reaching plant roots below. Work in sections, and take your time. On slopes, start at the top and work downward so any drips run onto untreated areas rather than double-coating spots you’ve already covered.
Step 6 – Allow Adequate Curing Time Before Exposure
Once applied, your mulch adhesive needs time to cure properly. Under normal dry conditions, expect a full surface cure in four to six hours. In humid or overcast weather, give it twelve to twenty-four hours before allowing foot traffic or watering nearby. The solution will shift from milky white to nearly clear as it dries, which is a reliable visual cue that bonding is taking hold.
Avoid applying before rain is forecast, since water hitting the surface during the curing window can dilute the adhesive and dramatically reduce its holding strength. Check the weather forecast and plan your application day around at least a solid eight-hour dry window.
Step 7 – Inspect and Touch Up After the First Rain
The first significant rainstorm after curing is your honest performance test. Walk the bed afterward and look for areas where mulch has shifted, piled up near edging, or scattered onto paving. Light displacement in isolated spots usually means the adhesive mix was too dilute in that area or the mulch depth was uneven.
Mix a small batch using a slightly stronger concentrate — one part glue to two and a half parts water — and spot-treat those sections. Knowing how to make mulch glue also means knowing how to fine-tune your approach based on real results. A second light coat over high-traffic zones adds durability without making the surface feel stiff or artificial.
Common Mistakes When Making Mulch Glue
One of the most common errors is using the wrong type of glue. Washable school glue or thin craft formulas dissolve in the first rain because they’re engineered to break down with water contact. Always check that your PVA is rated for exterior or outdoor use before mixing.
Applying the solution to bone-dry mulch is another frequent problem. Without any existing moisture in the material, the binder tends to sit on the surface rather than penetrate, which results in a brittle, flaking film instead of a true bond. Pre-wetting the bed slightly before application consistently improves adhesion.
Over-diluting the mixture is tempting when you’re trying to cover a large area with less product, but a solution that’s too thin simply won’t hold. Stick to your measured ratios even when it feels wasteful.
Many beginners also apply the adhesive right before a forecasted rain, assuming it will help “set” the glue faster. The opposite is true — moisture during the curing window weakens the bond considerably.
Finally, skipping a touch-up inspection after the first rain leaves weak spots untreated. A quick walk-through and a small second application in problem areas dramatically improve long-term results.
Expert Tips
Experienced landscapers often add a small amount of liquid dish soap — roughly a quarter teaspoon per gallon of solution — to help the adhesive spread more evenly across waxy or dusty mulch surfaces. It acts as a surfactant, reducing surface tension and improving penetration without affecting the bond strength.
For slopes steeper than thirty degrees, consider layering jute erosion netting over the mulch before applying your binder. The netting gives the adhesive a structural framework to anchor into, which significantly improves holding power on challenging grades.
If you’re working around established plants, apply the binder in the late afternoon rather than midday. Cooler temperatures slow the drying process slightly and give the adhesive more time to settle into the mulch before heat drives evaporation, resulting in a more even, thorough cure.
Keeping a small labeled container of your preferred dilution ratio written on the side saves time when you need to mix a fresh batch for touch-ups weeks later.
Frequently Asked Questions
How long does homemade mulch glue last after it cures?
A properly applied and fully cured mulch adhesive typically holds for three to six months under normal weather conditions. Heavy rainfall, intense UV exposure, and foot traffic all shorten that window. Plan on reapplying once per season for beds in active use, or twice yearly in high-rain climates. A light second coat at the start of each growing season keeps ground cover consistently stable without requiring a full reapplication every time.
Is homemade mulch glue safe for plants and soil?
Standard PVA-based mulch binder is non-toxic once diluted and cured. It doesn’t release harmful chemicals into the soil and breaks down naturally over time without leaving persistent residue. Avoid applying heavy concentrations directly against plant stems or root crowns, as a thick layer can restrict airflow. A properly diluted spray applied to the mulch surface, not the plants themselves, is safe for gardens, landscaping beds, and vegetable borders.
Can I use mulch glue on wood chips and bark mulch?
Yes, both wood chips and bark mulch respond well to PVA-based adhesives. Bark mulch tends to absorb the binder slightly faster due to its porous surface texture, so you may need a slightly stronger mix for bark versus processed wood chips. Coarser materials like large decorative stones or rubber mulch don’t bond as effectively because the adhesive has less surface area to grip. Organic mulch types consistently produce the best results.
What’s the difference between mulch glue and a commercial tackifier?
Commercial tackifiers often use acrylic polymers or natural plant-based binders like guar gum and psyllium. They’re designed for large-scale erosion control and are frequently used in professional landscaping and construction site management. Homemade PVA-based mulch glue performs comparably for typical residential and campsite applications at a fraction of the cost. For very large slopes or high-velocity water runoff, a commercial product may offer more consistent holding strength.
Can I apply mulch glue with a watering can instead of a sprayer?
A watering can works in a pinch but delivers uneven coverage and tends to over-saturate concentrated spots while leaving others dry. A pump sprayer gives you far more control over distribution and concentration, and it’s worth the small investment if you plan to use mulch adhesive regularly. If a watering can is your only option, use a rose-head attachment to diffuse the flow and move slowly across the surface in overlapping passes to reduce pooling.
Conclusion
You now have everything you need to tackle mulch displacement with confidence. From selecting the right PVA adhesive and nailing your dilution ratio to applying an even coat and troubleshooting after the first rain, the process is straightforward once you understand why each step matters.
The biggest takeaway is that preparation makes the difference. Clean, evenly laid mulch, a properly measured binder, good timing around dry weather, and a follow-up inspection after rain are what separate a lasting result from one that washes away by the weekend.
Knowing how to make mulch glue is a skill that pays off every season. It saves you the time and frustration of constant raking, protects your landscape investment, and gives outdoor spaces a cleaner, more finished look that holds up to real conditions. Start with one small bed, apply your first batch carefully, and let the results guide your next application. You’ll quickly find it becomes one of the most useful tools in your outdoor routine.
About Ravuk Barg
B.Sc. Horticulture Science | Certified Master Gardener
Ravuk Barg has spent more than a decade with his hands in the soil and his head full of questions about why some gardens thrive while others struggle. What started as a single raised bed of tomatoes and basil in a modest backyard has grown into a deep, working knowledge of everything from seed germination and soil amendment to companion planting and seasonal pruning.
Over the years, Ravuk has gardened through drought summers, waterlogged springs, and pest invasions that would make most gardeners hang up their trowels for good. Those hard seasons, he’ll tell you, taught him more than any perfect growing year ever could. He writes from that earned experience—covering vegetable growing, ornamental planting, houseplant care, composting, and garden design with equal confidence and curiosity.
Philosophy & Approach
Ravuk’s approach to gardening is rooted in practicality. He favors organic methods not out of dogma, but because they work long-term—resulting in healthier soil, fewer inputs, and stronger plants. He has a particular fondness for heirloom vegetable varieties (the kind with proper flavor), unruly cottage-style flower beds, and the stubborn houseplants that everyone else gave up on.
The Mission: Give readers the honest, experience-backed advice that helps them actually succeed in their gardens—not just the ideal version, but the real one; weeds, failures, and all.
Education & Credentials
-
B.Sc. in Horticulture Science
-
Greenfield Agricultural University
-
Focus: Plant Physiology, Soil Ecology, and Sustainable Crop Production
-
-
Master Gardener Certification
-
Cooperative Extension Service
-
Focus: 200+ hours of hands-on practical training and community garden work
-
Continuing Education
-
Organic Pest Management
-
Native Plant Landscaping
-
Sustainable Crop Production